Thanks to the REST API, WordPress is rapidly evolving into a full-fledged development framework. However, few have actually begun using it to carry out every day tasks – even though this is now entirely possible.
Blog in a Box is a relatively new project that enables you to quickly install WordPress onto a Raspberry Pi machine. We’ll cover exactly what these are in a moment, but it means you can integrate WordPress with almost any program on a Linux-based machine. Since WordPress comes with its own API framework, you can quickly turn any data you collect with your program into an app.
In this article, we’ll explain both Blog in a Box and Raspberry Pi, then jump into four real world projects that you could try extending using WordPress. Let’s get started!
What Blog in a Box Is (And Why It’s Interesting)
Blog in a Box is self-described as being a quick and easy way to put WordPress onto a Raspberry Pi. It comes packed with PHP 7, a Nginx webserver, and the latest version of WordPress. Plus, it comes with built in support for the Raspberry Pi camera and SenseHAT (which are sold separately).
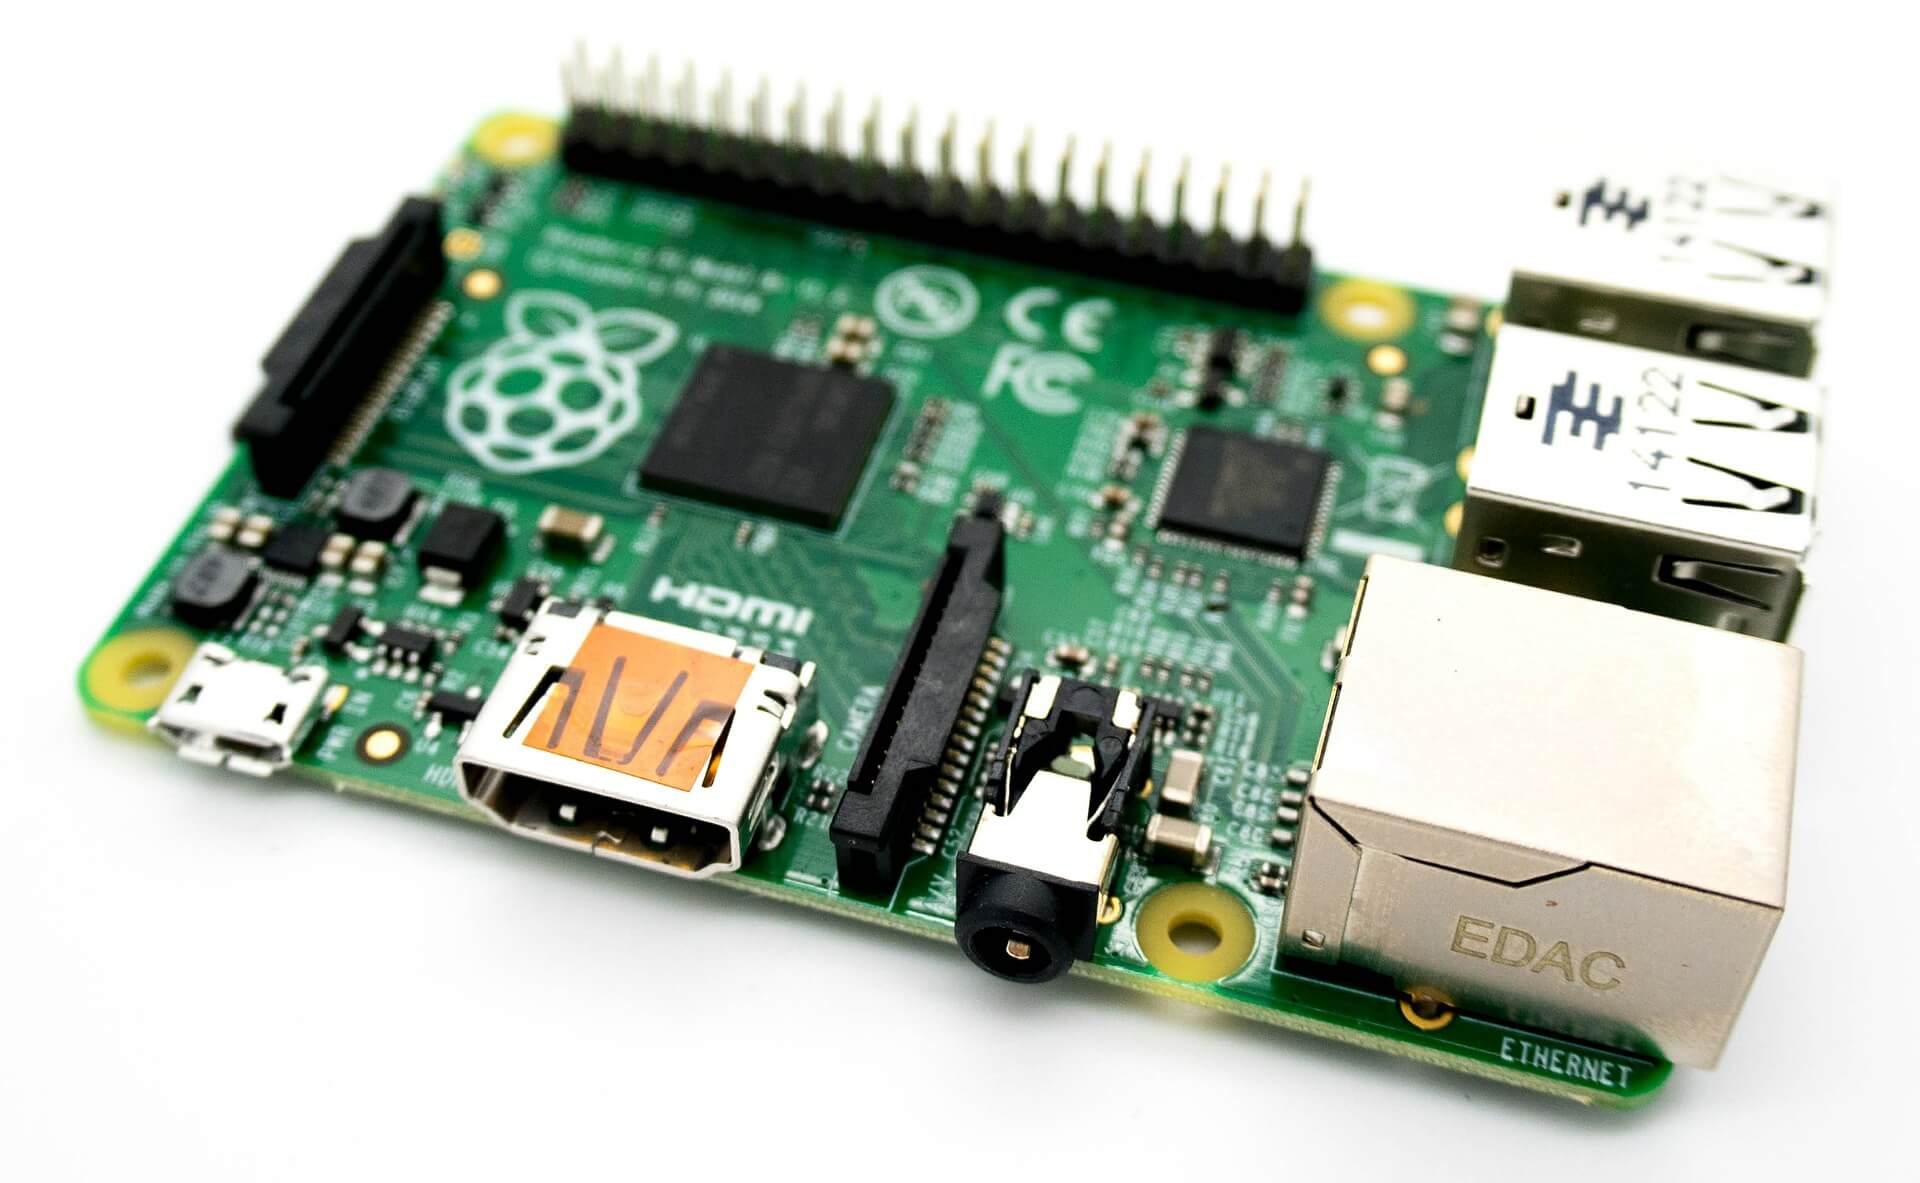
The Raspberry Pi is a series of small, single-board computers made available at very low prices. They were originally for teaching basic computer science in developing countries, but hobbyists have popularized them for personal projects. While at its core it’s simply a tiny computer board, you can buy add-ons such as the aforementioned camera and sensory board (depending on the needs of your project).
In short, Raspberry Pi allows newbies to affordably explore computer science and robotics. Pair it with WordPress, and you can give any Raspberry Pi program an automatic user interface. There’s even an API to build extended apps with. We find that intriguing!
In a moment we’ll offer four ideas for getting up and running with the Raspberry Pi and WordPress. Practicing on fledgling projects such as these will make you a better developer, and may help you stumble upon something spectacularly inventive.
Here’s what the process will look like:
- Choose a Raspberry Pi project, ideally a program that collects data so you have something to share with WordPress. Here’s a basic getting started guide for working with the Raspberry Pi.
- Build the program on your Raspberry Pi!
- Push data from your project into WordPress via Blog in a Box. At this point, you already have an automated WordPress site.
- Bonus: Take it farther by using the REST API to develop external applications.
We sat down and brainstormed a few specific ideas to open your eyes to what could be possible in the future with Blog in a Box. Let’s take a look at a few existing Raspberry Pi projects you could practice with.
4 Ideas for Pushing the Boundaries of WordPress With Blog in a Box
Remember, these are all ideas that look at the bigger picture. These are really to get your creative juices flowing so you can build a project interesting to you, further building your skills as a WordPress developer and widening your horizons. Let’s take a look!
1. Keep Track of Moisture Levels in Your Garden
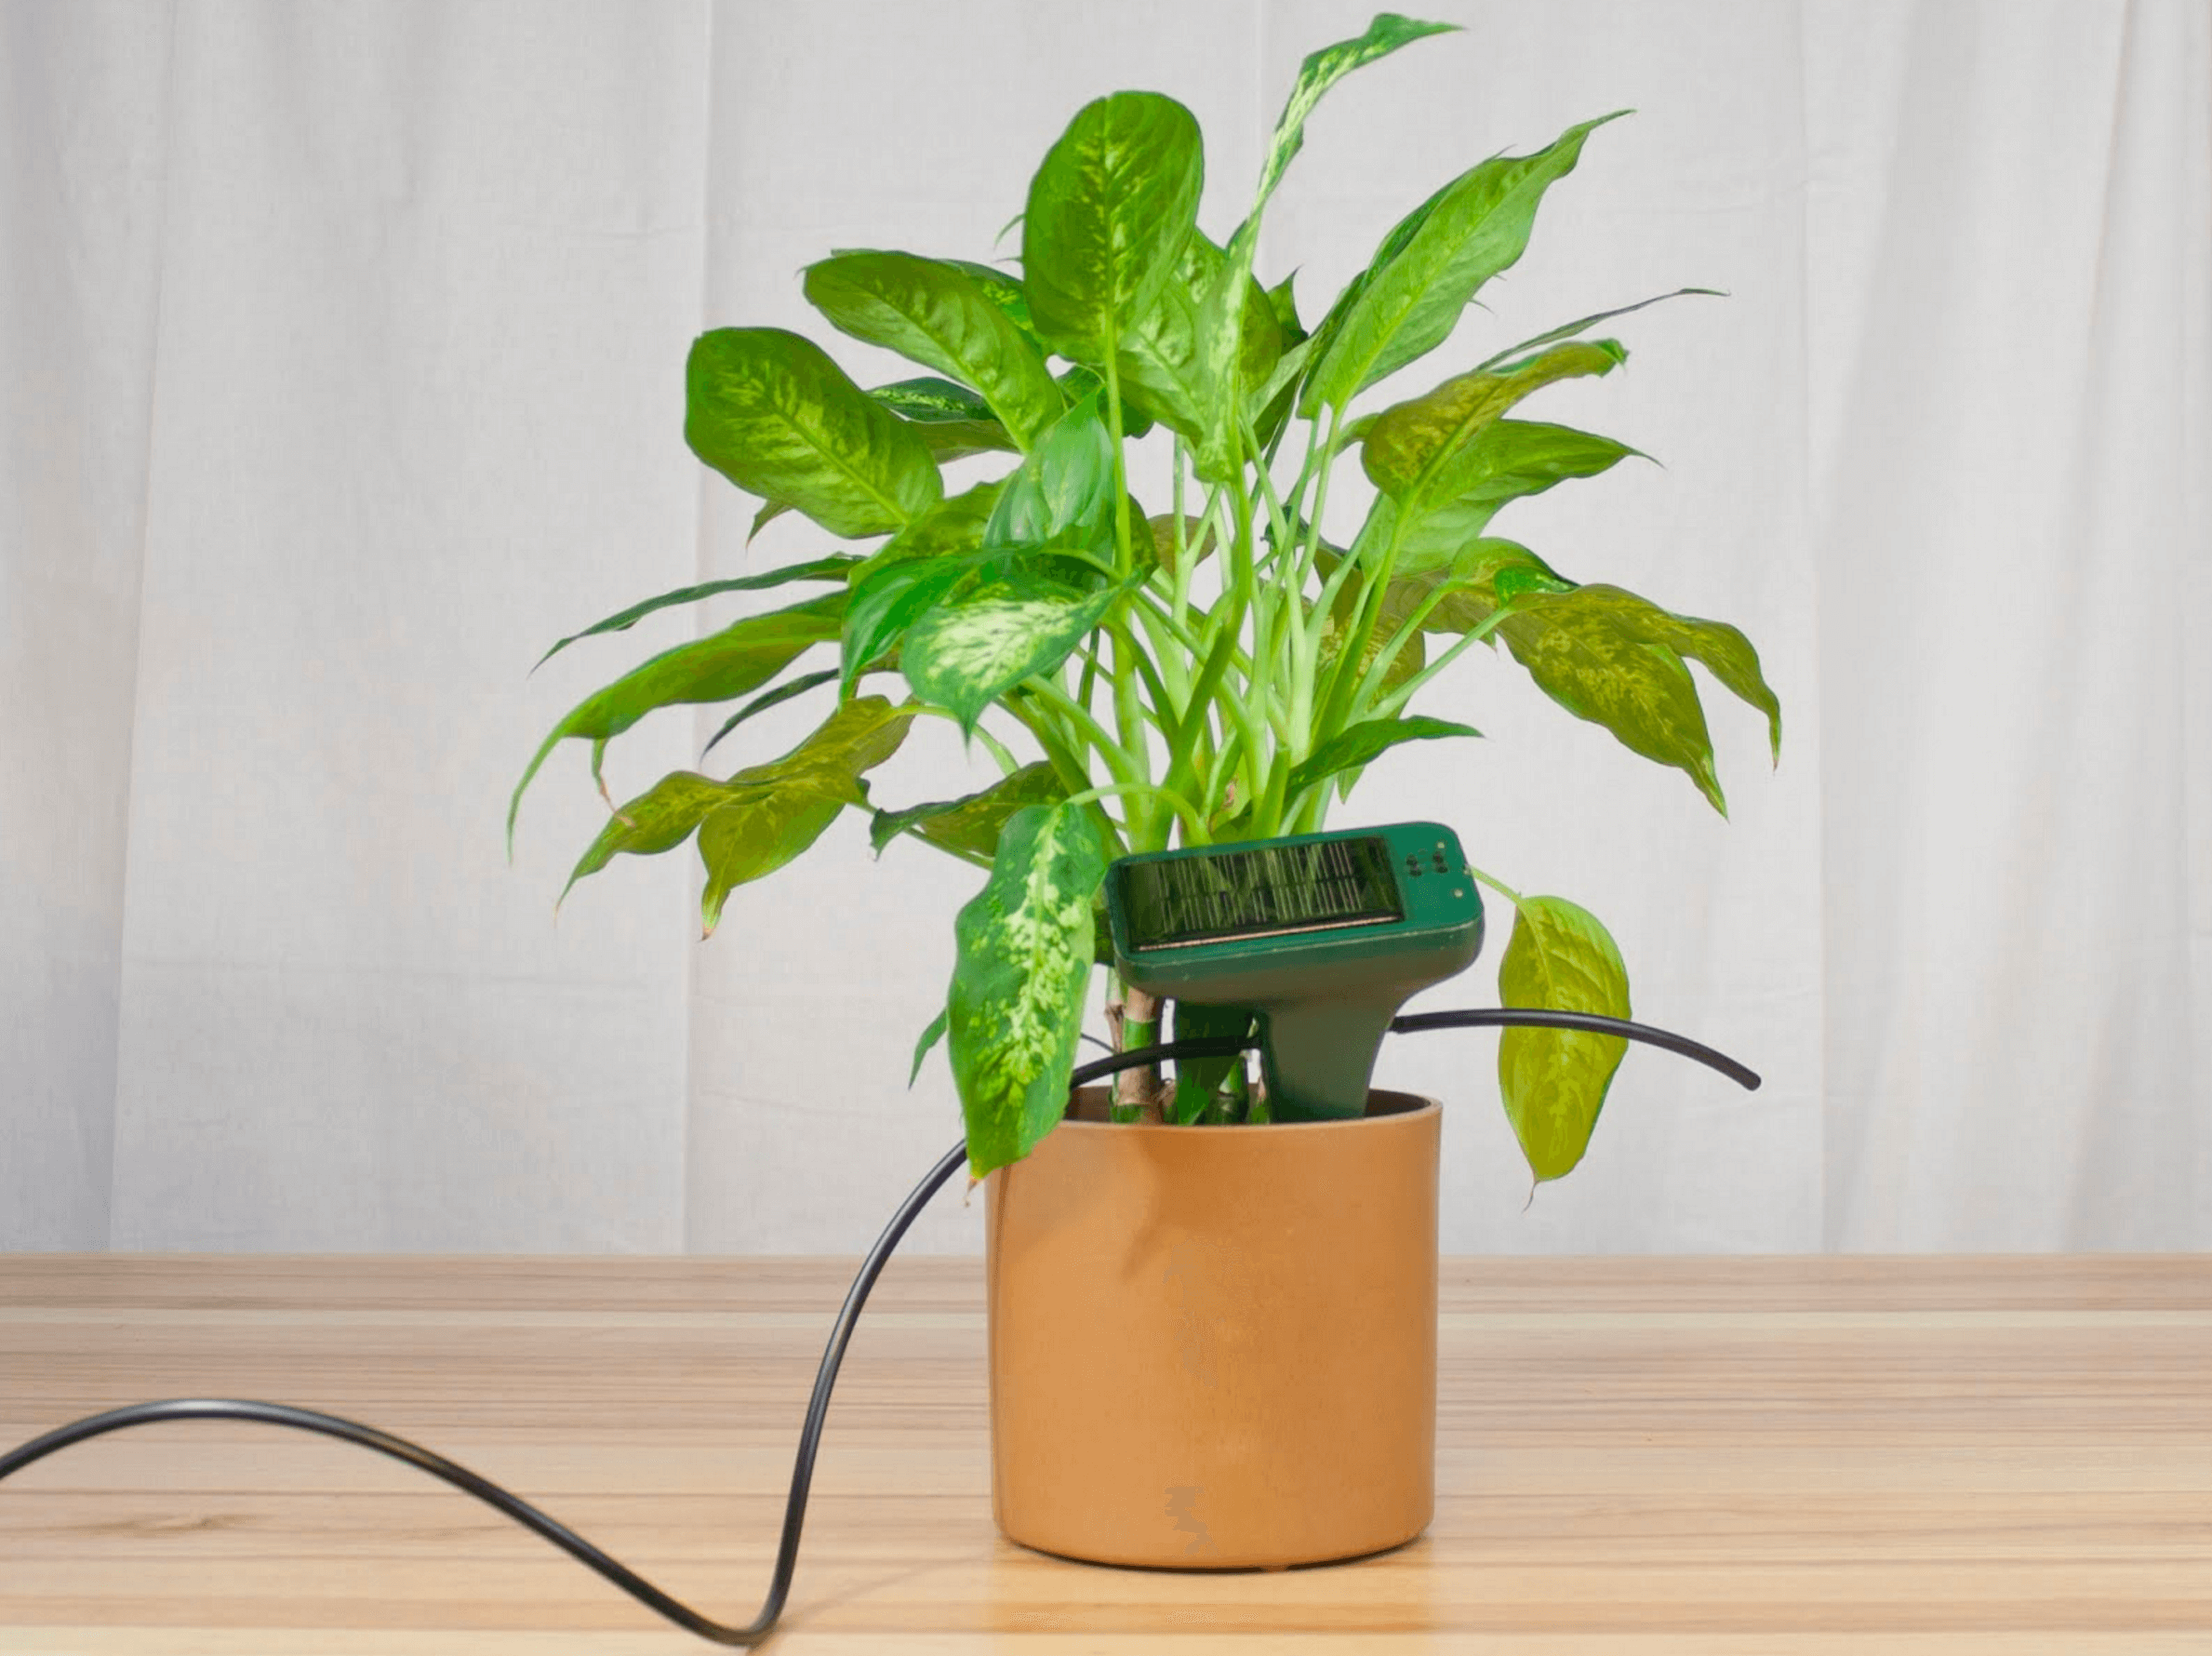
H2O IQ is a Raspberry Pi project designed to track the amount of moisture in your garden. This device gets planted in the soil and alerts the owner when the moisture levels exceed a given range. It can also serve as a backup watering device should the owner go on vacation. If you’re interested in gardening and want to build a website to track its moisture levels, this could be a fun project!
The H2O IQ project is already designed to work as a miniature web server. With a bit of tweaking, you could port it into Blog in a Box and set up a WordPress site that displays your moisture levels over time. You could also keep a record of each type of data in its own custom post type for easier retrieval later. To that end, there are many WordPress plugins designed to show data beautifully.
To take it to the next level, you could use the REST API to build an app using D3.js to display beautiful graphs of your tables, and update you with trends as time goes on. There’s plenty that D3.js can do, and the website offers comprehensive documentation to get you started.
2. Keep a Log of Who Visits Your Home
Who’s There is a home security Raspberry Pi project that monitors your chosen area and snaps a photo when motion is detected. The original idea was to track who comes to the front door throughout the day while you’re away at work.
If you’re interested in home security – or facial recognition projects in general – this project has plenty of potential. Once set up, Who’s There snaps an image and sends it to your phone. At this point, you should make sure the image gets tagged with any pertinent information you want via Blog in a Box too. This gives you an easy-access log of all visitors via WordPress.
As usual, the REST API opens the door to even more possibilities. You could try building an app that sorts expected visitors from strangers. To push your development expertise, try experimenting with facial recognition to tag repeat visitors automatically! While it’s still a burgeoning technological advance, there are already a number of tutorials on facial recognition to get your teeth into.
3. Publish Bird Activity in Your Back Yard
The Raspberry Pi Bird Box monitors activity that goes on within a bird box. This is a great project for any nature lovers out there, and you can set this up in your own backyard to learn more about the local ecosystem.
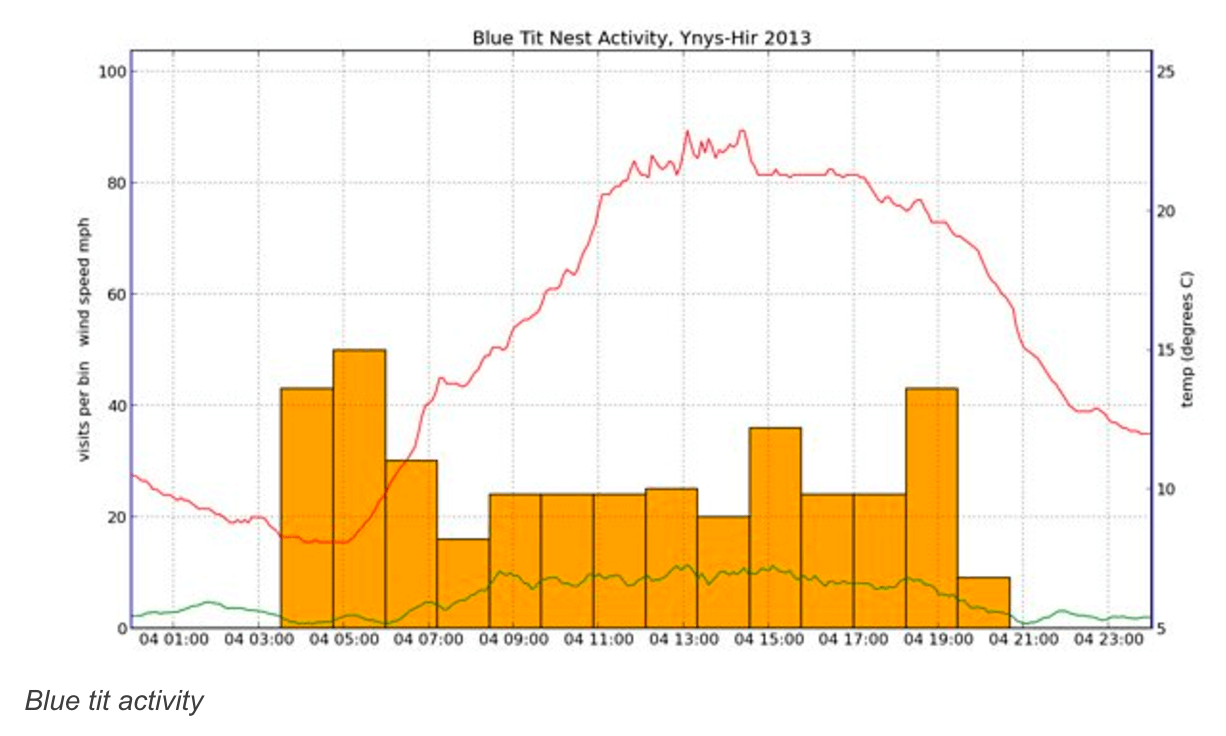
This is particularly useful if you’re already a bird fanatic and would like to record actual data to share on an existing WordPress blog. The program tracks details such as weather, visits to the box, the time of day any activity occurs, and more. All of these data points can be turned into posts using tags and categories, which makes it easy to filter through when viewing in WordPress later.
If you want to take it even further, you could use the REST API to build an app that makes it easy to review different types of activity from the bird box. You can adapt similar projects such as the React Weather app by using the WordPress API (instead of external weather APIs), and tweaking the front end to show the data important to you.
4. Keep Track of Temperature and Humidity Changes
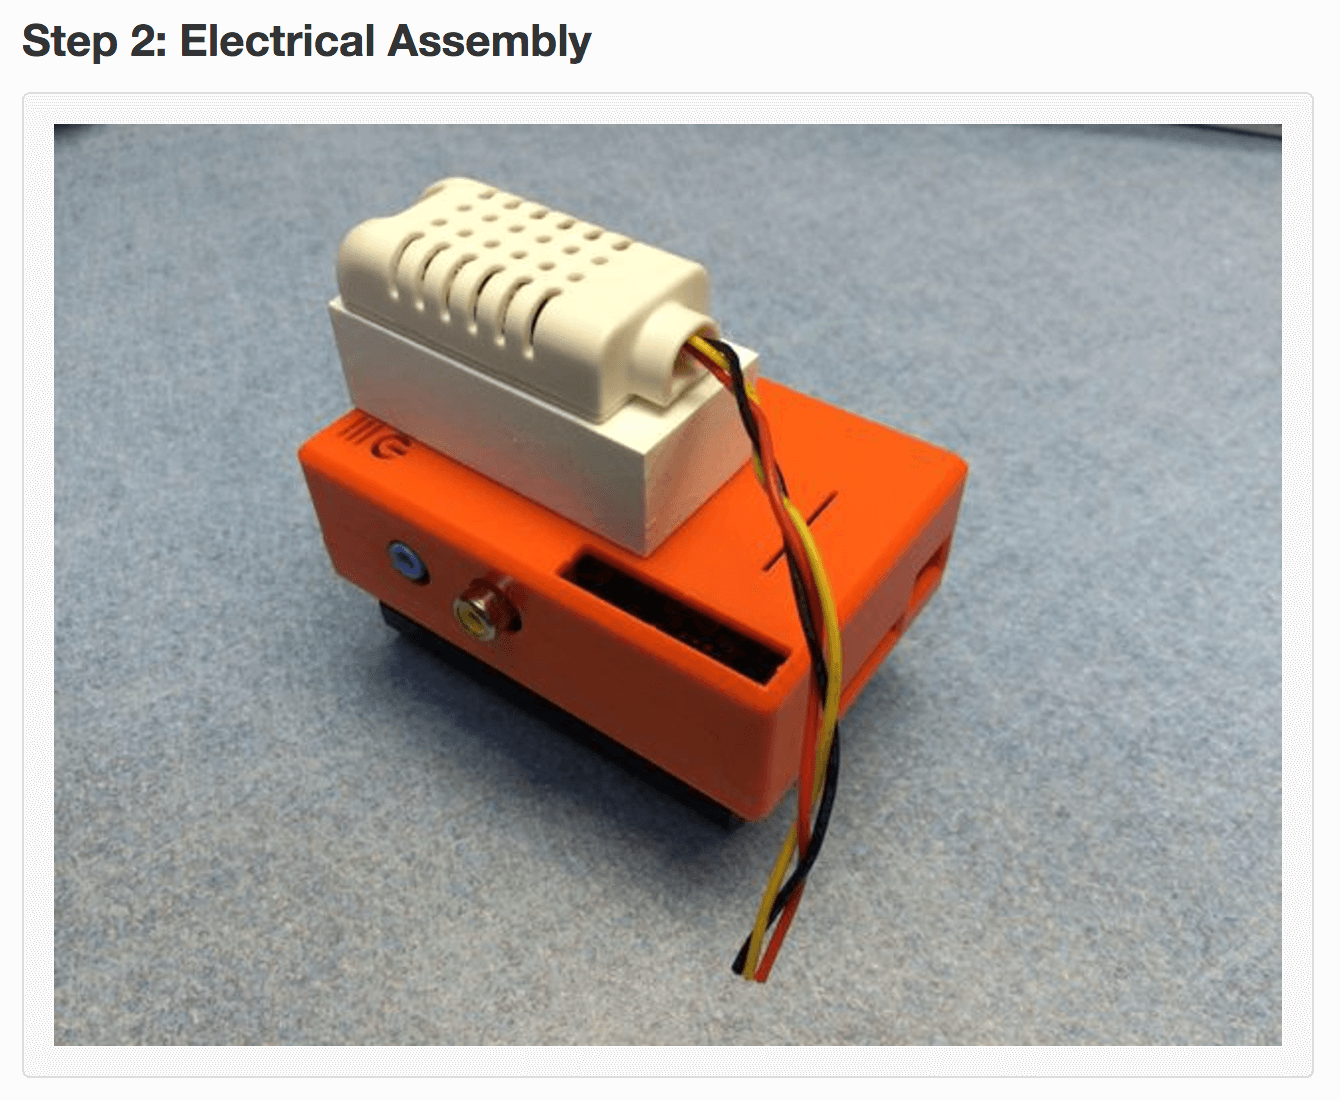
One more interesting Raspberry Pi project we found was the Temperature and Humidity Network Monitor. This connects to a sensor that reports the temperature and humidity in the room, with the option of setting parameters to automatically adjust it.
If your hobbies or work calls for sensitive environments, this could be incredibly useful! We’re particularly fond of beer and cheese making, but server rooms will also benefit from a controlled temperature and humidity.
Once the temperature monitor is up and running, you can use WordPress to access the log files. Using the REST API and React Native, you could also build an app that sends you a native notification on your phone or desktop when the temperature drops.
Conclusion
In a nutshell, Blog in a Box helps you to install WordPress on Raspberry Pi quickly and easily. Since it’s so accessible, this means you could connect almost any program on your Raspberry Pi to WordPress with very little extra effort.
As you can see from this post, there are many ways you could extend existing Raspberry Pi projects with WordPress, to accomplish tasks such as:
- Tracking of the moisture levels in your garden.
- Recording who visits your home for security purposes.
- Publishing bird activity in your own backyard.
- Following temperature and humidity changes for climate sensitive projects.
Do you have a project that Blog in a Box would be ideal for? Share your experiences and ideas in the comments section below!
Image credits: Valkerie Savage, Rupa Dachere, Dr Andrew Robinson, Negative Space, kevinpartner.


No Comments