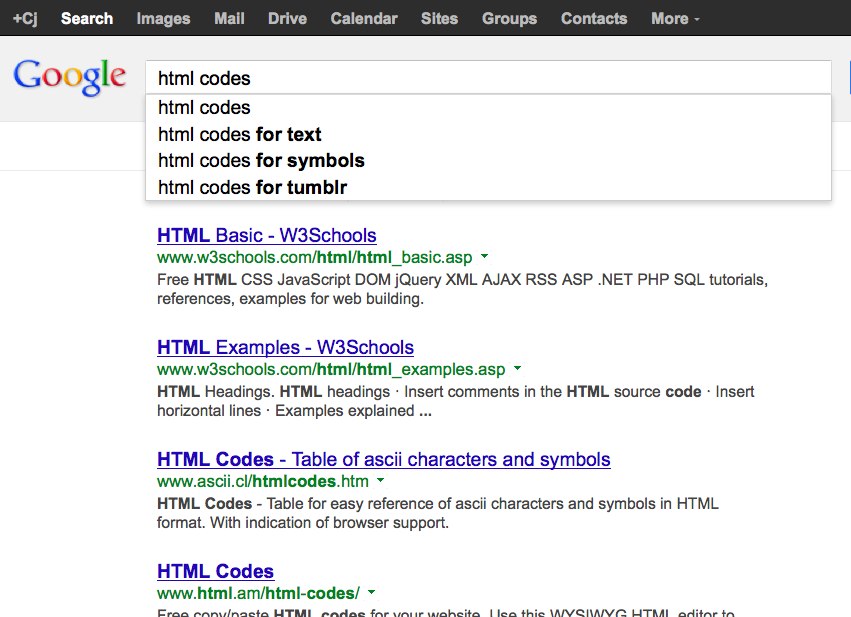
…An introduction to HTML for beginner Web Editors and Bloggers.
QUICK NOTE FROM THE EDITOR:
Welcome to Take 2 of “Super Handy HTML Cheat Sheet.” As an editor who is not fluent in HTML, I too have gathered most of my quick tips and tricks from simply Googling an issue. This works well for me, and it can work for you too. But as we all know, not everything on the internet is correct, recent, or even true. So take things you Google with a grain of salt and always consider your source, just as you would with anything else.
The original article was meant to help and inspire, as well as offer authentic advice from a professional web editor, not a developer. We’re all coming to the table from a different point of view, and that’s what makes this community so unique. Thanks to our helpful readers, please find our updated cheat sheet for beginners with the most recent and corrent information, below.
If you’re going to be managing—or regularly contributing to—a WordPress blog, it’s helpful to know some basic HTML. I know it can seem a bit intimidating, but it’s just like anything else in life—it’s not as complicated as it looks. And it’s your friend! It can help you to do amazing things when telling your story to the world.
You are painting a picture with words on the internet. The more brushes you have in your art kit, the more freedom you have on the canvas. You don’t even have to memorize anything. You just have to copy and paste, but you have to be able to find the code you need.
Write this down. Get out a pen and paper and write what I am about to give you: four words that are going to expand your knowledge exponentially without any effort at all. Ready? Write:
DID YOU GOOGLE IT?
…in nice big letters and tape it next to your computer. When you can’t figure something out, go to the internet browser of your choices and search for it, and get as specific as you want.
Or be as vague as you want and see what catches your eye…
The codes are there for you to use! You just have to find them, copy them, and paste them in the right places in the Text view of your blog or website.
Let’s break it down.
HTML stands for HyperText Markup Language, and it’s a standardized system for tagging text files to achieve font, color, graphic, and hyperlink effects in your blog and on your website. You can see your blog post HTML by viewing the “Text” instead of “Visual.”
Sure, you can make things bold or italic using the controls in WordPress…
But sometimes, no matter what you do, things in the Visual window just won’t work right. The spacing seems off, something won’t center, you can’t seem to make a space after your numerical list or series of bullet points… There are times that it’s simply easier (or more effective) to work in the Text view and insert the HTML than to switch views from Text to Visual to insert the proper command.
Here are the HTML codes I use most in my WordPress blogs. I hope you find them handy.
<strong></strong> Creates bold text
HTML Sample: To make text <strong>bold</strong> simply insert the code. It’s important to remember the command to close the bold command on the other side of the word or words you want <strong>bolded</strong>.
Visual Sample: To make text bold simply insert the code. It’s important to remember the command to close the bold command on the other side of the word or words you want bolded.
<em></em> Creates italic text
HTML Sample: Some people use italics for movie titles in their posts. <em>Gone With The Wind</em>, or </em>Die Hard</em> would then be italicized.
Visual Sample: Some people use italics for movie titles in their posts. Gone With The Wind, or Die Hard would then be italicized.
<span style="color: #hexcode"></span> Sets font color using hex value
You can make your fonts pretty much any color of the rainbow using their hex values which you will find HERE!
<a href="URL"></a> Creates a hyperlink
So for example you would see this in the Text view:
This is a <a href="https://twitter.com/cjarabia" target="_blank">HYPERLINK</a> to my twitter profile.
Which looks like this in the Visual view:
This is a HYPERLINK to my twitter profile.
You’ll notice that after the url I added target="_blank" to the code. This will force your hyperlink to always show up in a new tab, instead of linking people away from your website.
<a href="mailto:EMAIL"></a> Creates a mailto link
You are going to bet a much better response from a call to action that involves emailing someone if you make their email address a MailTo link.
You will see this in the Text view:
Send us your ideas at
<a href="[email protected]">[email protected]</a>.
And this in the Visual view:
Send us your ideas at [email protected].
<br> Inserts a line break
Great for lists.
<p></p> Creates a new paragraph
Very useful when you’re having spacing issues and need to force a new paragraph.
But now you might be wondering, what the difference is between an line and a paragraph break…well, I’ll show you.
So there is a space between a paragraph break, and no space between line breaks.
Those are just some of the HTML basics that I use the most when blogging and writing articles.
What are your favorite HTML codes? Let us know and we’ll put together a longer cheat cheet for everyone to share and referenece!


2 Comments
Join the conversation