
Following on from our introductory article, it’s now time to get down to business in our REST API series and start actually building the foundations of our eventual app.
We’ll kick things off by getting some core data into a local install of WordPress, and then start exploring some background concepts and the general set of options available to us. We’ll do this by testing the basic reading and writing functionality of the REST API with the help of some handy tools which make it easy for non-technical users to follow along.
By the end of this session, we should have a decent idea of what the REST API actually does, be confident we can interact with it locally, and be in good shape for taking things to the next level in future tutorials.
Let’s start with a brief overview of the local setup being used here.
Our Local WordPress Setup
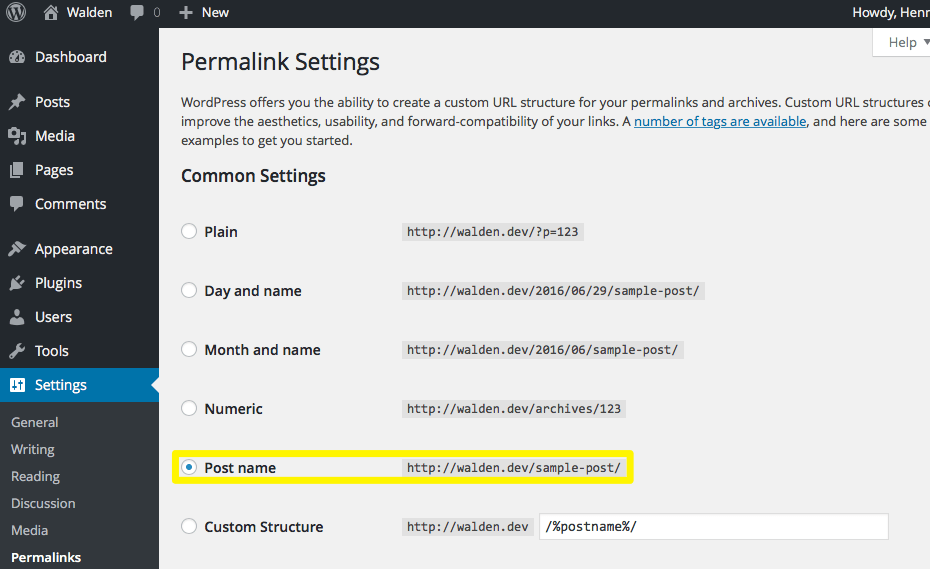
I’m running a fresh local install of WordPress 4.5.3 on OSX with Twenty Sixteen installed as the theme — it’s as vanilla as it gets! In honor of the man who will be providing most of the content we’ll be working with, the local URL is http://walden.dev/. I’ve also set my permalinks to just use post names, as shown below.
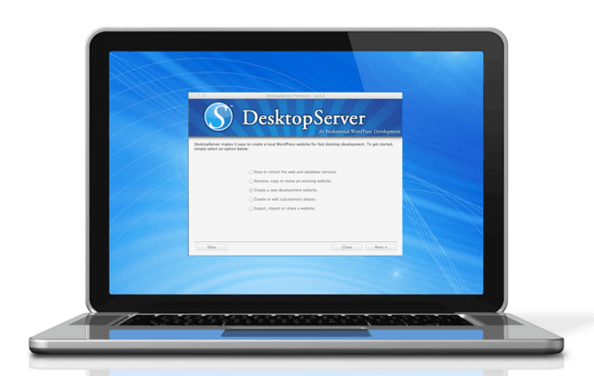
For the sake of an easy life, I’m using the free version of DesktopServer, which enables you to easily manage up to three local WordPress installs. It takes care of installing local web servers and a host of other potentially irksome configuration shenanigans with host files and the like behind the scenes.
If you’d prefer to set up your local WordPress environment by hand, you can find instructions for doing so on Mac and Windows from Nick Schäferhoff here on Torque. Fair warning: if this is your first time attempting to do this, be prepared to exercise a little patience and persistence if you run into problems!
I’ve also had a browse over at Goodreads, and loaded a number of Henry David Thoreau quotes into the site as posts. So, at this stage, we have a site up and running, and some content loaded on to it. Let’s move on to looking at the REST API.
Installing The REST API Plugin
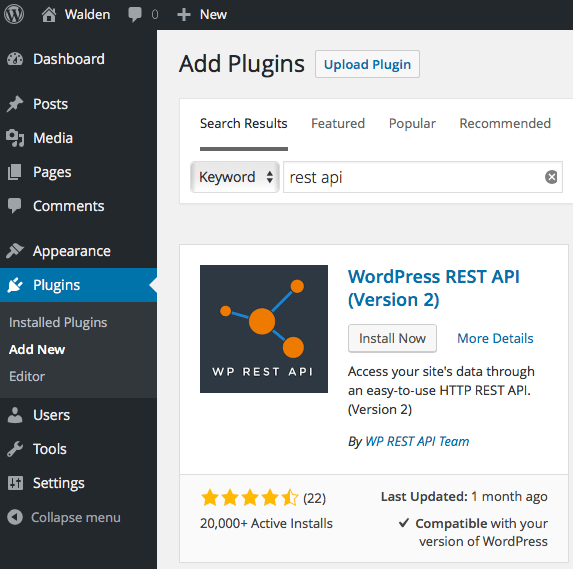
At the time of writing, the REST API is still only available as a plugin, so we’ll need to install that before doing anything else. There’s nothing particularly tricky to watch out for here – you can either install directly via the back end. or upload manually in .zip format.
With all the breathless excitement around the development of the REST API to date, you may well be expecting fireworks and raucous cheering once you actually activate the plugin, but it’s a very low-key arrival. We’ll need to actually take action to make sure everything’s working.
Is This Thing On?
We’ll get into more technical detail in a second, but the first thing to take on board is that the plugin has opened up a route to our site’s content. We should now be able to access data on the site directly via a HTTP request (i.e. if we type in the right URL in a browser, we should expect to see structured JSON data being returned).
Let’s briefly test this in a quick and dirty way. Our local URL is http://walden.dev/. According to the front page of the docs, it should be a piece of cake to return a list of posts.

Let’s put that claim to the test and ask for a list of posts by typing in the address http://walden.dev/wp-json/wp/v2/posts.
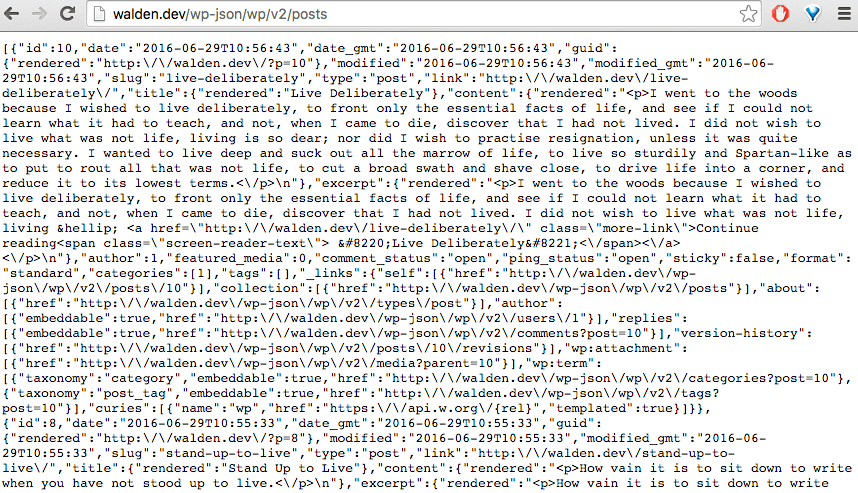
We have liftoff! It may look a bit of a mess in the browser, but we’ve successfully asked for information via the REST API, and received structured data in response. The plugin is installed, and it’s doing – at least on a very basic level – what it’s supposed to. Now is a good time to fill in some of the blanks around what we just did.
What Is the REST API Actually Doing?
Let’s start with what a REST API actually is.
An Application Programming Interface (API) is simply a documented set of instructions for programmatically interacting with an application’s data. That’s a fancy way of saying it enables one piece of software to talk to another. A REST API is a type of API that follows certain rules about getting data in and out of an application.
There’s an excellent overview of what both concepts mean in the video below. Todd Fredrich’s REST API tutorial series is another great resource if you want to dive deeper.
The way you interact with an API is via a HTTP web request. You send a request to the server, and you get a structured response back. Usually your request is asking for some sort of action to be taken, and there are four standard things you might be looking to do:
- POST (Create)
- GET (Retrieve)
- PUT (Update)
- DELETE (Delete)
The acronym CRUD is typically used to describe this set of actions, and they cover the vast majority of things you might be trying to do on the average site or application. These actions are carried out against some type of resource – a thing or object that we want something to happen to.
In the case of WordPress, the REST API (at the time of writing) enables us to interact with eleven different types of WordPress objects:
We’ll be sticking almost exclusively to posts in this series, but as the documentation itself says, “chances are, if you can do it with WordPress, WP API will let you do it.” With all that in mind, let’s kick the tires a little further on our local site.
Cranking Through Basic CRUD
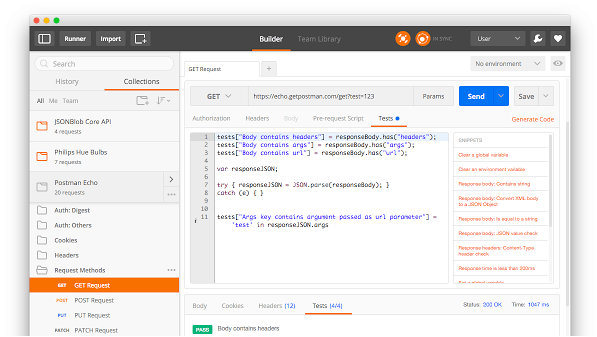
In order to run some simple local tests, we’re going to use the Postman Chrome Extension. It’s a handy tool that’ll enable us to interact directly with the API without having to crank out any code (the REST Easy add-on does much the same on Firefox). We’ll use Postman to quickly test some core CRUD functionality and make sure everything’s working.
We know that the basic retrieve functionality is working, but let’s double-check by calling a single post. The Retrieve a Post section of the reference documentation shows us we can do this using a GET request and a post id: GET /wp/v2/posts/<id>. Post ID 4 happens to be a favorite of mine on the local site, so I’ve punched it into Postman:
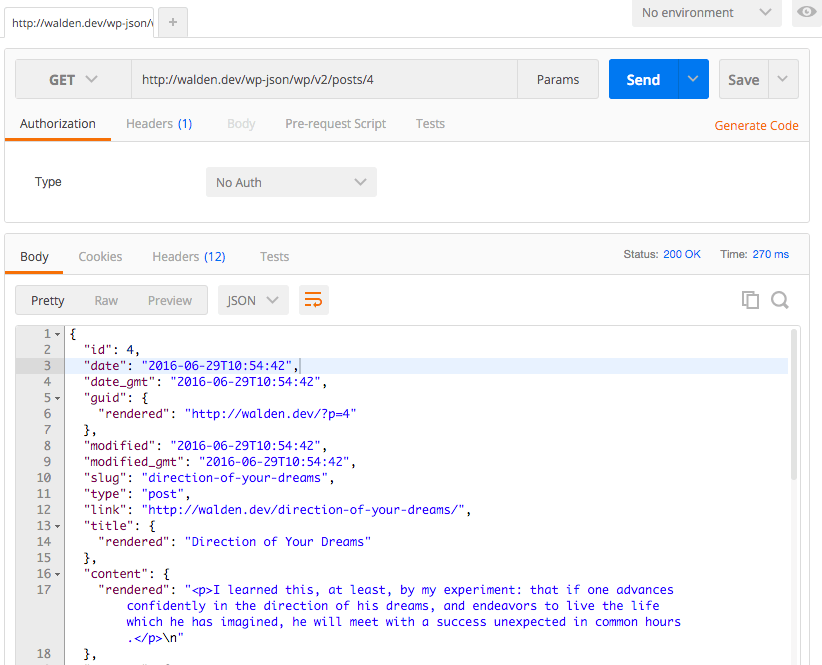
Presto! the REST API pops back some timeless wisdom and the various parts of the data are nicely broken out in the Postman interface.
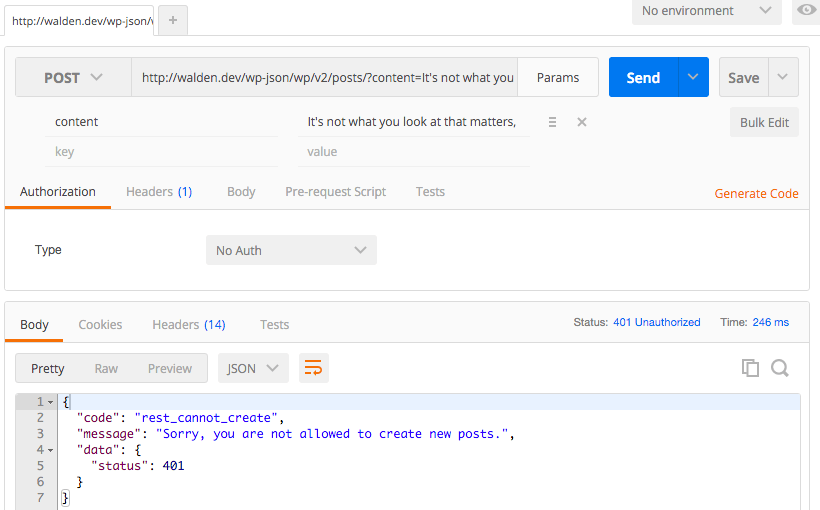
Now let’s look at creating a post. I’d like to add this pithy little number: “It’s not what you look at that matters, it’s what you see.”
The eagle-eyed amongst you will have spotted some text saying No Auth under the Authorization tab in the screenshot above. For requests that involve write operations (i.e. creating, updating, and deleting), we’re going to have to prove our credentials. If we try a quick test without authorizing, we’ll rightfully be shown the door:
Authentication is a whole topic unto itself with the REST API, but to quickly test things locally, we’ll be using the handy Basic Auth plugin to get us past the virtual bouncers. This enables us to simply use our standard login details via Postman. In the instance below, I’ve passed through the content and title of a new quote via POST.
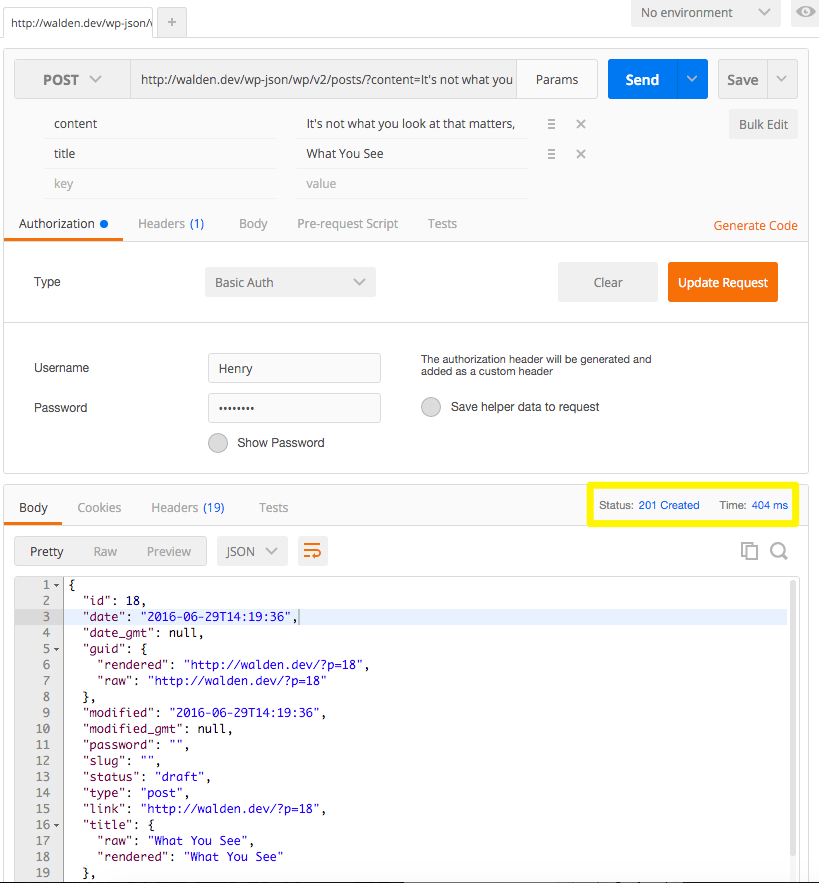
Things look good on the Postman side of things, but let’s pop into the back end to make sure:
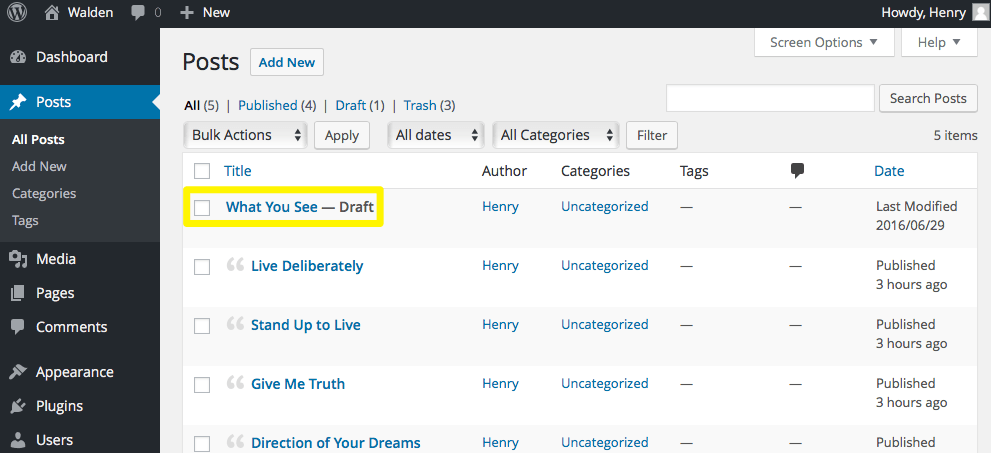
Hooray! It worked! You’ll notice the status is set to Draft, as I forgot to specify it via the API call. I’ll leave it as an exercise for the reader to work out how to change that via the API itself. The combination of Postman, the relevant REST API posts documentation, and the Basic Auth plugin should enable you to poke around for a solution!
Conclusion
We’ve covered a lot of ground in a short space of time, and introduced some practical ways for more non-technical users to quickly interact with the REST API directly. Let’s review what we got through so far:
- Set up a simple local install and populated it with content.
- Got the REST API plugin up and running, and made sure it was actually reachable.
- Covered the basic concepts of REST APIs in general, and what this one can be used for in WordPress.
- Confirmed that we can get data in and out of WordPress via the REST API.
It’s a great start, and there’s plenty more to come. Stay tuned for the next installment, where we’ll start looking at front end solutions we can use to interact with our data. As always, if you have any questions or thoughts, get in touch via the comments below!
No Comments