Today everyone needs a website. Whether you’re a writer, musician, or dentist, WordPress is the best option to build your online empire.
Though I’ve been a part of the WordPress community working for Torque for over a year, I’ve never actually built my own site. So, it’s time for me to learn the basics, and take you along on my journey. Over the next few weeks, I’m going to take you on a journey through the things you may be too afraid to ask. The things you never say out loud, but search regularly for on Google. Let’s start with selecting and installing a WordPress theme.
What is a Theme?
Quite simply, a theme is a collection of files that dictate the way your site is displayed. In other words, the theme provides all of the front-end styling on your website. There are thousands of different free and premium themes available. And, you can of course always build, or hire someone to build, a totally custom theme for you. In this article I’m going to go with a free that’s already built.
Although sentiments around the customizer are largely polarized in the WordPress community, it is a great tool for those with limited WordPress experience. Specific options vary from theme to theme, but fundamentally the customizer allows you to easily style your site. Soon you’ll be able to see revisions as soon as you update and watch your site come alive in front of your eyes. So let’s get started, shall we?
Install Your Theme
It is time to find and install the perfect theme for your website.
Step 1: Go to your WordPress dashboard
This is the main place for your website. Here you add posts, download plugins, and of course, choose a theme.
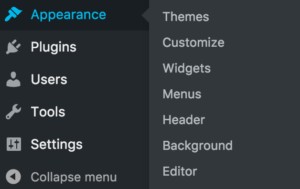
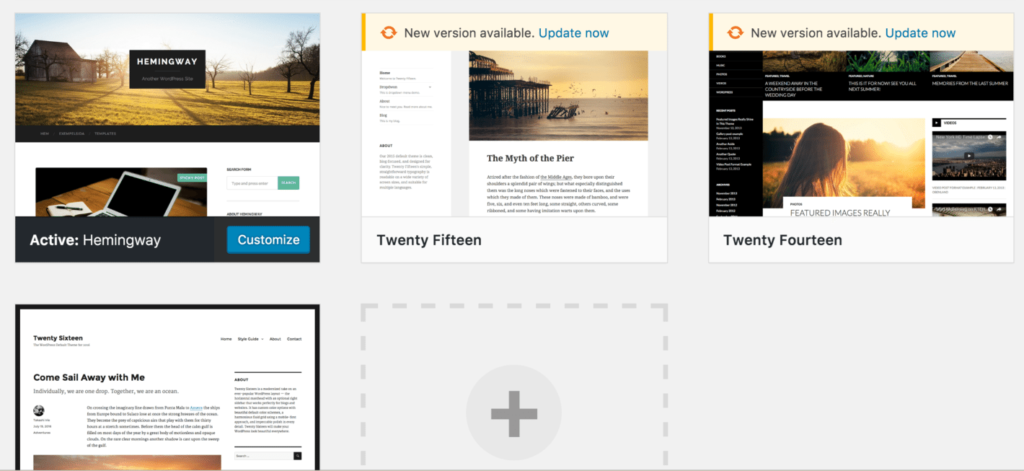
Step 2: Under the Appearance tab in your sidebar, choose Themes
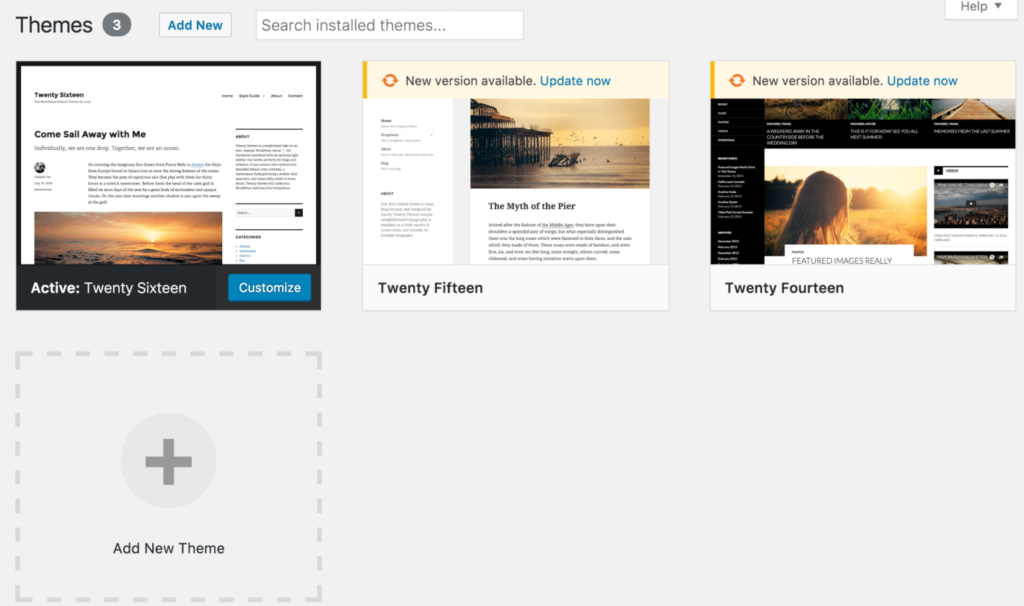
Don’t be alarmed that you already have themes installed. Each year, WordPress creates a new theme that you’ll get when you update. These themes are created to be incredibly versatile and are excellent options for any WordPress user.
The newest theme, Twenty Seventeen, is an incredibly responsive theme that was created specifically with businesses in mind. You can add a header video and immersive images. The front page has multiple sections so you can have an about description, testimonials from clients, contact information, and more. This is a beautiful theme, so make sure you give it a look before delving into the theme repository.
Step 3: Click the “Add New Theme” box
Here you will be taken to the theme repository. Now comes the fun part. You can search for the kind of website you want to make or browse through the featured and popular options.
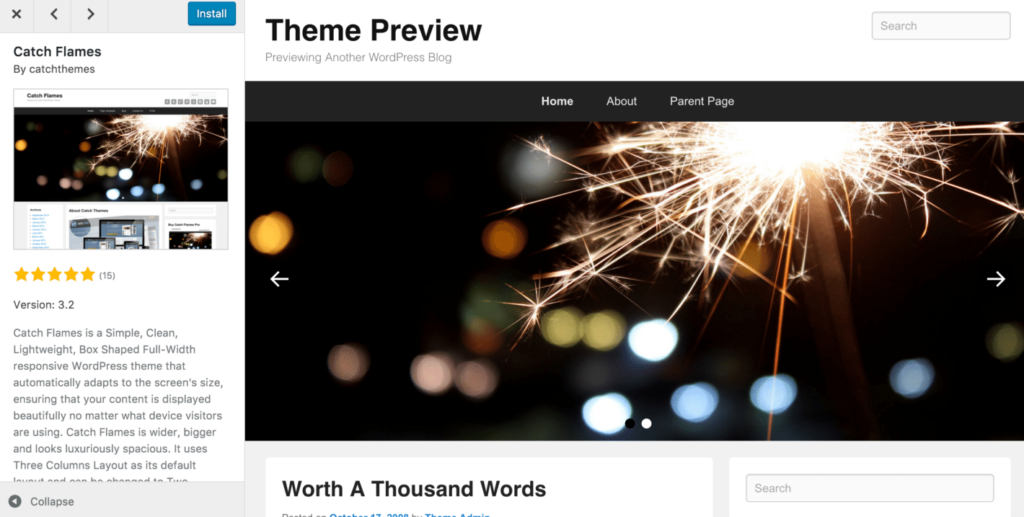
Step 4: Hit Preview on a theme you’re interested in trying out
When you click on one you can preview it before making the commitment to install it. Make sure you look through all the features to see if they fit your needs.
Step 5: Choose a theme
Choosing a theme depends entirely on the kind of site you’re making. Find one that has a slideshow at the top to display your photography or one with a place for customer testimonials if you’re a business.
There are a few things you need to check before installing a theme.
Make sure that it is highly rated and has been updated recently. You want to make sure it is getting proper maintenance.
Also, make sure whatever you choose is responsive and mobile-ready. More and more people are browsing the web on your phone and you want those people to be able to easily access your content.
Another huge thing to look out for is plugin capability. In a later article, we will go into how to download plugins, but for now, you want to make sure you’ll be able to download ones you want without breaking your site.
The last thing to check on is browser compatibility. If people can only access your site using Firefox, you’re going to alienate potential readers and customers. You want your site to look the same on every browser and device. All of this information will be listed on the theme’s page.
Once you’ve cleared the above criteria, focus on the look of the theme, and what you want it to accomplish. I am creating a portfolio for my writing so I’m looking for a basic blog format. Something that looks clean and lets the writing do the talking.
Take your time looking through the options but don’t get too caught up in this step. You can always change your theme as your needs change. I personally am going to start with Hemingway. It looks easy to customize and clean.
Step 6: Hit the install button
The hard part is over, and now you can finally install the theme! Hit the blue install button. It should only take a couple seconds.
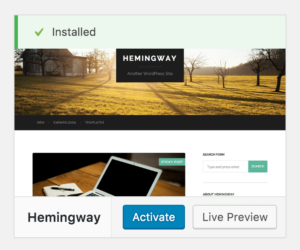
Step 7: Hit the activate button
Once the theme is installed you can activate it. This will bring you back to your home theme screen where you can begin to customize.
We have both successfully downloaded a brand new WordPress theme! Come back next week while we go through and customize it, bringing the whole site to life.
What else do you want to see do to my site? Let me know in the comments below.

No Comments