The REST API is finally integrated into WordPress’ core, yet so many developers seem to be at a loss for how to use it in their real world projects. We get it – interacting with APIs can be an intimidating step!
However, the REST API opens up a world of opportunity for developers of all skill levels. By offering API access to the WordPress infrastructure, anyone can build an application using that data. You can take advantage of this by incorporating it into your themes, plugins, and even implement completely unique integrations.
In this article, we’ll discuss why the REST API is a game changer, then explore four ways you can use the REST API in your own projects. Let’s get started!
Why the REST API Is Such a Disruptive Feature
The REST API is a game changer because it transforms WordPress from a Content Management System (CMS) into a data framework. In other words, WordPress now extends its impressive content management features into application-agnostic data management.
The concept of a ‘headless CMS’ has grown in popularity recently due to its versatility. The term “headless” here means that the visual user interface for managing data is decoupled from the logical side of the data management process. The structure gets maintained using a central API, which can then be hooked up to almost any front end interface you can dream of.
The REST API enables WordPress to become a headless CMS by offering multiple access points to one central data source. This means you can build native phone, web, and desktop apps that all rely on the central API of the core WordPress installation.
Of course, if you already have an existing project, it may not make sense to start from scratch. However, you can still take small steps to incorporate the REST API into your projects. Let’s explore four of those options now.
4 Ways You Can Start Using the REST API Right Now
Whether you’re working with a new idea or building on top of an existing site, there is always room for innovation. Here are four ways you can extend the functionality of your WordPress site using the REST API, starting right now!
1. Build a Decoupled Front End Interface
Building a decoupled front end interface using WordPress simply means taking advantage of its ability to be a headless CMS. In short, you can choose to build almost any front end application, and interact with WordPress using the REST API.
This comes in handy if you’re interested in building app-like sites. For example, you could build a web application using React.js, then extend it into a native mobile app using React Native. This cuts down on the code base and effort of managing multiple user interfaces. Instead of needing to completely rebuild your app for web, Android, and iOS, you’ll employ extra code to make your web app ready for Android and iOS.

There are a few essential steps to building a decoupled front-end interface:
- Have a main installation of WordPress available live on a server.
- Choose a front end development tool that can connect to the WordPress REST API, such as React.js.
- Build your front end interface using the REST API, customizing it to suit your needs.
As for actually tackling the project, there are plenty of quality tutorials available to create a native mobile app with the WordPress REST API, and we’ve also previously looked at building a regular React.js app using the REST API too.
2. Syndicate Content From Multiple Sites
The REST API provides an easy way to access public data, and syndicating content from multiple sites to one place can be simple. For example, let’s say you run a company with many branches such as a bank or fast food franchise, and each location runs its own WordPress site. Your central corporate site could use the REST API to syndicate those blogs into one feed on your main site, providing a hub to keep your readers updated on all locations.
For another example, Washington State University has 1083 sites across 54 networks running on a single installation of WordPress. That sounds like an insane amount of content to keep track of! Of course, it would be if not for the REST API.

They even created an open-source plugin – WSUWP Content Syndicate – that enables anyone to syndicate content from their plethora of sites on a completely unique WordPress installation.
To get started down this path, we recommend reading more about the benefits of syndicating content using the REST API, then using the WSUWP Content Syndicate plugin as a starting point for building your own.
3. Synchronize Content Between Sites
With proper authentication, you can use the REST API to manage private back end content, too – think of a newspaper or magazine website. They may set up a staging WordPress site to hash out content ideas. This is where all of the messy stuff goes: ideas are submitted and organized, and will eventually make their way through the editing process. Since this process is separate from their actual website, it is also unconnected from their main WordPress installation.
Using the REST API, the publication could easily connect the staging area to their primary WordPress site, and send over articles once they are ready for publishing. This way the main site remains uncluttered and more secure, since the staging area and its users are kept separate.

Wired recently carried out a similar process. They developed a beta site that needed to use the same content as their live site. Simplified, here are the steps they took:
- When a new post on the regular site was published, it connected to the beta site by authenticating over the REST API.
- The REST API sent the new post’s information to the beta site.
- The beta site received the new post over the REST API, verified it was from an authenticated source, and replicated the new post.
This way, they were able to keep the beta site’s content completely in sync with the live site automatically. When the time came to switch, the data was already up and ready to go! Post Status wrote an in-depth piece about the process that should give you enough to get started.
4. Offer Site Interaction Through Mobile Applications
We’ve already talked about using React.js to build web and native mobile applications. However, you can go beyond simple blog-to-app functionality by taking advantage of custom post types and other interactive features such as comments and likes. In this example, the REST API would let you consume data feedback from a user on the native mobile app (such as an incoming comment), and update it live on the site.
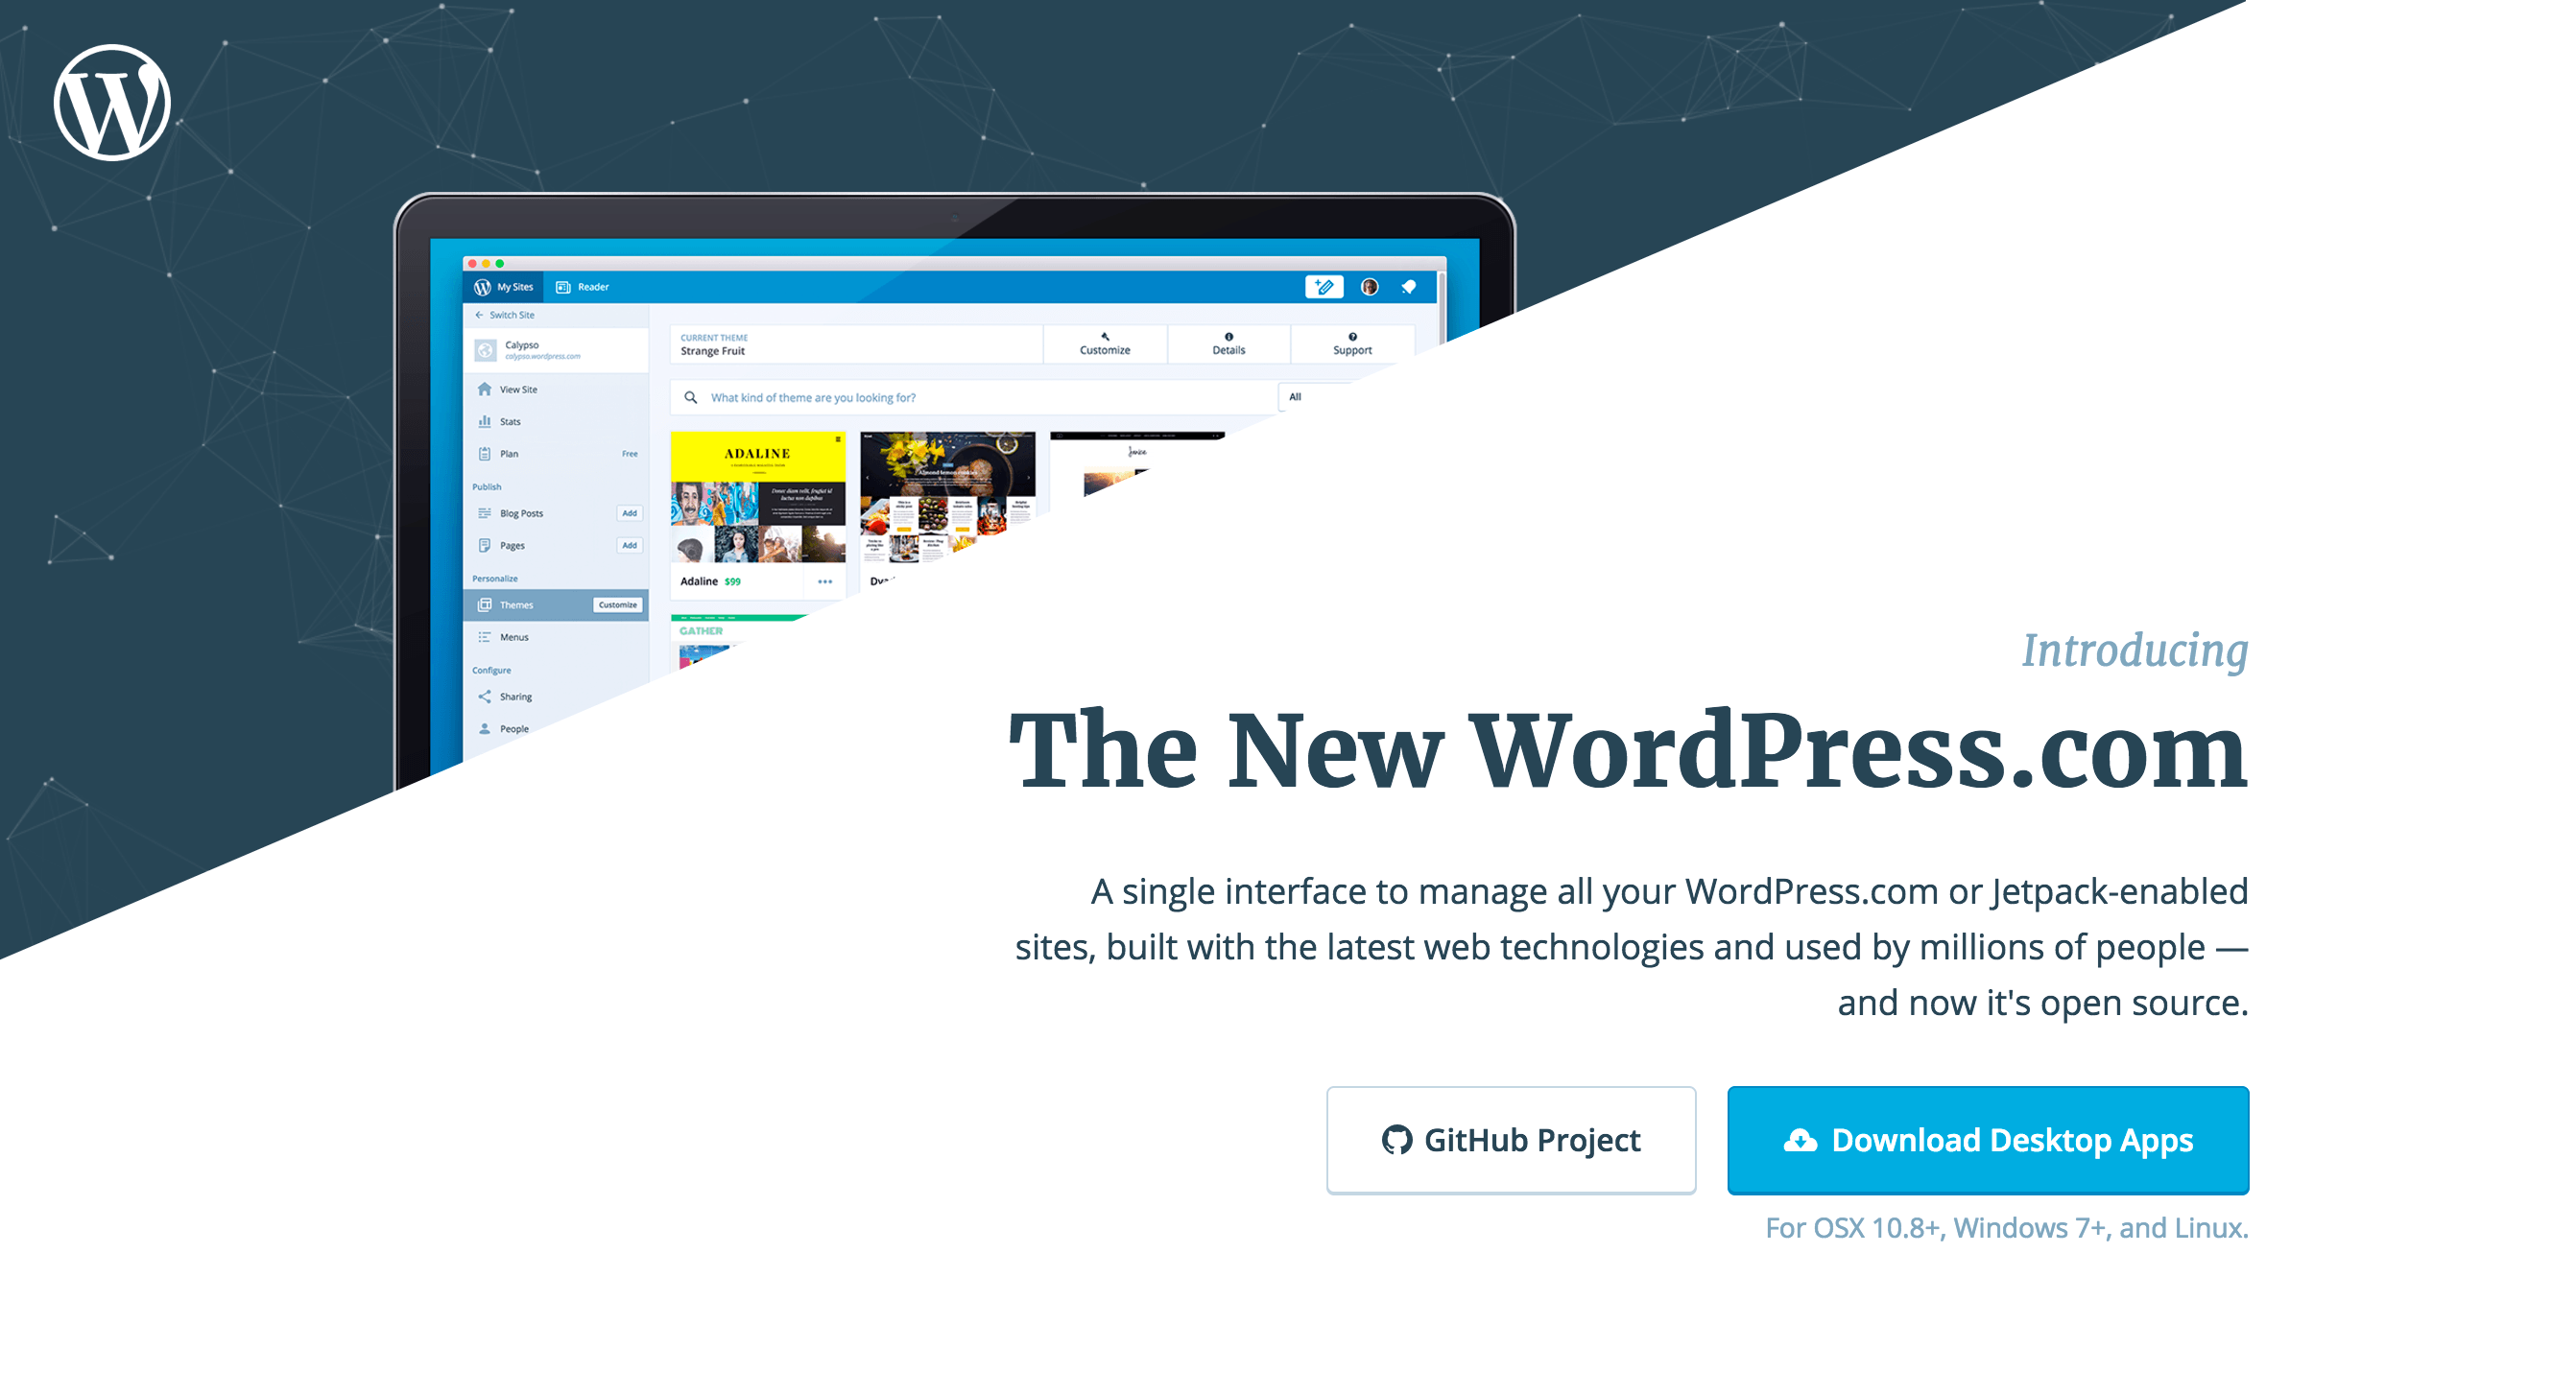
Calypso, a React-powered app, enables site interaction by using the REST API. This is the official Automattic app for managing WordPress sites on native operating systems (such as MacOS, iOS, and Windows), as well as within web browsers.

Under normal circumstances, you’d offer this functionality once you’ve built a decoupled front end interface. Here are the general steps:
- Establish the interaction you’d like to have with the site – for example, adding a comment or creating content with a new post type.
- Build a custom REST API endpoint, if necessary.
- Add it into your front-end interface.
While these are overly simplified steps, the integration will be straightforward if you’re starting with a pre-built front end interface.
Conclusion
The REST API can be a hard thing to wrap your head around at first, because it brings a traditionally complex developer issue into the mainstream. However, there are plenty of real world scenarios that will benefit from using the REST API. Using it gives you the chance to take an ordinary WordPress site and build something unique.
In this article, we’ve covered four use case scenarios for you to use the REST API:
- A decoupled front end interface, for example a web application built with React.js.
- Syndicated content between multiple sites, useful for content spread across multiple WordPress accounts.
- Syncing or sending content from one site to the other, which might come in handy for a complex content creation environment.
- Building site interaction into mobile applications, such as liking or commenting.
Which of these applications of the REST API are you excited by? Share your feedback in the comments section below!
Image credits: Cris Saur.

10 Comments