WooCommerce is an increasingly popular plugin for adding robust ecommerce capabilities to WordPress. As more and more WordPress stores use the platform, you’ll need to be on the ball to develop quality WooCommerce solutions.
As with WordPress, there are two ways to build your own solutions for WooCommerce. You can build custom store themes, or extend its ecommerce capabilities with plugins – and WooCommerce provides in-depth documentation to help you along the way. To keep up with the growing platform while producing custom solutions, you’ll need to stay attentive to coding standards and updates.
In this article, we’ll introduce you to four best practices for developing high-caliber WooCommerce solutions. By the end, you should feel ready to take your first steps towards becoming a superstar WooCommerce developer. Let’s get started!
1. Use WooCommerce Hooks Wherever Possible
WordPress hooks enable you to manipulate or override code written elsewhere in the platform. This functionality comes in handy for themes and plugins, as it enables you to create custom output without needing to hack into the core code. Hooks are divided into actions and filters: actions can essentially help you to carry out any custom functionality, while filters simply modify existing content.
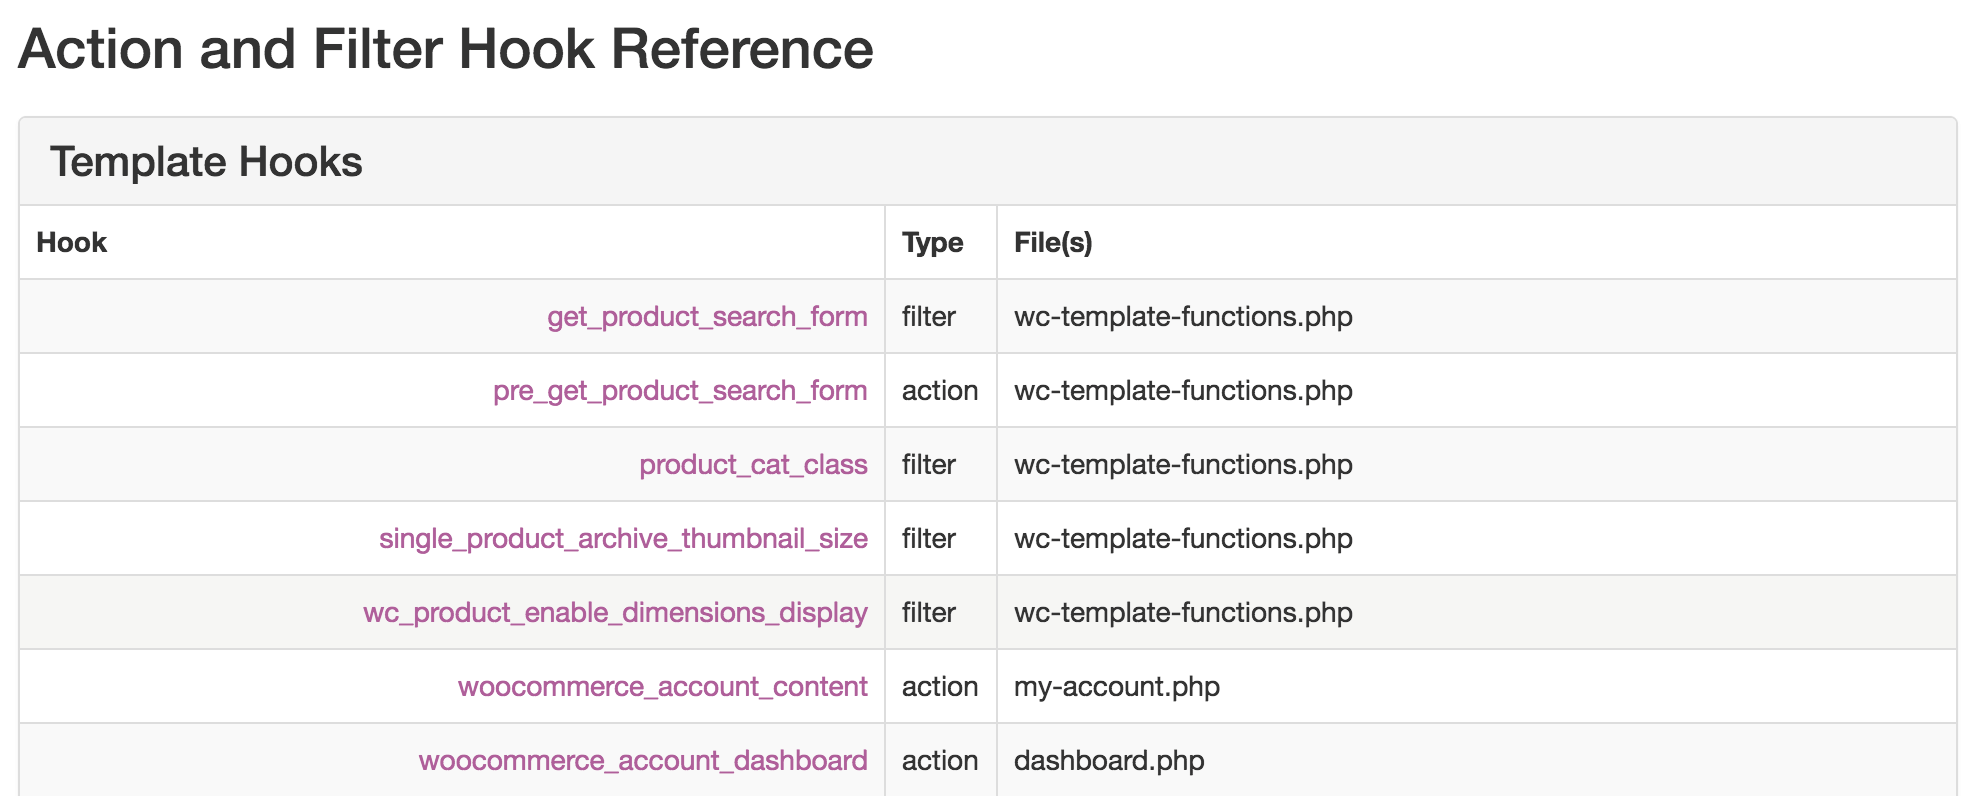
WooCommerce extends this concept by making generous use of custom hooks to simplify the customization process. These hooks are made available so you can consistently modify WooCommerce’s output when using themes and plugins across multiple unique installations.
Simply put, actions and filters are one of the secret ingredients that make WordPress so extensible! By also letting you manipulate registered hooks later on in the process, WooCommerce is nearly as customizable and flexible as its parent platform, WordPress.
For example, if you wanted to add a Font Awesome shopping icon in front of every WooCommerce-related page title, you could use the woocommerce_page_title filter:
function my_project_woocommerce_title_icon( $page_title ) {
    return '<i class="fa fa-shopping-cart"></i> ' . $page_title;
}
add_filter( 'woocommerce_page_title', 'my_project_woocommerce_title_icon' );
Naturally, the most useful hooks will depend on the nature of your project and what content needs to be manipulated. When working on a WooCommerce project, always check the full WooCommerce actions and filters list before attempting to code an entire custom solution from scratch. The modification you want to make may be easier than you think!
2. Base Custom Themes on Provided Templates
WooCommerce themes work much like other niche solutions, only with additional templates. Before developing or customizing a WooCommerce-specific theme, you should feel confident about how the overall process works. If you’re not sure, it’s a good idea to start with the regular WordPress theme documentation.
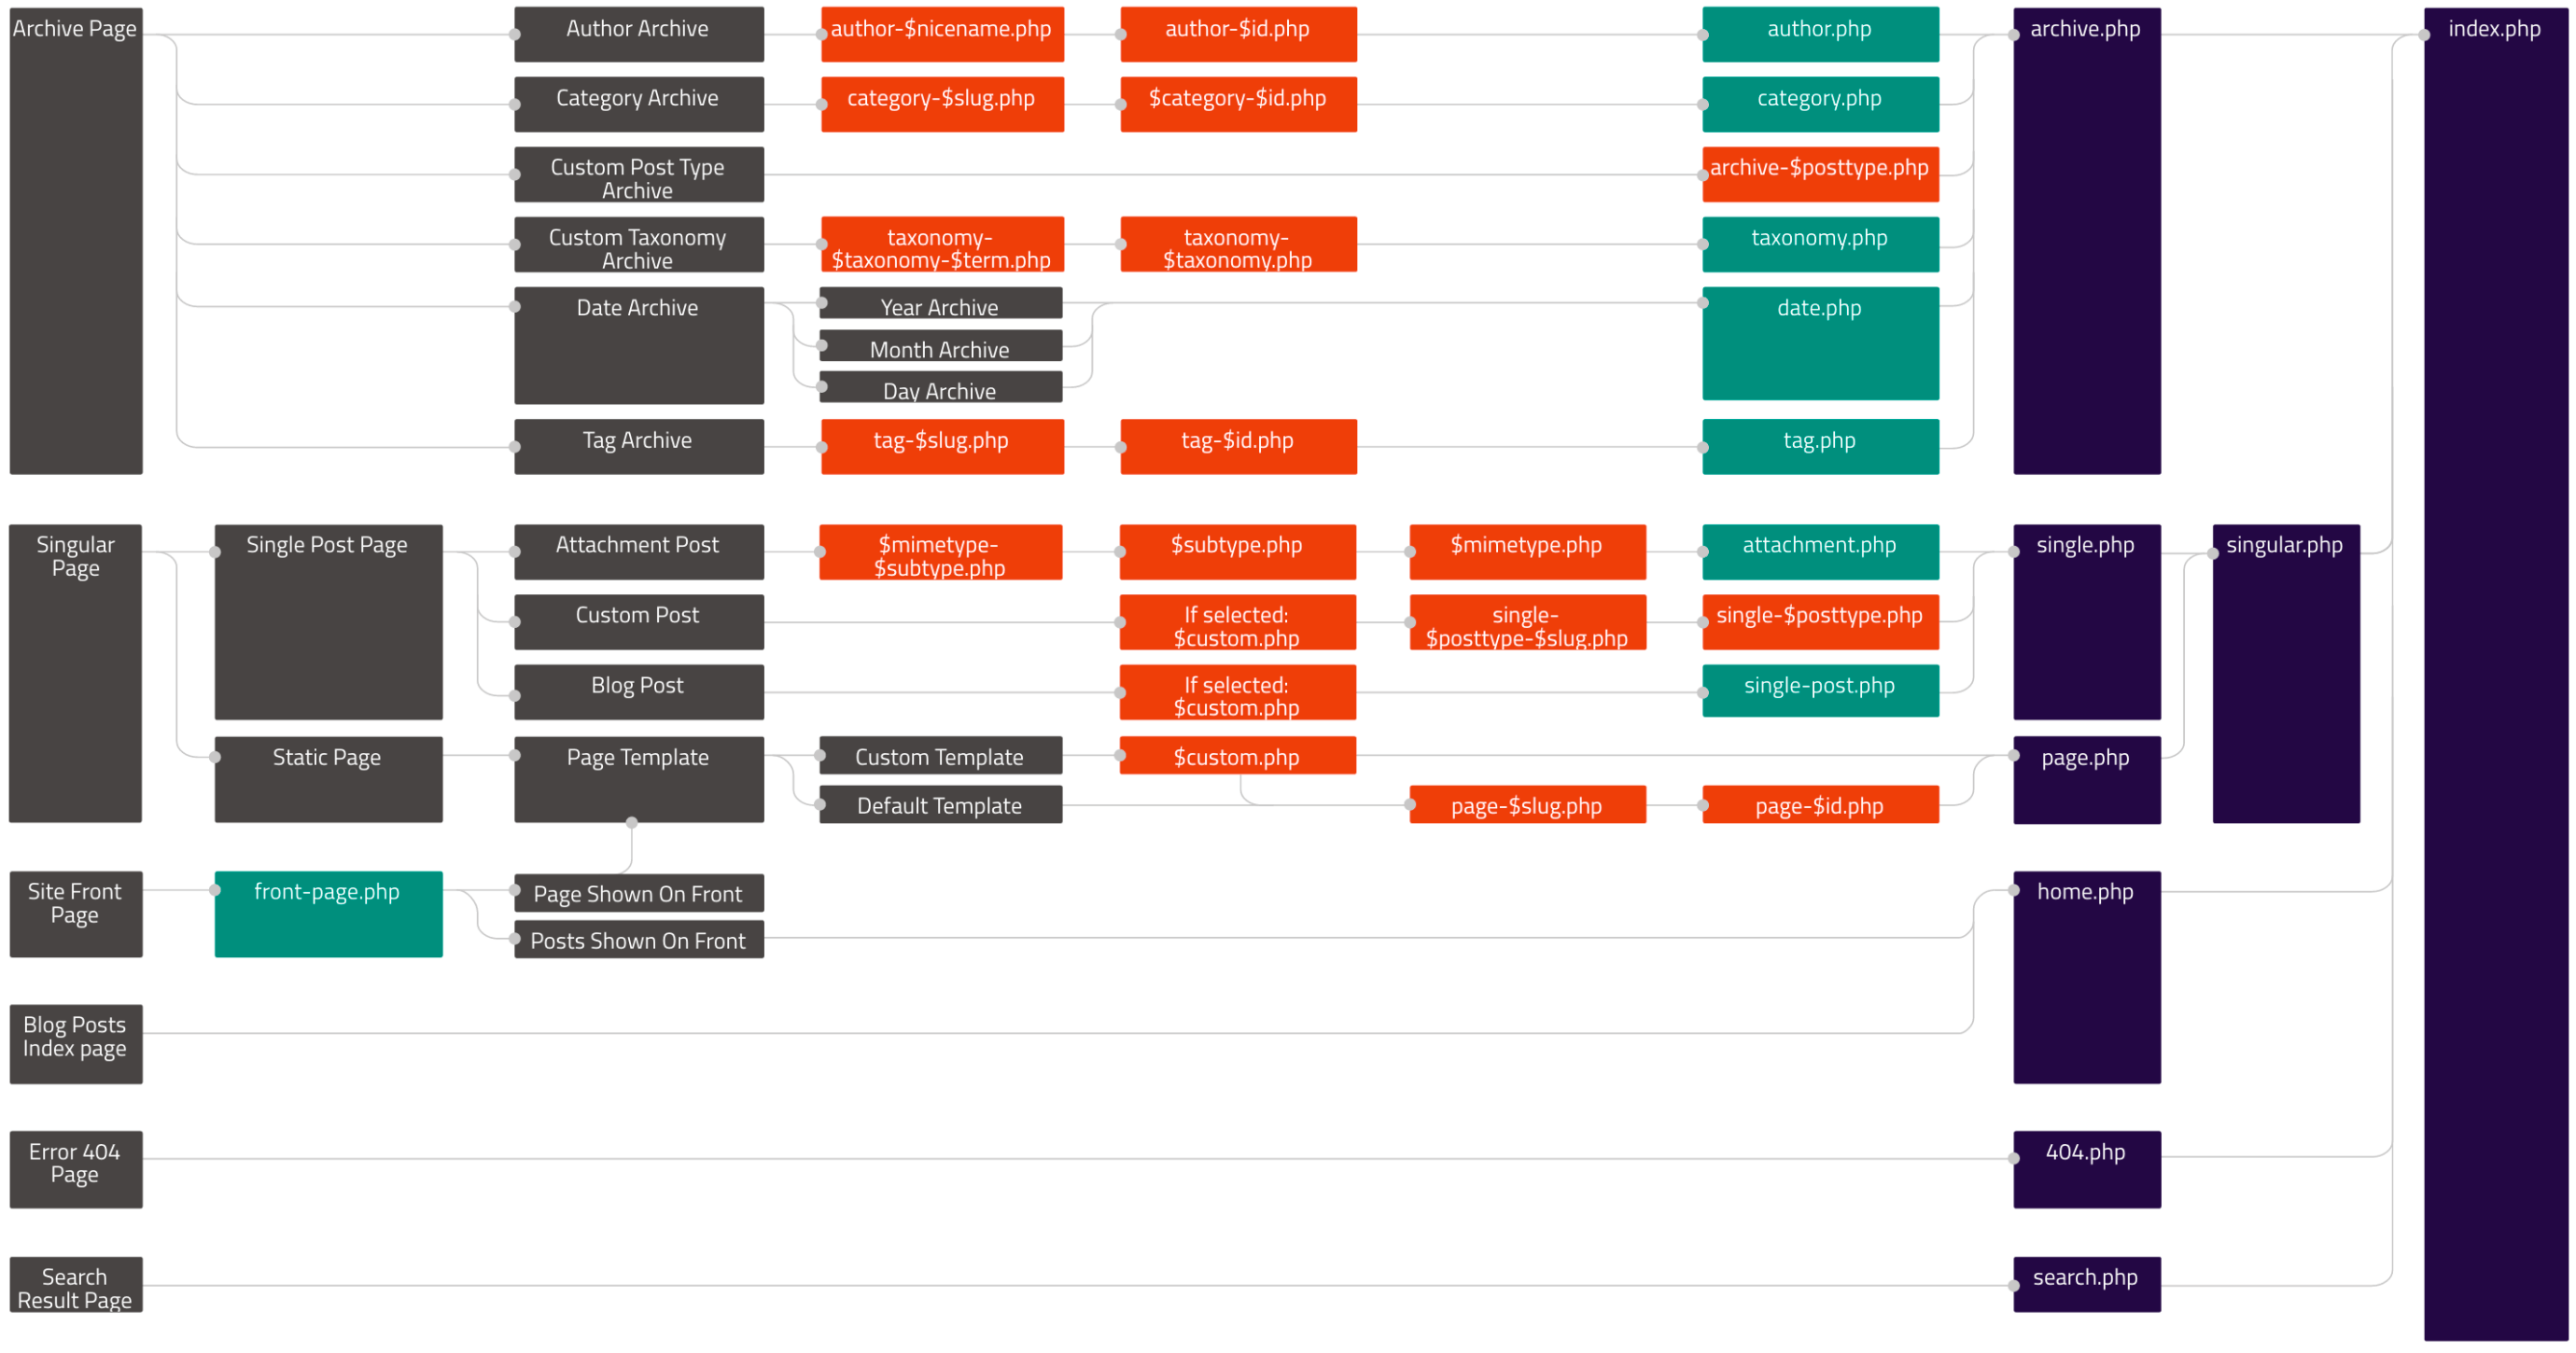
Each theme relies on a template hierarchy, and it’s a fairly straightforward process. In short, each type of page in WordPress looks for the most specific version of itself available. For example, you might have a default page.php, alongside a more targeted page-contact.php. The page with the contact slug will automatically load the latter, while all other pages will fall back on the default.
WooCommerce introduces its own custom templates and structure, readily available for referencing. Once you find the template you want, you have two options for editing:
- Copy and paste the provided template into your own theme for modification. Each template shows you where you need to place the file in your theme, with a message such as “This template can be overridden by copying it to yourtheme/woocommerce/single-product.php.”
- You can reference the provided hooks on the template to modify the output without creating additional theme files. This takes us back to our first recommendation: use the hooks!
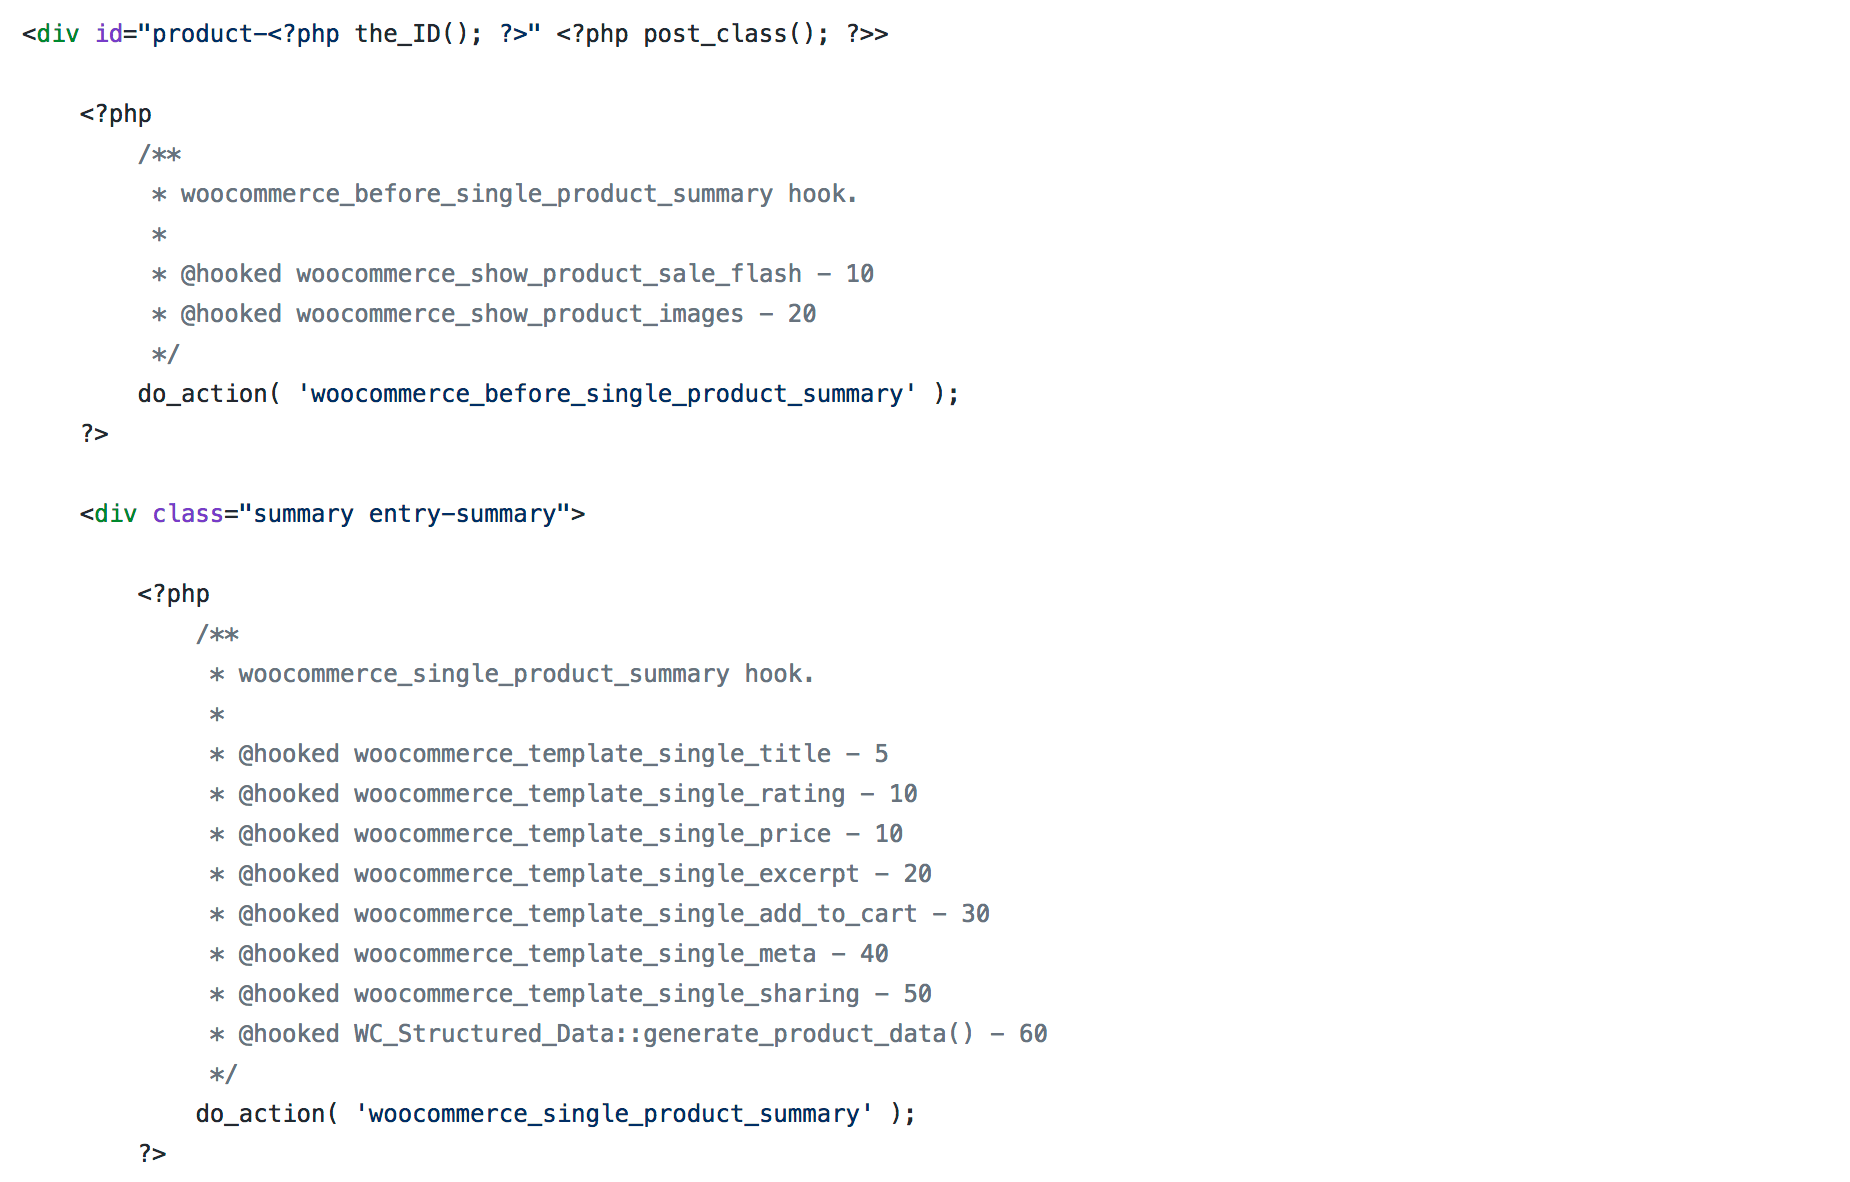
These templates save you a lot of guesswork when coding custom WooCommerce themes. As you can see in the screenshot, once you’ve found the template, simply hook the appropriate action or filter, and customize the page to your needs. If a page needs more complex customization, you can create a new template for it in your theme.
Finally, if you’ve never tried WooCommerce theming before, try out a WooCommerce theming tutorial or two before attempting to do it on your own.
3. Become Familiar With the REST API
WordPress offers a built-in REST API, which WooCommerce extends with custom endpoints to offer access to products, orders, and more. In other words, you have full remote access to your WooCommerce data through JSON objects. Any WordPress project built using the REST API can have e-commerce functionality added with WooCommerce’s expanded version of the REST API.
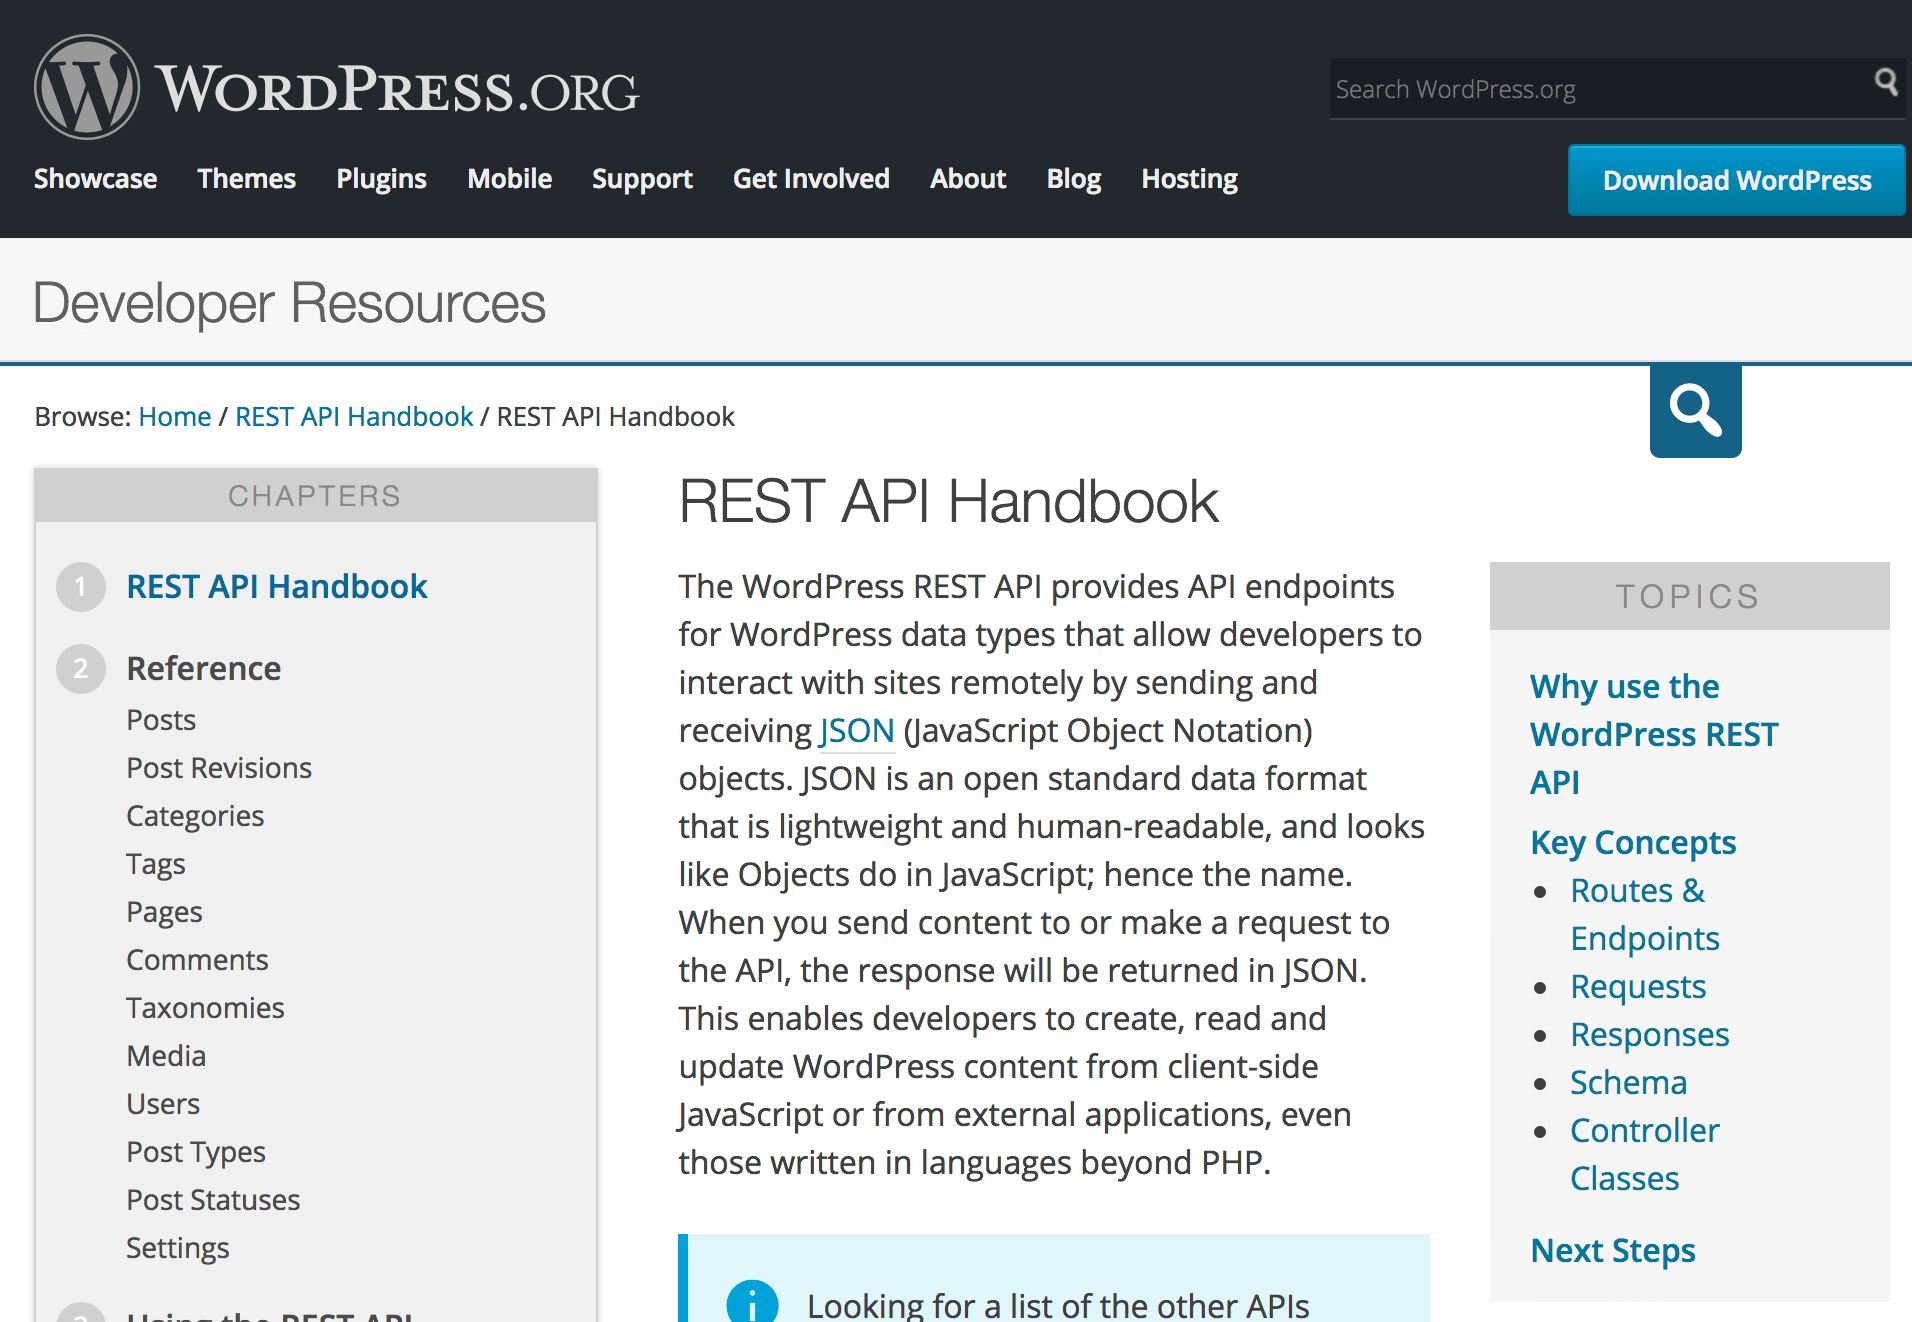
There are a number of useful ways to benefit from the REST API within existing projects, including:
- Decoupling content from its interface, allowing for any number of separate apps and websites.
- Syndicating content and data from multiple sources.
- Synchronizing data between multiple sites.
- Offering site interaction, such as purchases, through mobile applications.
If you’re brand new to these concepts, we recommend becoming familiar with them by following a simple tutorial. You can try building a custom admin settings page using only the REST API. Once you are comfortable working with the REST API, you can begin digging into WooCommerce’s specific features.
To give you a real-world example of how useful the REST API can be, check out the Ionic WooCommerce API. This project builds a native iOS and Android mobile app for your store, and it works by connecting the Ionic Framework to your WooCommerce shopping cart through the REST API.
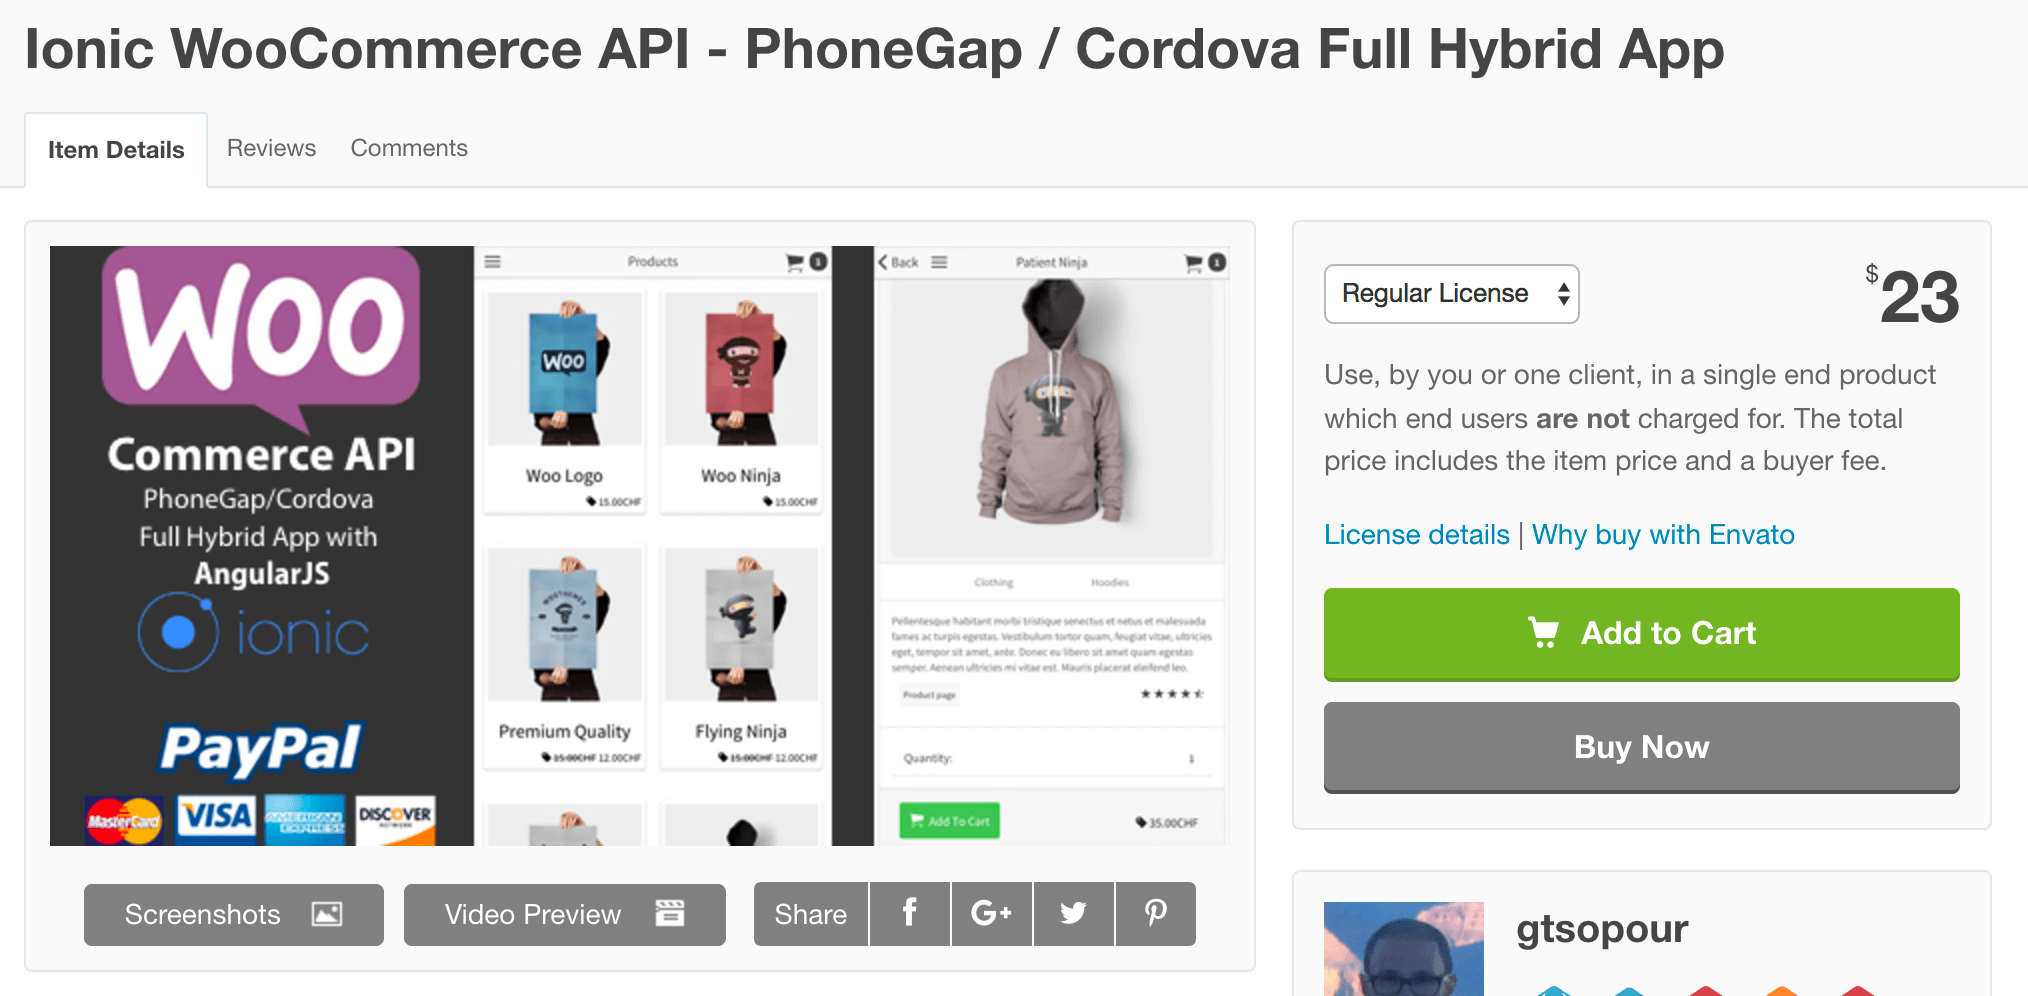
You can use existing solutions such as the Ionic WooCommerce API for clients, or build your own custom apps for external use, all thanks to the WooCommerce REST API. Having access to the WooCommerce infrastructure in an API frees you from the limitations of the WordPress front end and admin interface. You can learn more about the WooCommerce REST API by reading the full documentation.
4. Follow the WooCommerce Core Development Team
WooCommerce is an open-source plugin backed by Automattic. As such, a large amount of well-organized content is published about both its direction and recent updates. To truly supercharge your WooCommerce development, you’ll want to have your finger on the pulse of the project.
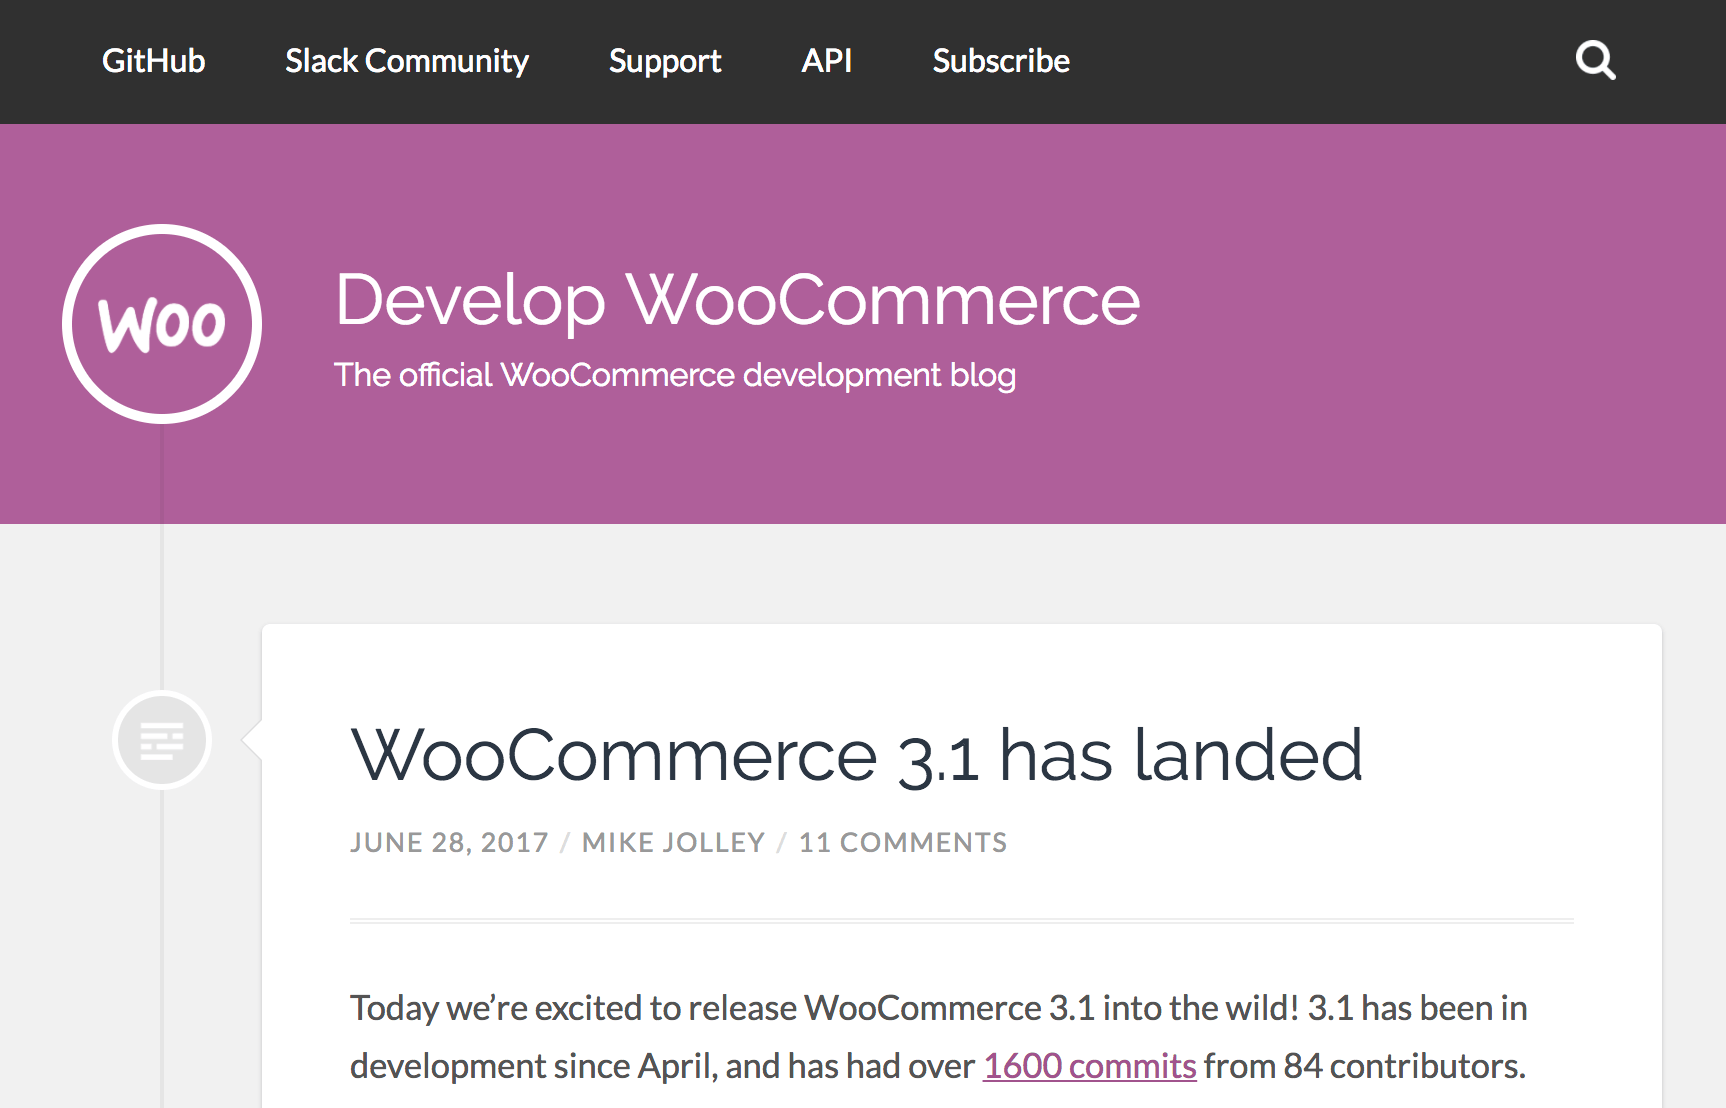
By following conversations around core development, you’ll be aware of major changes in each version. What’s more, you’ll gain insight into how others work with the WooCommerce platform. Since the code is open-source, you have the opportunity to benefit from the code review process and also learn good coding habits through observation.
Becoming a part of the community is easy: you can simply join the WooCommerce Slack team to hop in on relevant conversations. Try to join any regularly scheduled meetings, and even try to research and answer other beginners’ questions. You can learn a lot by attempting to teach others!
Additionally, be sure to keep up with the WooCommerce development blog. There, you’ll find detailed updates on changes within the project. Keep an eye out for updated functions, completely reworked approaches, and deprecated features. To stay ahead of the curve, look for beta release announcements, which will give you the chance to test your themes and plugins against new versions of WooCommerce before they are publicly released.
Conclusion
WooCommerce is a popular e-commerce plugin for WordPress, with a bright future given its owners. As it continues its ascent skyward, staying up-to-date with the plugin’s development will enable you to develop quality solutions, and better serve your clients’ e-commerce needs.
In this article, we’ve shown you four best practices for supercharging your WooCommerce development:
- Use WooCommerce hooks wherever possible in your plugins and themes.
- Base custom themes on provided WooCommerce templates.
- Become familiar with the REST API for use in future projects.
- Follow the WooCommerce core development team for important updates.
What questions do you have about WooCommerce development? Ask away in the comments section below!
Image credit: Dan.

2 Comments