WooCommerce is a powerful ecommerce solution for WordPress, and has a set of Representational State Transfer (REST) API endpoints for custom development. This is a huge advantage for any apps you may build in the future, but to get there you’ll first need to understand the REST API and how to use it.
REST APIs enable developers to interact with data in a number of meaningful ways, without being restricted to a front-end interface. By getting to know WooCommerce’s REST API, you’ll also have a complete ecommerce platform to work from in any external application you may build. It can be a bit overwhelming at first but is well worth the payoff for your future projects.
In this article, we will introduce you to REST APIs and discuss why they are so important. Then, we will walk you through three steps to help you become familiar with WooCommerce’s specific REST API and potential. Let’s get started!
What REST APIs Are (And Why They Matter)

REST APIs provide interoperability between completely different online solutions. In other words, you can have a lot of data stored in a program such as WordPress, and interact with that same data in a totally separate application (such as native mobile or desktop).
You previously had to spend thousands of dollars developing custom APIs for edge-case scenarios. Now, a REST API is included in every up-to-date installation of WordPress, and developers can freely experiment with new applications of it every single day. Not only is this great news for the creative developer, but readily available REST APIs are a powerful asset for businesses too. Integrated niche-specific software, compatibility with legacy solutions, and even connectivity to wearables are no longer out of reach!
Here are a few simple and practical examples of how to integrate REST API solutions into existing platforms:
- Decouple your data from its WordPress interface and build native apps with React Native.
- Syndicate content from multiple sites. This is particularly effective if your businesses manage a big network.
- Use the REST API to speed up production times by automating data synchronization, as Wired did when they launched their new site.
- Build apps that enable users to manage their profiles and content, much like Calypso does for WordPress users.
Now you’ve gotten a taste of what is possible for your average, run of the mill WordPress site, imagine what is possible for your full-fledged e-commerce store. WooCommerce adds extensive custom additions to the WordPress API, giving you access to all of your e-commerce data on top of regular posts and pages.
How to Get Started With the WooCommerce REST API (In 3 Steps)
In the next few steps, you’ll learn how to authenticate and access the REST API from the command line interface. The final language you use to interact with the REST API will (of course) depend on the application you’re building.
Step 1: Prepare Your WooCommerce Installation for the REST API
To access WooCommerce’s data, you first need to prove to WooCommerce that you have permission. This is called ‘authentication,’ and it uses specially generated API keys to authorize the user. They work in two steps:
- WooCommerce creates two secret random strings of characters, called the Consumer Key and Secret Key.
- You use them in your REST API calls, proving your identity.
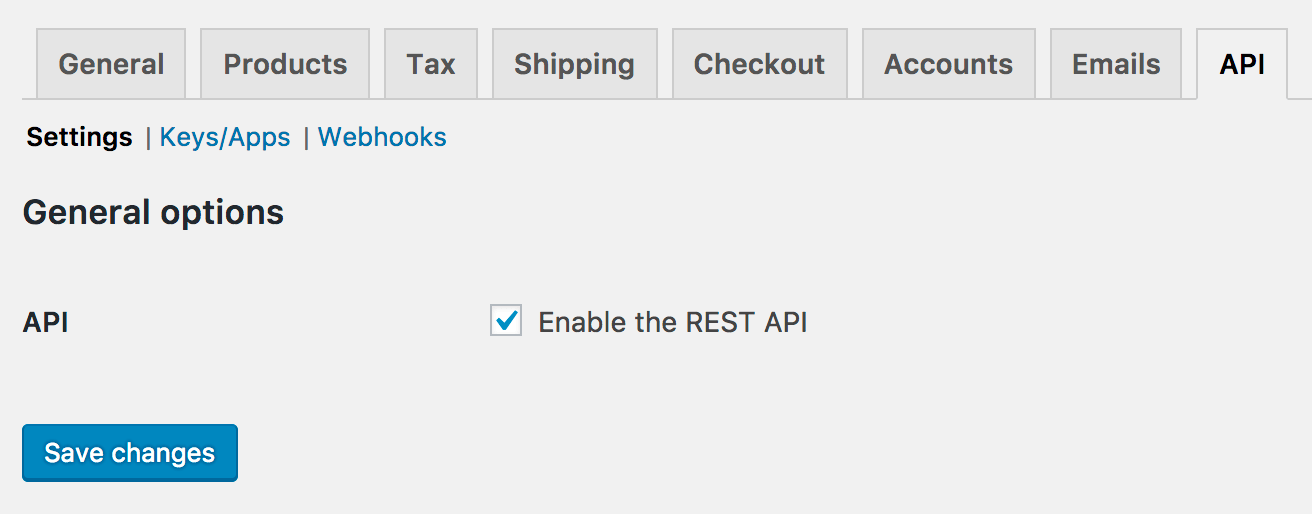
Before getting started, you’ll need to get one of those key sets. First, navigate to your WordPress dashboard and enable the REST API options under WooCommerce > Settings > API. Make sure the Enable the REST API checkbox is selected, and save your changes:
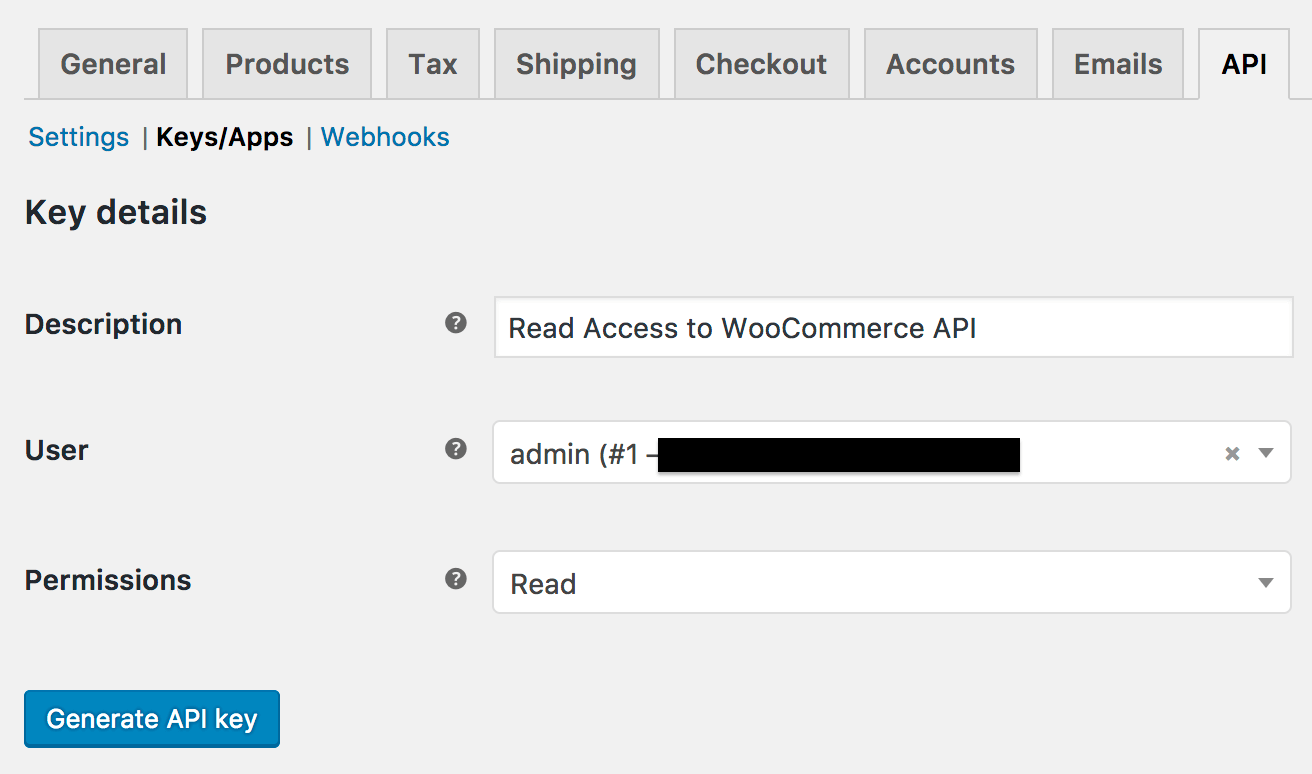
Next, select Keys/Apps so you can generate a unique API key that will serve as the secret password when connecting to the REST API. Click the Create an API Key button, and follow the prompts to give yourself access to your data:
Click Generate API Key to complete the process. Save the resulting keys somewhere safe! You’ll need them to follow the rest of the steps.
Step 2: Use the WooCommerce REST API Documentation to Learn About Its Inner Workings
Every application using the REST API is unique and requires different calls. Rather than learning every single REST API endpoint, you can use the dedicated documentation to find what you need in any given situation. This will also help you keep up as the API receives updates.
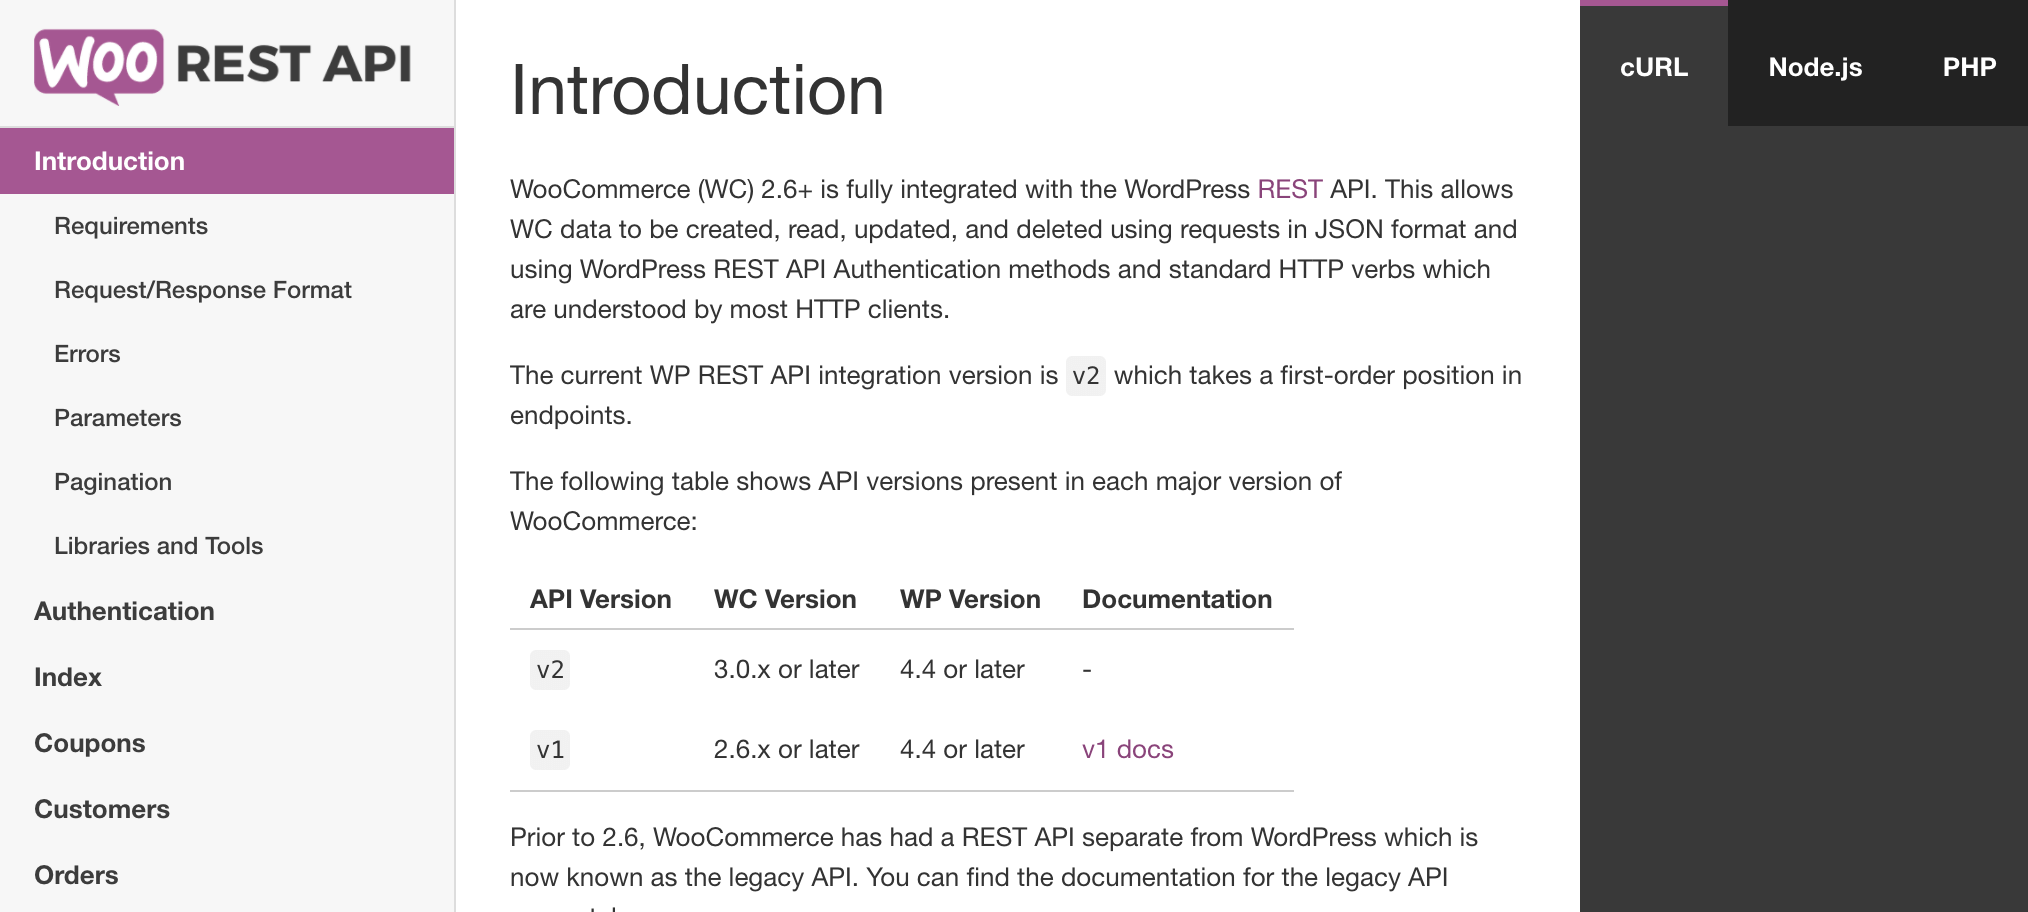
It’s important to read through the introduction to become familiar with the standards. Here are a few highlights to note:
- Check the Requirements section to make sure you have the correct versions of WooCommerce and WordPress.
- Get familiar with JSON and JSONP, the primary method of data transfer.
- Learn the error codes to debug issues faster.
- Use the provided tools and resources for even easier integration.
Using the documentation, you can see how easy it is to get different information from your installation. Let’s try looking at all of our products using the API. Enter the following into the command line interface to get a JSON formatted list of products:
curl https://example.com/wp-json/wc/v2/products/ -u your_consumer_key:your_consumer_secret
To create a new product, you’ll add the POST command with a few extra parameters about your new product:
curl -X POST https://example.com/wp-json/wc/v2/products \
    -u your_consumer_key:your_consumer_secret \
    -H "Content-Type: application/json" \
    -d '{
  "name": "My New Product",
  "type": "simple",
  "regular_price": "99.99",
  "description": "Example long description.",
  "short_description": "Short description.",
  "categories": [
    {
      "id": 22
    },
    {
      "id": 18
    }
  ],
  "images": [
    {
      "src": "http://example.com/woocommerce/wp-content/uploads/sites/56/2017/06/rest-api-product.jpg",
      "position": 0
    },
    {
      "src": "http://example.com/woocommerce/wp-content/uploads/sites/56/2017/06/rest-api-product-2.jpg",
      "position": 1
    }
  ]
}'
Try setting up a demo WooCommerce site to practice with, and use the terminal to interact with it until you’re comfortable with the various commands. Try viewing, creating, and modifying your store’s products, orders, and customers.
Once you understand how to pull and create data using the REST API with authentication, you can use the native programming language of your new application to do the same. To help you along, the documentation provides code examples for Node.js and PHP.
Step 3: Integrate the REST API Within Other Applications
The REST API also enables you to interact using platforms otherwise unrelated to WordPress and WooCommerce, which is a key part of its power and appeal. The exact steps you need to take will depend on the platform you’re building and the features you’d like to integrate. To give you some ideas, let’s tweak some of the examples we covered earlier and imagine they were made for WooCommerce instead of a regular WordPress site:
- Build a native mobile shopping app using React Native, customized to meet your users’ shopping habits.
- Syndicate products from multiple WooCommerce sites in one convenient catalog.
- Test a beta version of your shopping site while keeping the data synced, so you don’t lose sales information.
- Build web and desktop applications where users can easily manage their accounts and past orders.
These examples should be more than enough to help you brainstorm new creative solutions, and by now, you should have a clear idea of just what is possible with the REST API. Once you’ve chosen a new project idea or found a useful place to integrate WooCommerce into an existing external application, all that’s left is to plan the project and begin building.
Conclusion
WooCommerce is a popular solution for ecommerce, in part because it offers a complete REST API to help you develop powerful solutions. Learning how to use it will help you build more robust and full-featured external apps for your clients.
In this article, we’ve introduced you to the power of the WooCommerce REST API, and helped familiarize you with three important things:
- Preparing a WooCommerce installation for REST API authorization.
- Reading and learning from the developer documentation.
- Integrating the REST API into external applications.
What questions do you have about developing with the WooCommerce REST API? Ask your questions in the comments section below!
Image Credit: Clark Young.


7 Comments