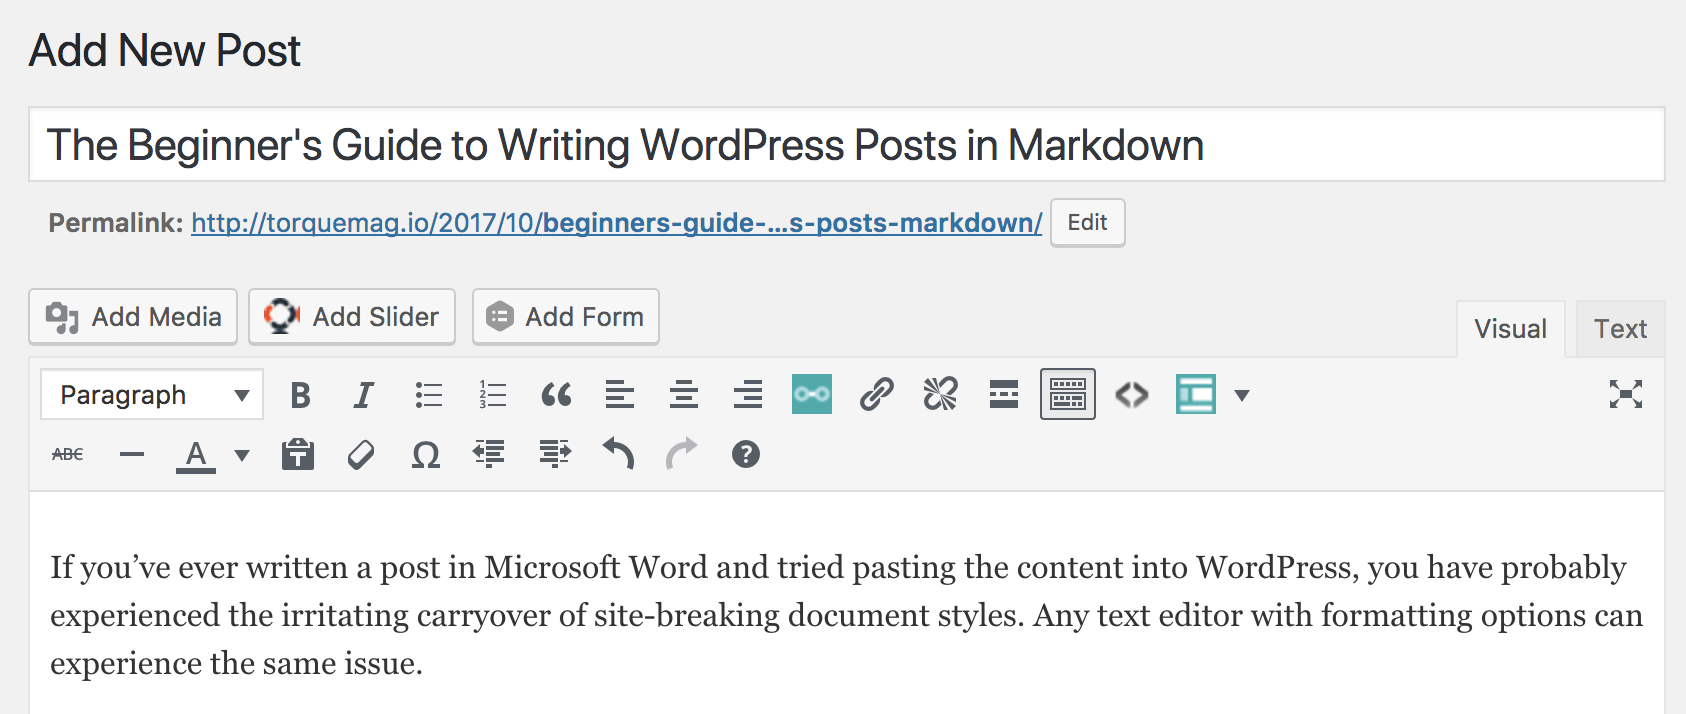
If you’ve ever written a post in Microsoft Word and tried pasting the content into WordPress, you have probably experienced the irritating carryover of site-breaking document styles. In fact, any text editor with formatting options can experience the same issue.
‘Markdown’ is a plain-text syntax for writing articles without distraction. Agencies can streamline content creation by working in Markdown with both writers and editors. This standardizes the copy and reduces distracting visual styling issues. Then, after approving the content, you can handle stylization directly within WordPress.
In this article, we’ll introduce you to Markdown formatting and how you can learn to write using the syntax. Then we’ll show you how to enable it in WordPress for publishing. Let’s get started!
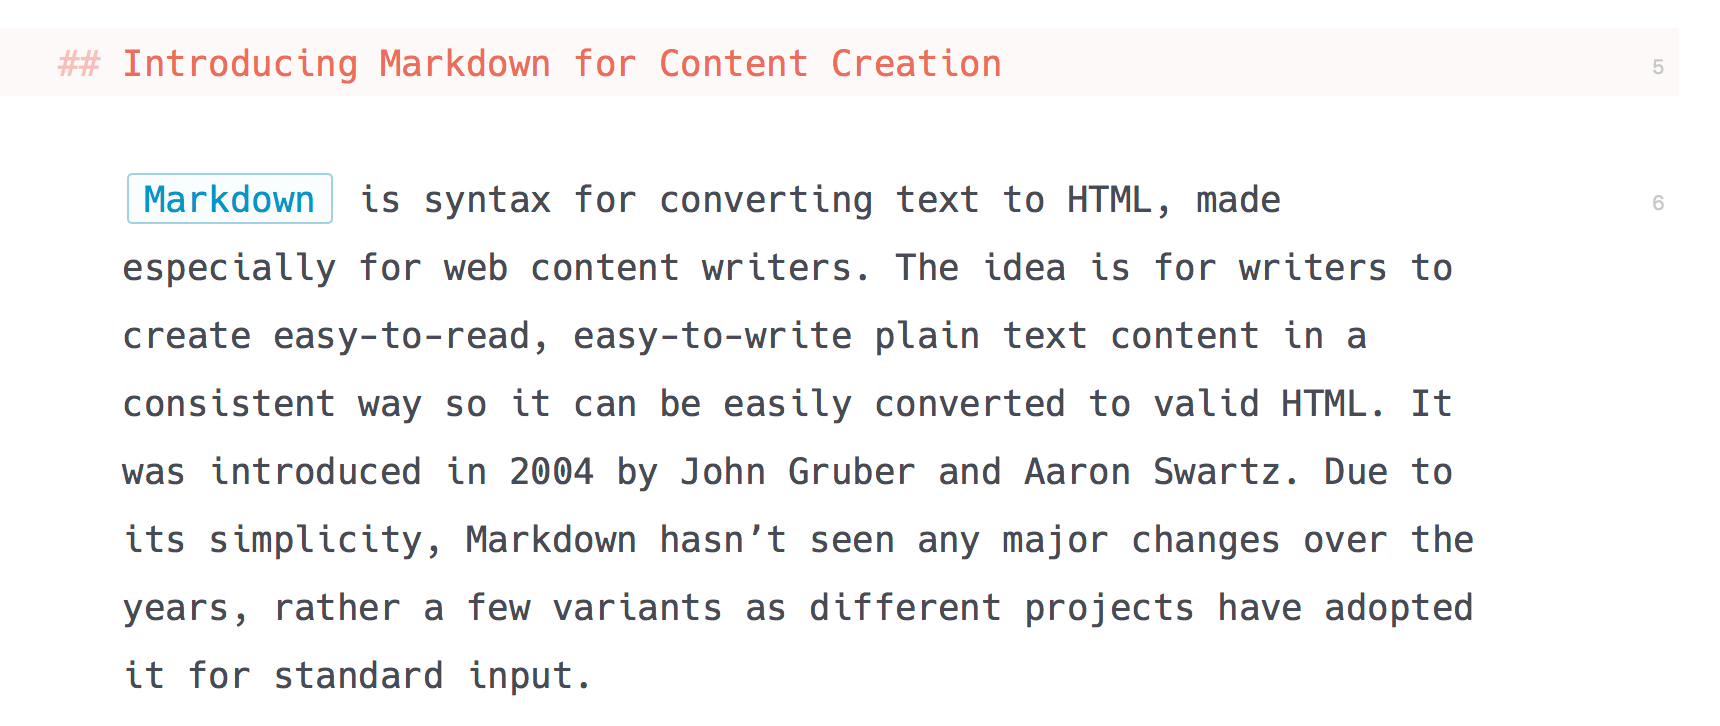
Introducing Markdown for Content Creation
Markdown is syntax for converting text to HTML, made especially for web content writers. The idea is for writers to create plain text content in a consistent way, so it can be easily converted to valid HTML. It was introduced in 2004 by John Gruber and Aaron Swartz. Due to its simplicity, Markdown hasn’t seen any major changes over the years but has gone through a few variants as different projects have adopted it for standard input.
Due to its focus on plain text, Markdown is remarkably quick to write. There are only a few basic syntaxes to learn upfront, which lets you focus on your content, minimizes distractions, and reduces the possibilities of lost formatting between shared documents.
Because of its simplicity, agencies can streamline content creation by using Markdown to standardize text delivery and editing. The learning curve is not steep – as Brett Terpstra said, if you can write an emoji, you can write in Markdown!
To summarize, Markdown is:
- Easy, any writer or editor can pick it up quickly.
- Clean, meaning style is only about writing style and nothing else.
- Portable, without any concerns about file compatibility between computers.
- Flexible, meaning the content can be output in multiple formats.
You will find it relatively painless to add this tool to your agency’s workflow while reaping all of its benefits. Many major companies and projects also use Markdown, so you’ll be in good company.
For example, GitHub uses Markdown for all their project wikis, Readme files, and comments, meaning more than 100,000 businesses are using Markdown in their GitHub-based projects. Even core WordPress groups use Markdown to write important documents for WordPress teams.
Markdown comes ready-to-go for WordPress.com sites, but if you’re running a self-hosted version you’ll need to do a little configuration. Let’s have a look at the steps you’ll need to take.
How to Write WordPress Posts Using Markdown In 3 Steps
Writing WordPress posts in Markdown is a relatively simple process. The only extra step is enabling Markdown support in the first place. Once that’s set up, you can default to writing WordPress posts in Markdown without a second thought.
Step 1: Enable Markdown in Jetpack
Jetpack is a multifunctional plugin provided by Automattic to replicate many of the features built into WordPress.com blogs. Using it on your website gives you access to a number of features such as:
- Site stats and analysis.
- Brute force attack protection.
- Downtime and uptime monitoring.
- A high-speed Content Delivery Network (CDN) for your images.
- Fully-customizable contact forms.
This is an incomplete list, but as you can see, it comes packed with quite a few useful elements. Most importantly, it also includes support for Markdown when writing posts. You can choose to enable or disable the rest as you please.
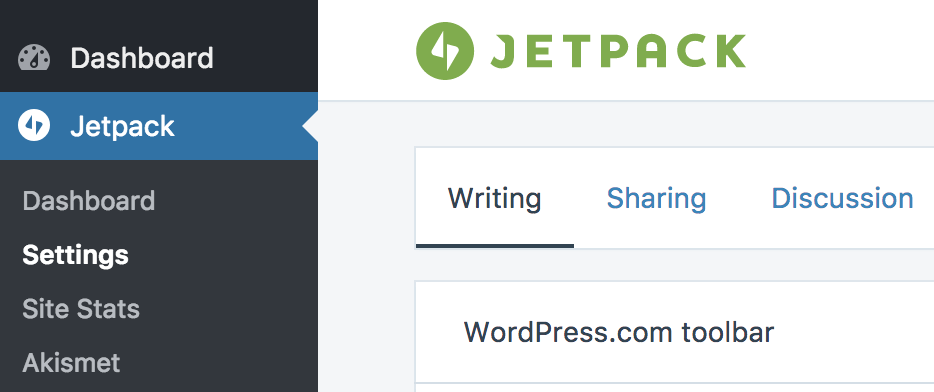
Once Jetpack is installed on your website, visit Jetpack > Settings in your WordPress dashboard:
Then, scroll down to Composing under the default Writing tab. Toggle the Write posts or pages in plain-text Markdown syntax option to the On setting:
Now, WordPress is ready for you to write posts in Markdown. Let’s take it out for a spin!
Step 2: Write a New Post Using Markdown
Once WordPress is prepared, it’s time to write your new post using the Markdown syntax. While you could write Markdown directly into WordPress, that won’t be very useful in an agency context. Instead, we recommend working with Markdown files directly to reap the full, ‘styleless’ benefits of the format.
You can write Markdown in any text editor. However, there are a few apps available to make it even simpler and more enjoyable than it already is. Here are a few of our free favorites:
There are plenty of premium editors available for power users as well. For example, this post was written using Ulysses. Ultimately, the right app comes down to personal and team preference.
To write your post, you’ll need to use the basic syntax of Markdown. There are a number of complete Markdown guides available, including the original and a master series from GitHub. We’ll summarize the basics for you here.
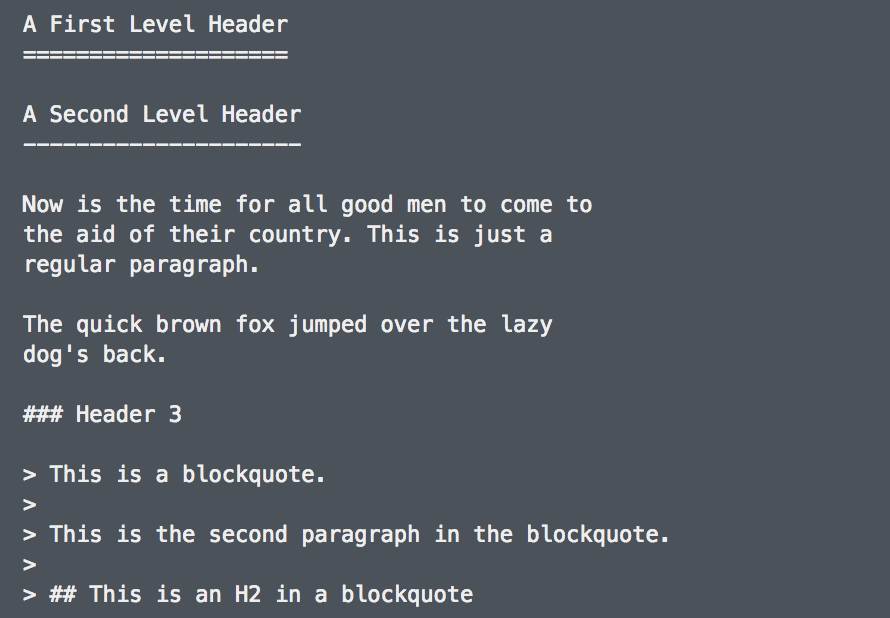
Let’s start with headings. There are six levels of headings, which you can indicate with the pound sign or use symbols to underscore:
Heading 1 With Equals
=====================

Heading 2 With Dashes
---------------------

# Heading 1 With Pound
## Heading 2 With Pound
### Heading 3
#### Heading 4
This will result in heading tags, like this:
<h1>Heading 1 With Equals</h1>
<h2>Heading 2 With Dashes</h2>
<h1>Heading 1 With Pound</h1>
<h2>Heading 2 With Pound</h2>
<h3>Heading 3</h3>
<h4>Heading 4</h4>
Next up are lists. You can use dashes, stars, or numbers to create lists. Dashes and stars will symbolize unordered lists, while numbers will create ordered lists:
- An unordered list item
- Another unordered list item

1. Ordered List Item
2. Second Ordered List Item
This will generate the following HTML:
<ul>
<li>An unordered list item</li>
<li>Another unordered list item</li>
</ul>
<ol>
<li>Ordered List Item</li>
<li>Second Ordered List Item</li>
</ol>
You may also want to include block quotes. These are standout comments or quotes within your content. They are written using the right arrow symbol:
> This is a quote in the middle of my article.
> – Mark Twain
Block quotes have a unique HTML tag, and will look like this:
<blockquote>
<p>This is a quote in the middle of my article.</p>
<p>– Mark Twain</p>
</blockquote>
You even have the option to include code in your articles. This comes in handy if your agency deals with a lot of technical materials. Inline code is denoted with back ticks:
This is `inline code` for an example.
Which will translate to:
This is <pre>inline code</pre> for an example.
Additional styles such as bold and italics are available – double asterisks for the former, and single underscores for the latter:
**This will turn into bolded text.**
_This will turn into italic text._
This will render as strong and em tags:
<strong>This will turn into bolded text.</strong>
<em>This will turn into italic text.</em>
You can even write links using brackets. Square brackets wrap the anchor text, and rounded parentheses wrap the URL:
Here is an [example link](http://example.com/).
The final product for links will look like this:
<p>Here is an <a target="_blank" href="http://example.com">example link</a>.</p>
Finally, you can include images using Markdown. This method looks similar to the linking methods, but uses an exclamation mark to denote that this will be an image rather than a normal link:

This code will result in image tag HTML:
<img src="/path/to/image.png" alt="Alternate text for image" title="Descriptive Image Title" />
We recommend linking to placeholder images up front, letting the final editor upload and format the correct images into the end WordPress version.
Step 3: Publish Your Markdown Post in WordPress
Once your post is completed in Markdown and you’re ready to publish, it’s time to bring it into WordPress. Because WordPress will be doing the heavy lifting for you, there’s no need to do any fancy conversions – simply copy your entire Markdown post, and paste the contents into the WordPress editor. You can watch WordPress transform your plain text into perfectly-formatted text using WordPress’ styles.
Once this process is completed, click the Preview button. This will open a new window for you to see that no strange HTML was generated, which might otherwise ruin your WordPress theme or styles. Once you check that everything looks as expected, you’re good to go!
Since Markdown comes without any styles, your post should be clean and clear. With everything in order, you can now finalize any details about the post and publish it to your site.
Conclusion
Formatting can get in the way of producing consistent content between team members in an agency while creating issues when pasting text into WordPress. Markdown removes these hurdles and makes the process a little smoother.
In this article, you’ve learned about Markdown and how it can benefit your agency. Then we showed you how simple it can be to enable Markdown and start publishing posts without worrying about complicated text editors. Here’s a quick recap:
- Enable Markdown in Jetpack.
- Write a new post using Markdown.
- Publish your Markdown post in WordPress.
Do you have any questions about publishing with Markdown in WordPress? Let us know in the comments section below!
Image credit: Thought Catalog.


10 Comments