In the last part of our series, we stepped through building the basics of our app using Facebook’s React, and put together a simple solution where users could serve up nuggets of timeless wisdom on demand.
This time around, we’ll concentrate on two main areas: adding a custom endpoint back in our WordPress site to make life a little easier when we’re delivering large amounts of quotations, and adding some small extra touches on the front end back in React.
As a quick reminder of the overall setup, so far we’ve got a local WordPress install running at http://walden.dev/ and serving up content via the REST API. We’re reading that content in a local React app running at http://www.thoreauapp.dev/.
Okay – let’s get down to business!
Introducing Custom Endpoints in the REST API
So far we’ve kept things vanilla and simply used the REST API to return a list of posts that we’ve then parsed and displayed. We’ve also got the option, however, of extending the API and adding our own totally bespoke custom endpoints.
As the documentation clearly outlines, this involves doing two things:
- Creating a function in WordPress to handle our custom endpoint.
- Registering a route to make that available via the REST API.
Let’s check and see if the “bare basics” option outlined in the documentation actually works in our local setup. We’ll pop into the functions.php file in our theme on http://walden.dev/ and add the code below:
//Test adding basic REST API custom endpoint.
/**
 * Grab latest post title by an author!
 *
 * @param array $data Options for the function.
 * @return string|null Post title for the latest,
 * or null if none.
 */
function my_awesome_func( $data ) {
	$posts = get_posts( array(
		'author' => $data['id'],
	) );

	if ( empty( $posts ) ) {
		return null;
	}

	return $posts[0]->post_title;
}


add_action( 'rest_api_init', function () {
	register_rest_route( 'walden/v1', '/author/(?P<id>\d+)', array(
		'methods' => 'GET',
		'callback' => 'my_awesome_func',
	) );
} );
The only thing we’ve changed here from the sample code is using “walden” as the namespace. This code should use the rest_api_init hook to call my_awesome_func. All being well, if we feed it a valid author ID, we’d expect to get the title of the first post by that author back.
In our case, we have just one author in the local WordPress setup, and his author ID is 1. Let’s see what happens when we try calling the custom endpoint using the URL http://walden.dev/wp-json/walden/v1/author/1:
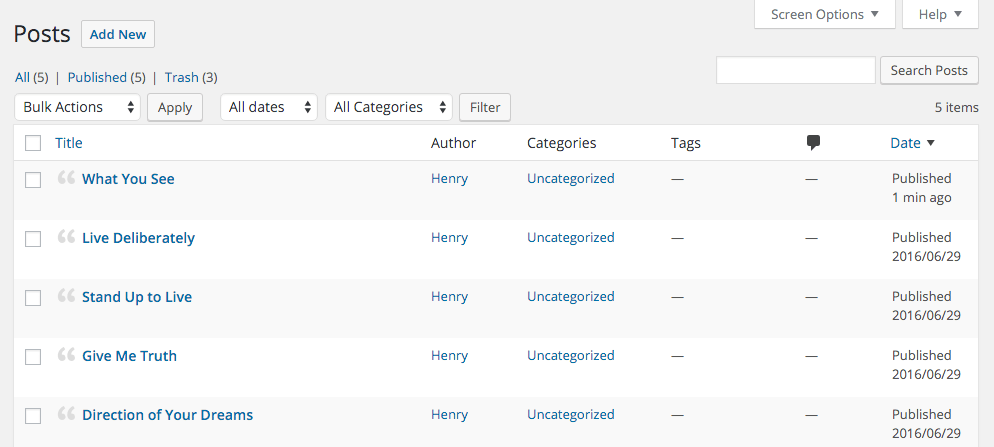
As with many of the examples so far, the on-screen results aren’t breathtaking, but it establishes a key point – we can create custom endpoints and call them successfully. With a quick trip into our back end we can confirm that “What you see” is indeed the title of the first post, so we’re getting the expected result.
It’s worth noting here that there are several additional layers of complexity you’d add on in a real-world environment. The custom endpoints documentation does a great job of building out the basic example we’ve used here, so we’ll simply point you in that direction for more details.
Now, let’s move on to creating a useful custom endpoint for our existing app.
Adding Our Own Custom Endpoint
We’ll be taking a cue from the excellent Delicious Brains React Native REST API tutorial here, and streamline our data loading using a custom endpoint. As you may remember from the last part of the series, what we’re currently doing is loading in all of our data, and then displaying random individual quotes using React.
That’s not a big problem considering we’ve only got a few quotes to deal with, but what if we had thousands? Things could get dicey quickly. What we’ll do instead is use custom endpoints to get a list of all our post IDs, pick a randomized one from that list, and load in that data on its own each time.
Let’s start with setting up the custom endpoint. The code below is based on a mix of the REST API documentation example and the Delicious Brains tutorial. Again, it’s at the bottom of functions.php in our active theme’s directory:
// Return all post IDs
function walden_get_all_post_ids() {

	$all_post_ids = get_posts( array(
        'numberposts' => -1,
        'post_type'   => 'post',
        'fields'      => 'ids',
    ) );

    return $all_post_ids;
}

// Add Walden/v1/get-all-post-ids route
add_action( 'rest_api_init', function () {
	register_rest_route( 'walden/v1', '/get-all-post-ids/', array(
		'methods' => 'GET',
		'callback' => 'walden_get_all_post_ids',
	) );
} );
When we now call http://walden.dev/wp-json/walden/v1/get-all-post-ids, we’re greeted with a nice clean array of all our post IDs:
Let’s now make some quick changes in our React code to use that data instead of what we were previously doing. We’ll start by passing in the new custom endpoint along with our previous REST API post’s URL:
ReactDOM.render(<ThoreauApp dataURL="http://walden.dev/wp-json/wp/v2/posts/" idURL="http://walden.dev/wp-json/walden/v1/get-all-post-ids"/>, document.getElementById('content'));
We’ll then move our existing code around to call for a list of IDs first, and then select a random one from that list to actually load an individual quote directly from the REST API:
getAllIDs: function(){
    console.log('getAllIDs called');
    $.ajax({
        url: this.props.idURL,
        dataType: 'json',
        cache: false,
        success: function(data) {
            this.setState({data: data});
            this.chooseRandomQuote();
        }.bind(this),
            error: function(xhr, status, err) {
            console.error(this.props.url, status, err.toString());
        }.bind(this)
    });
},

chooseRandomQuote: function () {
    var randomNumber = Math.floor(Math.random() * this.state.data.length);
    var selectedQuote = this.state.data[randomNumber];
    this.setState({selectedQuoteID: selectedQuote});
    this.getQuote();

},

getQuote: function(){
    $.ajax({
        url: this.props.dataURL + this.state.selectedQuoteID,
        dataType: 'json',
        cache: false,
        success: function(data) {
            this.setState({selectedQuoteContent: data.content.rendered});
        }.bind(this),
            error: function(xhr, status, err) {
            console.error(this.props.url, status, err.toString());
        }.bind(this)
    });
},

componentDidMount: function() {
    this.getAllIDs();
},
We’ll also make a slight change to what’s passed into our Quote component to pick up on the changes above:
<Quote quote={this.state.selectedQuoteContent} />
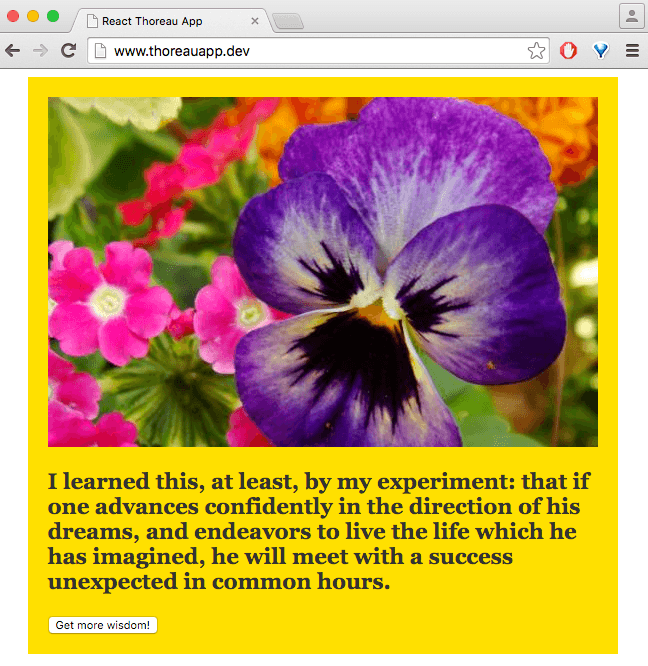
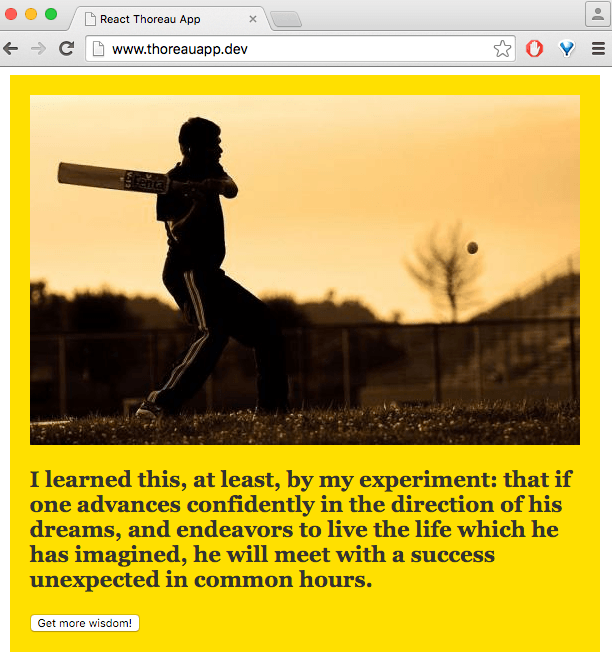
A quick refresh of the main app and all appears to be well. We still have quotes being served from the REST API and the ability to load new ones – it’s just that they’re using custom endpoints to get the job done.
It’s worth pointing out at this stage that we’ve very much taken the happy path so far. Experienced React or WordPress developers may well have a whole slew of objections to everything from the coding style on display to the general lack of error handling, loading messages, and so on.
We’re going to leave the majority of those potential improvements as exercises for the reader to tackle, but there is one minor item to address while we’re at this stage.
Tidying Our HTML Output From WordPress
At this stage, we’re still using that slightly ominous sounding dangerouslySetInnerHTML method down in our Quote component. It really would be ideal if we could take care of that bit of business back in WordPress rather than handling it somewhat awkwardly in React.
var Quote = React.createClass({
    render: function(){
        return (
            <div dangerouslySetInnerHTML={{__html: this.props.quote }} />
        );
    }
});
Fortunately, this is relatively easy to accomplish by adding an extra field on existing endpoints using register_api_field as described in the REST API documentation. Again leaning on the Delicious Brains tutorial we mentioned earlier, we’ve rejigged our existing code in functions.php below to add an extra field in post responses containing a nice, friendly, plaintext version of our quotes:
// Return plaintext content for posts
function walden_return_plaintext_content( $object, $field_name, $request ) {
    return strip_tags( html_entity_decode( $object['content']['rendered'] ) );
}

add_action( 'rest_api_init', 'setup_rest_route' );
add_action( 'rest_api_init', 'add_plaintext_response' );

// Add Walden/v1/get-all-post-ids route
function setup_rest_route(){
	register_rest_route( 'walden/v1', '/get-all-post-ids/', array(
		'methods' => 'GET',
		'callback' => 'walden_get_all_post_ids',
	) );
}

function add_plaintext_response() {
    // Add the plaintext content to GET requests for individual posts
    register_api_field(
        'post',
        'plaintext',
        array(
            'get_callback'    => 'walden_return_plaintext_content',
        )
}
Just to be on the safe side, let’s make sure our custom endpoint is still working at http://walden.dev/wp-json/walden/v1/get-all-post-ids:
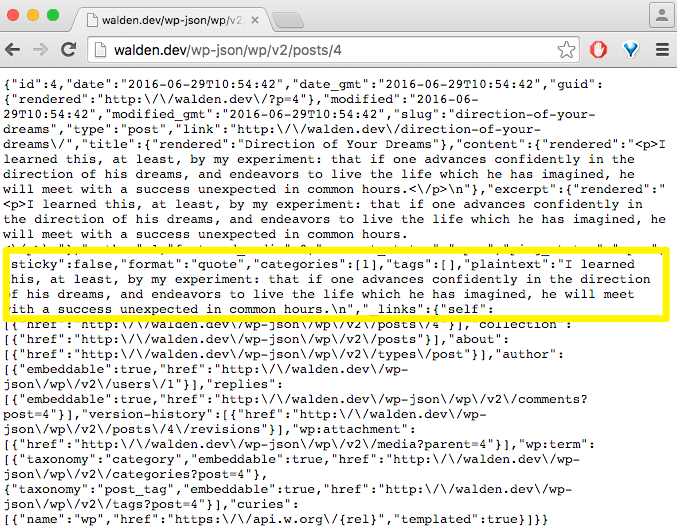
Now let’s see what happens if we call one post in particular with http://walden.dev/wp-json/wp/v2/posts/4:
Happy days! We’ve now got clean text in our response. Let’s use it directly in our getQuote function…
getQuote: function(){
   	$.ajax({
        url: this.props.dataURL + this.state.selectedQuoteID,
        dataType: 'json',
        cache: false,
        success: function(data) {
            this.setState({selectedQuoteContent: data.plaintext});
        }.bind(this),
            error: function(xhr, status, err) {
            console.error(this.props.url, status, err.toString());
        }.bind(this)
    });
},
…and get rid of that worrying dangerouslySet InnerHTML method we were using:
var Quote = React.createClass({
    render: function(){
        return (
            <div><p>{this.props.quote}</p></div>
        );
    }
});
A final check of our front end, and all appears to be tickety-boo.
That button is still looking fairly unappealing, though. We’ll throw in a final bit of styling there, and then call it a day for this installment.
Adding Some Slight Button Styling
We’ll keep this last part nice and simple. First of all, we’ll add a new style object…
var buttonStyle = {
    height: 50,
    width: '100%',
    fontFamily: 'Arial',
    border: '1px solid #CF1111',
    borderRadius: 5,
    fontSize: 20,
    fontWeight: 'bold',
    textAlign: 'center',
    color: '#fff',
    backgroundColor: '#E82020'
}
…and then pass it into our button:
<button style={buttonStyle} onClick={this.chooseRandomQuote}>Get more wisdom!</button>
One final refresh on the front end, and we’re done and dusted!
Conclusion
We haven’t made enormous strides on the front end this time around, but we’ve introduced a number of key concepts, and made life slightly easier for ourselves behind the scenes as a result.
As with previous installments, the code samples shown here are very much just jumping-off points for further exploration, rather than the type of thing you’d sling into a real client-facing project. There are two key takeaways to focus on this time if you’re looking to explore further yourself:
- Custom API endpoints can easily be added to your applications.
- You’re also free to add extra fields to standard endpoints if required.
Stay tuned for the final part of our series where we’ll wrap things up, and have a quick look at interacting with external services via APIs. As always, if you’ve got any questions or suggestions, get in touch via the comments below and let us know!
Featured image: geralt


1 Comment