I’ve written about WordPress for over a year now for Torque, but I’ve never built my own site. In fact, I would consider myself a beginner when it comes to creating something using the CMS. That’s why I’ve begun building an online portfolio and taking you along with me. I’ll go over the basics of getting set up writing your first post.
Last week, I wrote about how to customize a theme, now I will tackle the thing that sets WordPress apart, plugins. Plugins give you the power to customize your site in any way you want. There is a plugin for almost everything. You can keep your site secure, boost your SEO, and have snowflakes fall on your homepage all with free plugins.
Let’s get started.
Download a Plugin
Your site looks the way you want it, now it’s time to make sure it performs the way you want it.
Step 1: Choose a plugin
The first step, of course, is choosing a plugin. There are a lot of plugins out there and more being added every day so this step can be overwhelming. Download our ebook on the best plugins for every category.
There are some every site should have like ones for security and SEO, but you can find more niche options if you’re looking for something specific to you. Keep in mind that whenever you add something new to your site, it has the potential to break. If you have a lot of work on there and filter through many different plugins, it’s a good idea to create a staging site for activating anything new.
This will allow you to protect your content, and be sure the new plugin will play nice with your theme. Because I don’t have any content and no plugins, I’m not going to do this step.
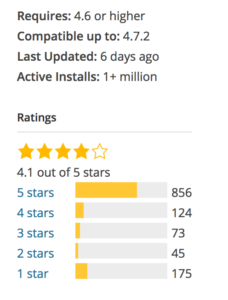
When choosing a plugin, of course, it’s important to find something that has the functionality you desire, but there are also security risks to keep in mind. Make sure anything you choose is updated often, is compatible with the latest version of WordPress, and has good reviews. All this information is on the right side of the plugin description.
Now that you have the tools to choose a plugin, let’s download one.
Step 2: Open the plugin repository
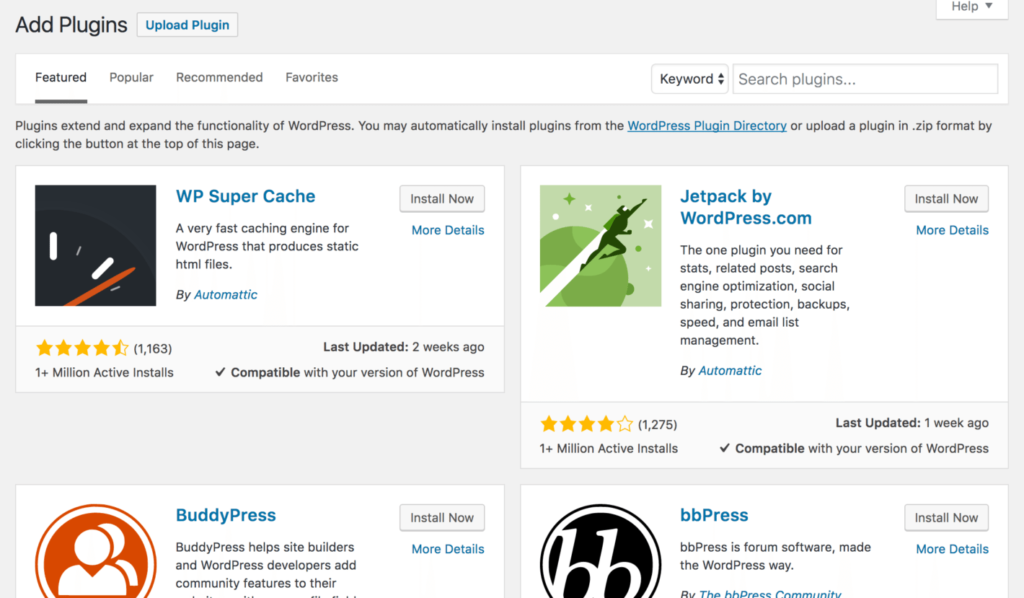
This step is much easier than it used to be. Now, you can access the repository within WordPress itself. Click on the Plugins tab on the left side of the dashboard, and choose add new.
Here you’ll have access to every plugin. If you know the one you want, search for it in the search bar, or browse through Featured, Popular, Recommended, and Favorites.
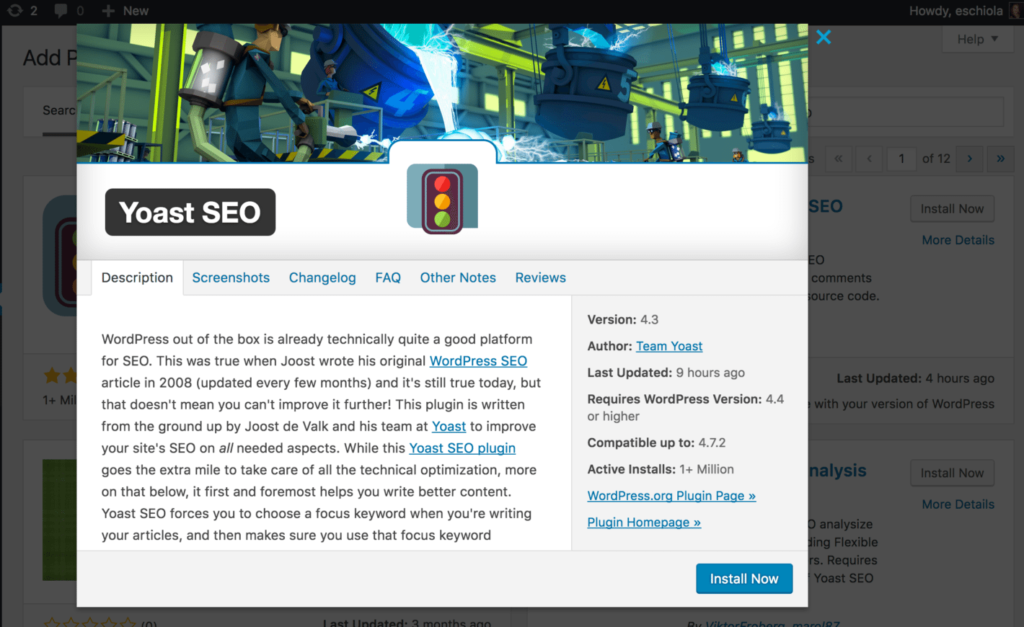
If you want to know more about a plugin, click on it and see a pop-up window with a description, and reviews.
Step 3: Hit the Install Now video
When you’re ready to take the leap, click the Install Now button and you are on your way! The plugin will install in a matter of seconds. But you’re not quite done yet. You can have numerous plugins installed but that doesn’t mean you have to activate all of them.
Step 4: Activate the plugin
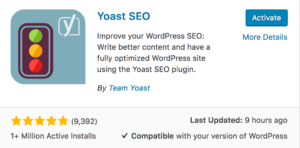
Like I said above, installing a plugin doesn’t mean you’re ready to use it. You must first activate it. Do it by hitting the Activate button.
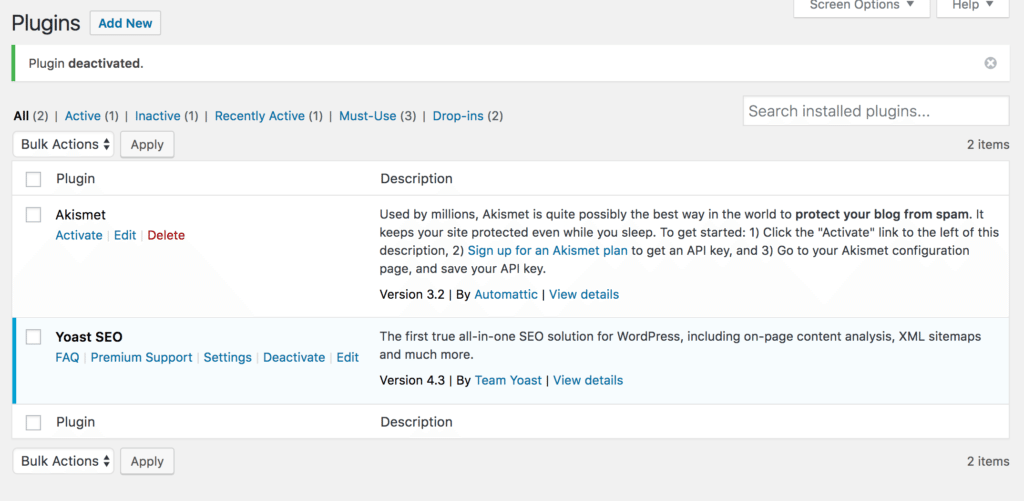
Now it will move to your Plugins tab where you can edit it, deactivate it, and more.
That’s it, you’re done. You can now access the functionality of the plugin and make your site the way you want it to be. Some plugins will come be placed in the sidebar of your dashboard so you can easily get to settings.
Make sure you familiarize yourself with the settings so everything is customized the way you want.
Step 5: Update
The more things you add to your site the more avenues there are for malicious attackers to find it. All you have to do is keep an eye on updates. As long as you are vigilant about updating everything in your site you will have a better chance at staying protected.
What do you want to see me do to my site? Write suggestions in the comments below.


No Comments
Start the conversation