
Live chat often seems like a feature only huge commercial websites employ. After all, it probably isn’t easy to set up – and staying on top of support queries would take up too much time, right?
Fortunately, neither of those statements has to be true. WordPress makes it simple to set up a live chat solution thanks to its plugin system, and once that’s done you won’t need to stay online 24/7 to help your visitors, either. As long as you make yourself available whenever you have the time, you’ll be able to prevent queries from piling up and astound your customers to boot.
In this article, we’ll first explore all the benefits of using live chat, and then teach you how to set it up for WordPress using the WP Live Chat Support plugin. Let’s get cracking!
Why You Should Consider Using Live Chat on Your Site
Live chat is just a fancy name for a real-time discussion between you and a visitor to your website. What makes this particular feature different from a ‘regular’ chat is that it’s embedded on your site.
Some might consider live chat to be a gimmick, but it’s actually a highly useful feature that offers plenty of benefits, such as:
- Lower response times. Let’s be honest – it can often take hours or even a full day to respond to even urgent emails. Live chat, on the other hand, lets you easily see and respond to messages the second they arrive.
- Increased efficiency. If you’re online when a new chat message pops up, you can get to solving the issue right away. This means it won’t pile up alongside other support queries.
- Better engagement. A lot of people judge services by the quality of their support, and live chat enables you to provide a more personal (and speedy) experience.
It goes without saying that not every site needs to implement a live chat function. However, if you’re promoting a product or providing a service, this feature can definitely be helpful. With that in mind, let’s check out how to implement live chat on your WordPress website.
How to Set Up Live Chat in WordPress (In 4 Steps)
For this guide, we’re going to use the WP Live Chat Support plugin. Naturally, there are plenty of live chat plugin alternatives for WordPress, but we settled on this one due to its ease of use and breadth of features.
The first thing you’ll need to do is install and activate the plugin, then proceed to step number one.
Step #1: Configure the WP Live Chat Support Plugin’s Settings
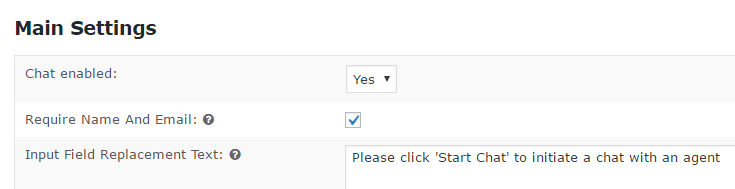
After installing WP Live Chat Support, a new tab called Live Chat will show up in your WordPress dashboard. Click on it and choose the Settings option. This will bring you to the plugin’s General Settings screen.
Here you can enable and disable the live chat feature at will. You can also require users to enter a name and email address before they start a chat, and customize the text that will appear if you choose not to require that information:
Since some of your users may already be logged in before they open a chat, you can configure the plugin so that it won’t ask for names or emails from them, in order to streamline the process. Within these settings, you can also enable live chat on mobile devices, record IP addresses, and make it so the plugin will play a sound whenever you receive a new message:
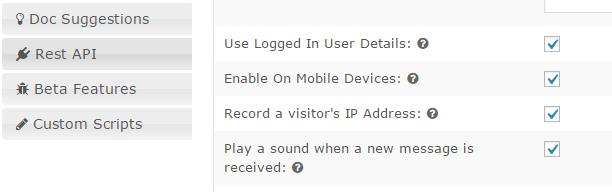
WP Live Chat Support records IP addresses by default, but you may want to disable this option to protect your users’ privacy. Furthermore, it’s worth noting the sound the plugin plays whenever you receive a new message can be deafening. It’ll probably take you by surprise the first time you hear it!
Finally, this plugin also includes an option to integrate your live chat feature with Google Analytics:
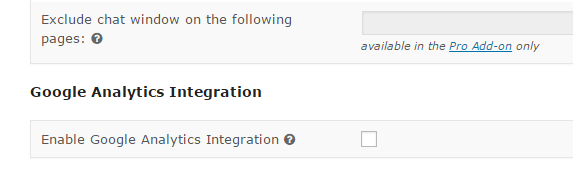
This functionality will only work if your site is already set up to work with Google Analytics, so keep that in mind. If you’re a fan of analytics, you’ll appreciate this integration, since it will enable you to track your live chat metrics.
Step #2: Customize Your Live Chat Box
Along with customizing the behavior of your live chat, WP Live Chat Support also enables you to play around with its appearance. To do this, return to the Live Chat > Settings screen and head to the Chat Box tab.
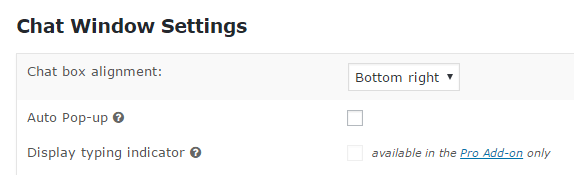
The first setting in this section will enable you to change your chat box’s location. We recommend using the default option, which is bottom right, since it’s the one that looks best (in our opinion) and is a pretty standard choice. Right below that, there’s an option to have your chat box pop-up automatically, which you may wish to leave disabled so it won’t annoy your users:
You can also choose whether to display your name and avatar for your visitors to see while they’re chatting with you. This is entirely optional, but it may help make users feel more at ease. In the same section, you can add timestamps to your chats and decide whether the live chat feature should only be available for users that are logged in or for all visitors:
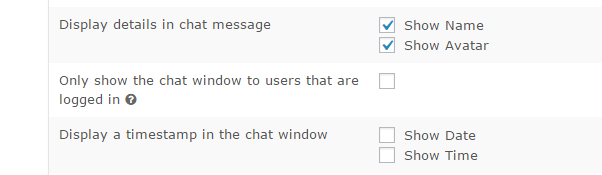
In general, we recommend against disabling your chat box for unregistered users. After all, some of them may choose to sign up for your services after you answer their questions via live chat, so you’d be losing out on an opportunity.
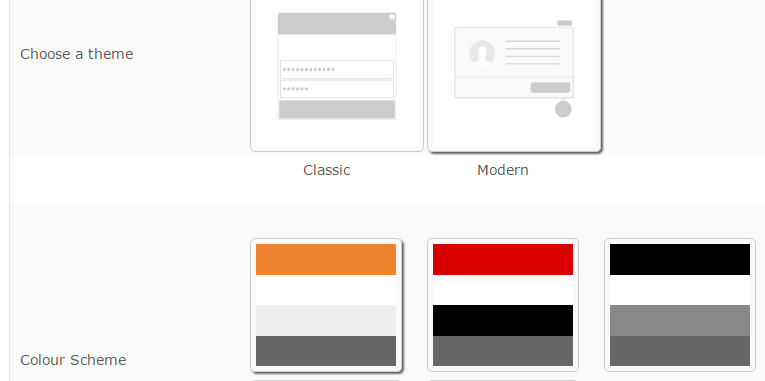
Either way, after you’ve configured these settings to suit your preferences, it’s time to play around with your chat box’s color scheme. Head to the Styling tab on the plugin’s Settings screen. In this section, you can choose from two styles for your chat box – one classic and one modern. Then you can set the box’s color scheme right below:
Naturally, the choice of which style or colors to use is entirely up to you. To examine any changes you make, all you need to do is save them and preview your site on the front end.
Step #3: Monitor and Reply to Live Chat Messages
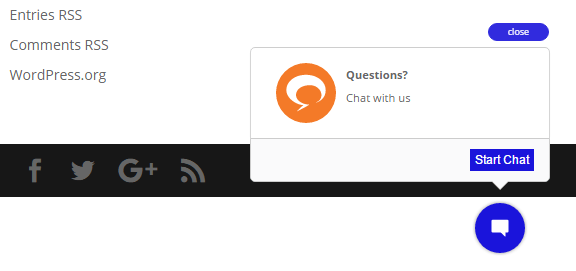
By default, WP Live Chat Support will add a chat box to your website as soon as you activate the plugin, which means you’re ready to start receiving support queries right away.
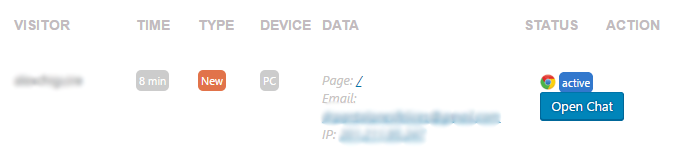
Each time someone starts a new chat you’ll hear a sound notification if your dashboard is open (and if you’ve enabled that setting). To respond to a user, you’ll need to head to the Live Chat tab, find the corresponding chat on the list, and click on the Open Chat button:
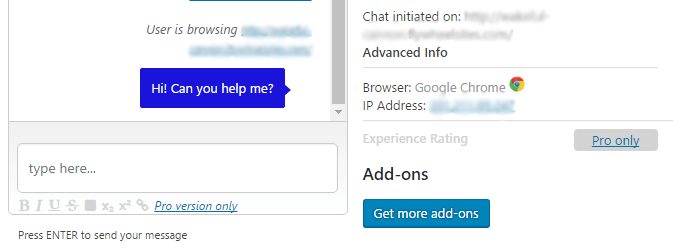
This will open a pop-up screen with a chat window so you can talk to your visitor:
Once your chat is over, there’s an End chat button for you to click on, which will close the window. It’s that simple!
The Live Chat tab will also display any queries you missed while you were away, and enable you to respond to them at your leisure. Should the same user return to your website, they’ll find your answer waiting for them.
Step #4: Check Your Live Chat History
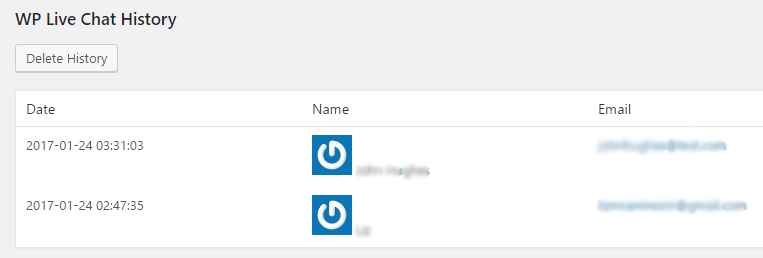
One of WP Live Chat Support’s key features is the ability to review your chats at a later date using the History tab. Entering this section will enable you to check out a list of all your chats, including options to review the logs, download them, or delete them from your records:
The plugin also includes a tab for any messages you received while you were offline – as in, away from your dashboard – under Offline Messages. It’s worth noting that offline and missed messages aren’t considered the same by this plugin, so the latter won’t appear in this section.
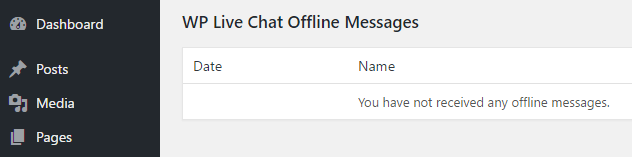
If you have any offline messages on your list, you may want to get in touch with those users to answer their questions. After all, it always pays to be proactive when it comes to customer support!
Conclusion
Live chat is sometimes dismissed as an unnecessary feature due to misconceptions about how hard it is to set up and maintain. However, WordPress makes it simple for you to set up live chat thanks to its convenient plugin system. Enabling this feature will let you tackle tickets more efficiently and engage with your users directly, which is always a good idea!
If you’re using the WP Live Chat Support plugin, here’s what you need to do:
- Configure the plugin’s settings.
- Customize your live chat box.
- Monitor and reply to chat messages.
- Check your chat history.
Do you have any questions about how to set up live chat using WordPress? Ask away in the comments section below!
Image credit: Pixabay.
1 Comment