While WordPress itself is inherently secure, its popularity means the platform is a target for hackers. However, it’s often users themselves who become a crucial weak link when it comes to website security. You’ll want to make sure your clients’ sites are locked down, to offer long-term assurance and protection.
Despite the marketing spiels you may find online, there’s no one ‘best’ solution for securing your WordPress website. However, there are a number of plugins and coding techniques that, when combined, provide optimal security against virtually all threats.
In this post, we’ll look at four of those solutions, and explain how they all work together. We’ll also discuss when both the manual and plugin approaches are most suitable. Let’s get started!
Why You Need a Full-Featured Security Solution For WordPress
Ultimately, website security is all about halting malicious attacks, and making sure your users’ personal data can’t be compromised. As you can imagine, there’s a lot that goes into creating a fully secure WordPress website. There are simple concerns, such as having strong usernames and passwords, and more complex considerations (for example, setting up a Secure Sockets Layers (SSL) certificate). In fact, anything that involves user input and data output is potentially an element in need of security.
If you’ve been keeping up to date with the news over the past year or so, you’ll realize that WordPress is a huge target – 70% of WordPress websites are at risk of being breached. Although the platform itself is inherently secure, the mammoth market share it currently enjoys makes it a prime target for hackers. What’s more, WordPress’ modular nature – the fact that it uses themes and plugins – presents risks. This is especially true if those add-ons have been coded poorly.
WordPress carries out stringent checks on each of the themes and plugins submitted to its respective directories, but this doesn’t stop outliers from slipping through the cracks. In fact, WP White Security reports that plugins are the biggest source of vulnerabilities, so having a multi-layered security solution in place is going to be important.
To implement a solid security solution, you’ll need the following two things (at a minimum):
- A Web Application Firewall (WAF).
- Solutions for stopping malicious access attempts on your site.
There are other recommendations we can make, although they’re secondary considerations. For example, hiding your admin and login page URLs can help in some circumstances. Our advice is to take a look at the relevant Codex article on hardening WordPress (as well as OWASP’s Security Implementation Guidelines) and make whatever additional changes are needed to meet your specific needs.
How to Create a Full-Featured Security Solution For Your WordPress Website (In 4 Steps)
The first line of defense in creating a secure website is having a complete, recent backup. This provides you with a clean slate to work from if the worst happens. Without one, you have no safety net if your site is breached. Once you have a backup solution in place, you can begin to think about your on-site security.
Step 1: Choose a Suitable WAF
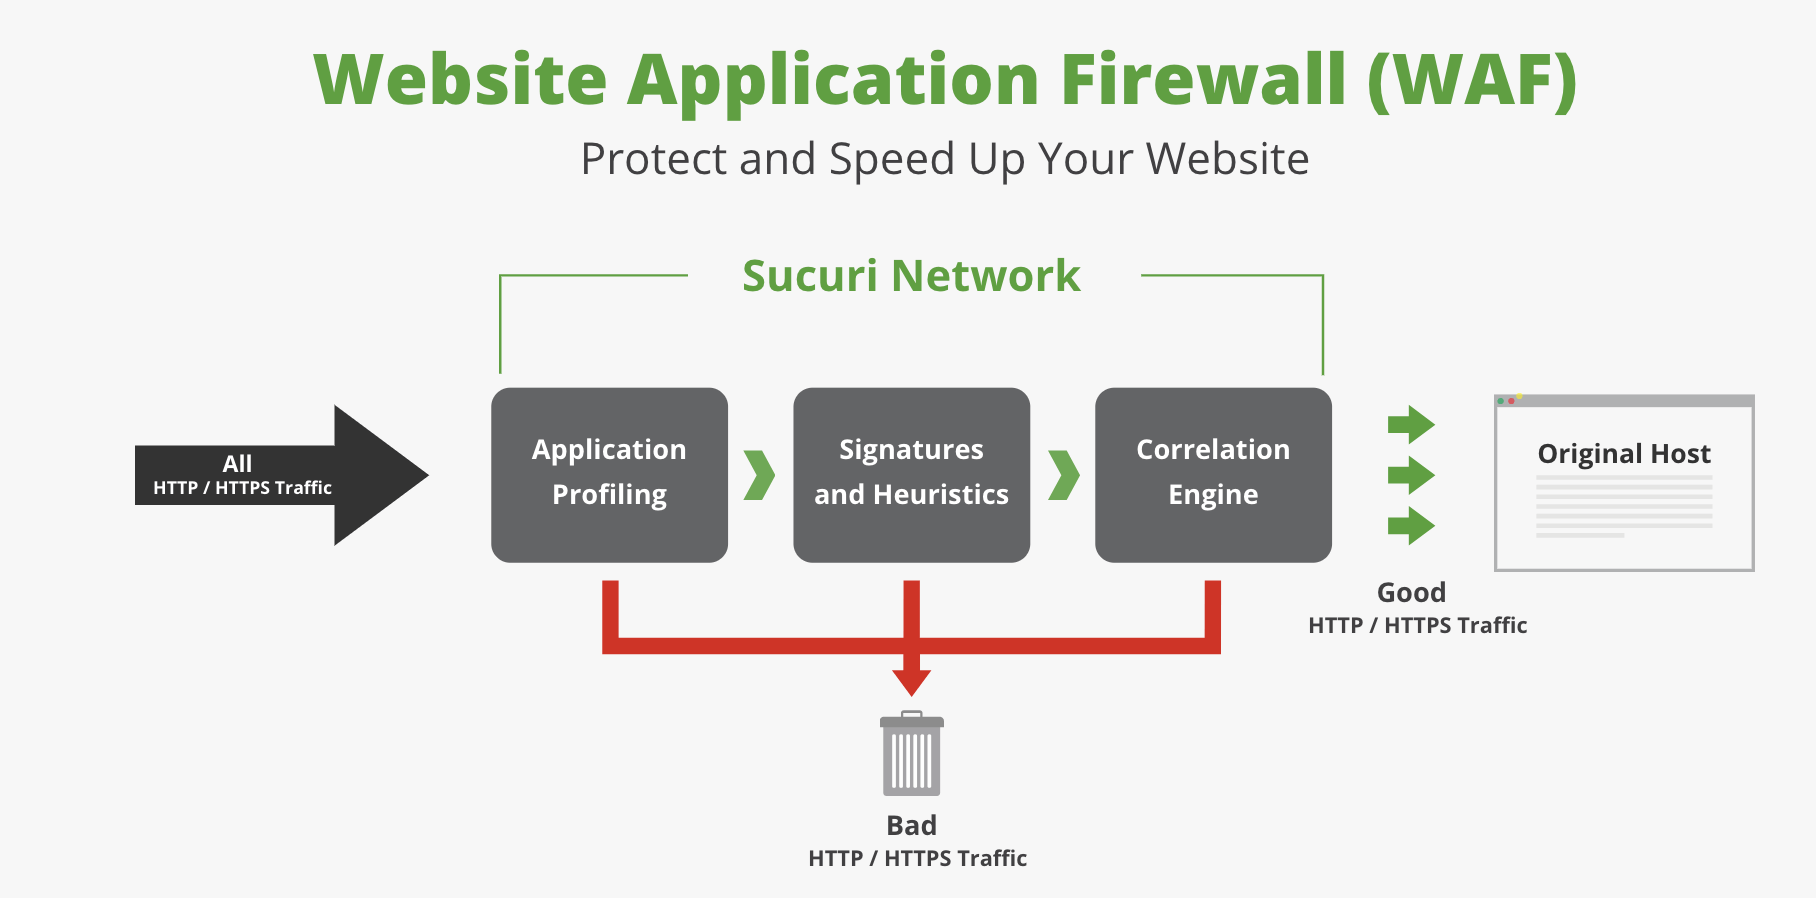
A WAF is arguably the most important security aspect to consider, and one that should take precedence above all else. Essentially, a WAF is much like your router firewall. It offers a protective layer between the outside world and your server, restricting access only to ‘good’ traffic and data. For example, many firewalls will block known malicious IP addresses from even knowing that your site (more specifically, your server) exists. Therefore, it’s a vital security component – a virtual deadbolt for your site’s entry points.
In our opinion, a quality WordPress host is worth its weight in gold here. Even with that element in place, however, a strong WAF will help your site become practically impenetrable. For many users, Sucuri provides the ultimate in web firewalls:
It’s important to note that this cloud-based WAF operates differently from a quality WordPress plugin solution, such as Wordfence. With Wordfence, there’s an extra layer of processing required in order to stop malicious intent. While that’s usually not a major concern, Sucuri will stop that traffic at its source, without largely impacting your site’s resources.
Even so, both solutions provide a way to protect against direct Denial of Service (DDoS) attacks, zero-day exploits, and much more. For an alternative to these solutions, you could also consider Cloudflare’s WAF:
Primarily known as a Content Delivery Network (CDN), Cloudflare leverages its expertise by also providing additional security solutions. It’s a strong option for those already using the service who are willing to pay for the upgrade.
Step 2: Protect Against Malicious Login Attempts and Brute Force Attacks
Although a WAF is a good start, it’s unfortunately not going to be enough. We’ve already mentioned the possibility of malicious logins, and it’s worth taking a closer look at what this entails. Ultimately, the entry points to the ‘mother lode’ that is your site are through the login and admin forms. This is for one specific reason – all WordPress sites share similar URLs. While we’ll look at this specific aspect in more detail shortly, let’s look at a potential consequence – brute force attacks.
In a nutshell, there’s nothing stopping a hacker trying to access your site by guessing your credentials. It would take them a while, depending on your password, which from their point of view doesn’t make for an efficient (or income-generating) task. To maximize their efforts, they’ll instead use ‘bots’ to find all of the WordPress websites with a visible login screen, and automatically iterate through passwords at a rapid pace. At some point they’ll achieve success, so without a solution in place, a breach is only a matter of time.
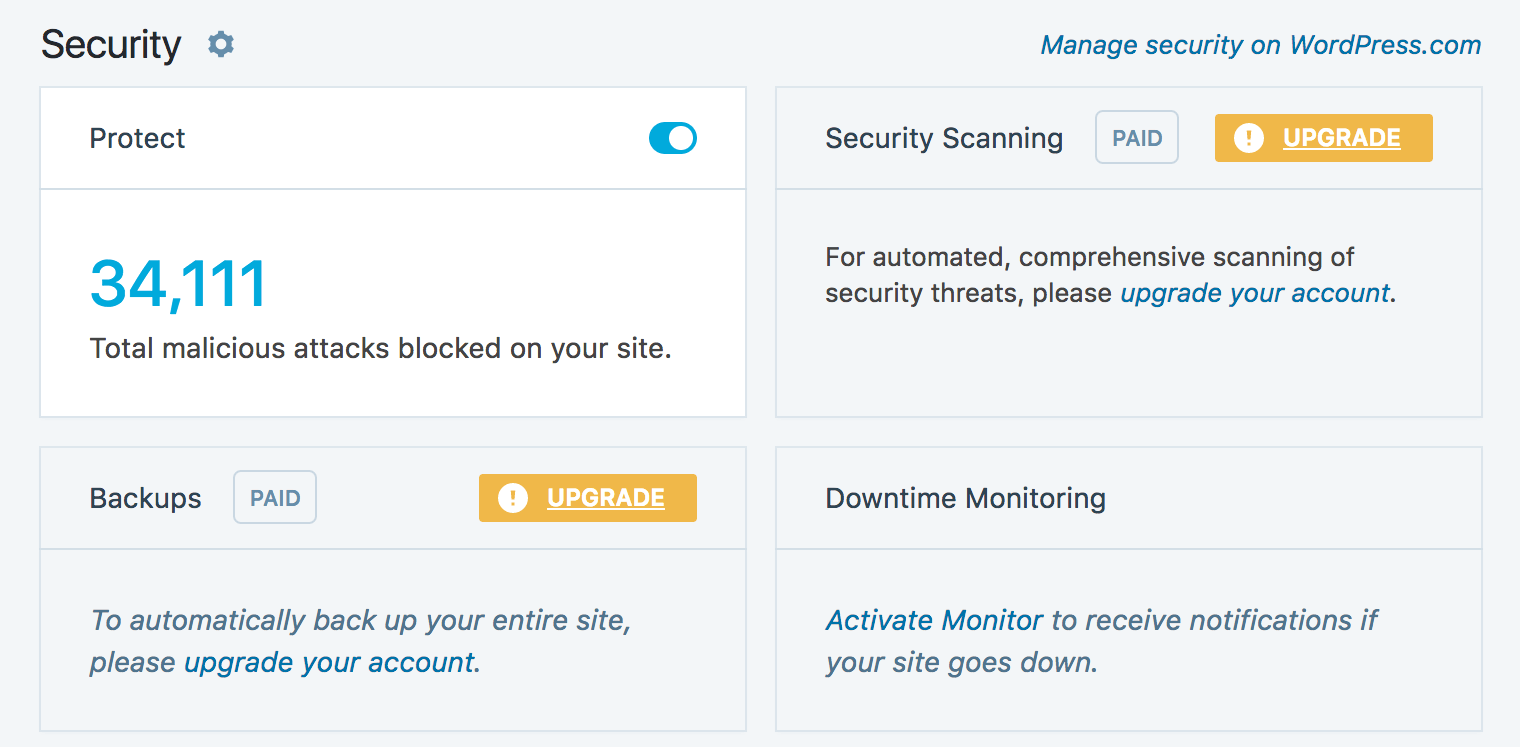
There’s a simple solution here – implement brute force protection on your website. In our opinion, most websites will only need the features found within Jetpack’s many add-ons, more specifically the Protect module:
This is a ‘set and forget’ solution that works in the background to halt brute force attempts in their tracks. However, for more flexibility and customization, Wordfence offers comprehensive protection from this kind of attack, among with many other security features.
Step 3: Obfuscate Your Admin URLs
Our penultimate step is one that’s effective and popular, if not strictly necessary when you have other security solutions in place. Obfuscating (or hiding) your admin and login page URLs builds on the concept of security through obscurity, which has as many detractors as champions. The idea is that, if your URLs are hidden, there’s no way of breaching them.
After all, WordPress’ default admin and login URLs are well-known to everyone with even a passing interest in the platform, including hackers. By automating a bot to search for every wp-login.php URL, they can attempt to brute force millions of sites at once. By changing the URL to something unrecognizable, you give a hacker little chance of ‘smoking you out’. In our opinion, this approach has a lot of merits, but not when implemented as the only method of securing your site. Instead, it should be one segment of a complete full-featured security solution.
If you are looking for a quick and easy plugin solution, WPS Hide Login does the trick, and can be up and running in minutes:
However, in our experience there are some disadvantages to WPS Hide Login. For example, we’ve had incompatibility issues with certain caching solutions, meaning that we’ve been locked out of websites, and this solution doesn’t work with VaultPress backups. With that in mind, Elegant Themes recently wrote a piece on manually creating a custom login URL, which is well worth considering if you need another solution.
Step 4: Add an Extra Login Layer to Board Up Entry to Your Website
Our final step is related to the previous one, but is arguably a better solution. Adding a second authentication layer to WordPress’ admin and login pages means that hackers can’t access your username and password fields (which is really the concern). Once a bot is presented with an extra login dialog, it’ll likely move onto the next site. This means you’ll have successfully deflected a brute force attack.
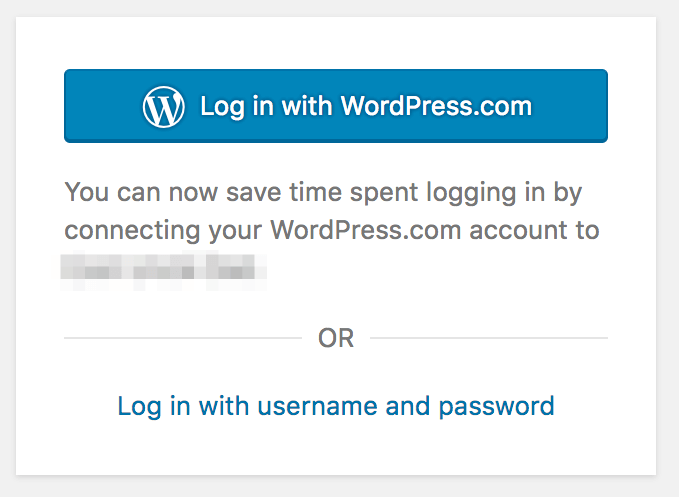
Surprisingly, there are many ways to achieve this. One popular solution is Two-Factor Authentication (2FA). This is a verification step that requires the user to punch in a code from a dedicated app on their smart device. At one point there were many 2FA solutions for WordPress, with varying levels of quality. However, we’re now comfortable recommending two: Keyy, from the developers of the UpdraftPlus backup plugin, and Jetpack’s Secure Sign On module:
Both achieve 2FA in different ways. The former uses Google Authenticator to ask you for a code from your smart device, and Jetpack asks you to log in using your WordPress.com credentials. With the latter, there’s also a method to remove your site’s login form entirely, and simply rely on WordPress.com to do the heavy lifting.
Finally, you could also use .htaccess to add a second password layer, which gives you potentially more flexibility to create a custom solution. If you’re not a fan of the current plugin 2FA solutions, password-protecting your URLs in this way could be ideal.
Conclusion
Securing your website is something you should take very seriously. The ramifications of lax efforts on this front can be substantial damage to your site and its reputation. Fortunately, the steps you’ll need to take can be accomplished quickly, even by beginners.
In this post, we’ve discussed how to create a full-featured security solution, incorporating third-party solutions, WordPress’ settings, extra PHP, and a number of WordPress plugins. Let’s recap the four steps you’ll need to take:
- Choose a suitable WAF for your site.
- Protect against malicious intrusions, including brute force attacks.
- Change the login address of your admin and login page URLs.
- Add an extra login layer to board up entry to your website.
Do you have any other favorite methods to secure your site, and if so, what are they? Let us know in the comments section below!
Featured image: DariuszSankowski.


No Comments
Start the conversation