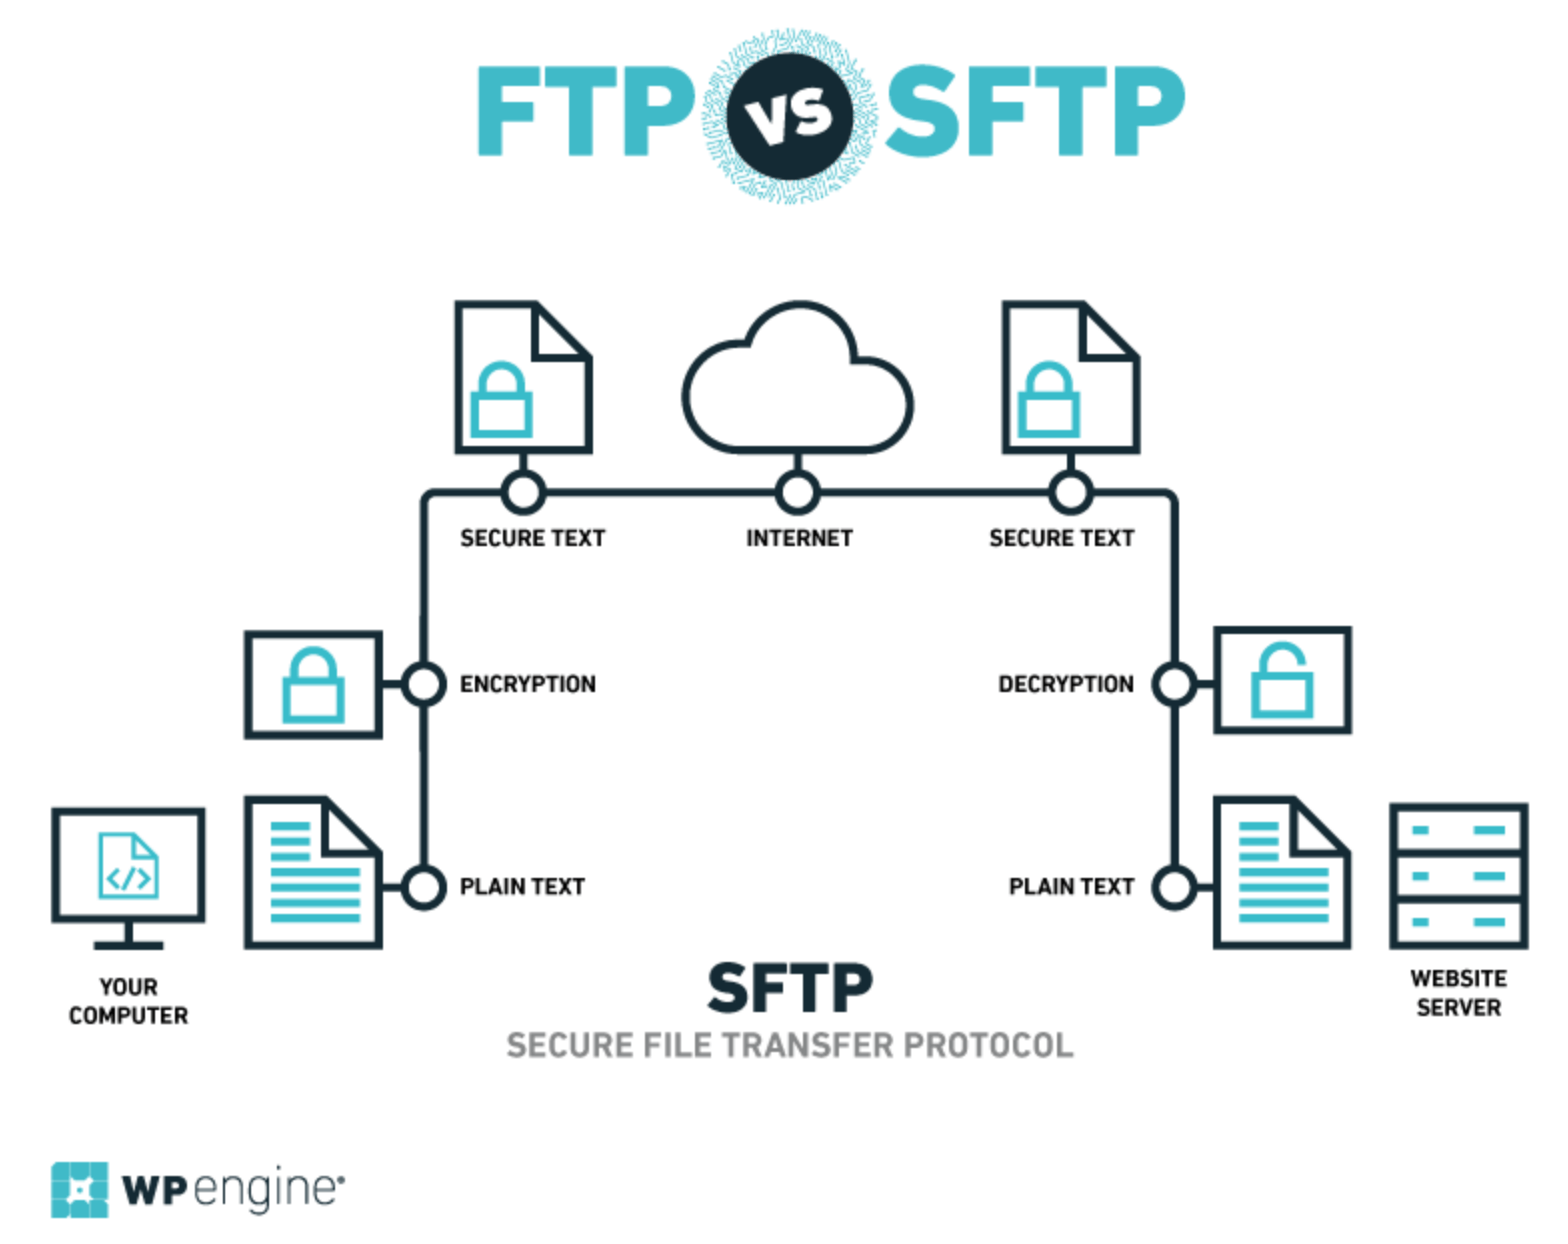
Most people use File Transfer Protocol (FTP) to shuttle files and data between their computers and servers. However, although your security provisions may stretch to your live site, the data traveling via FTP will likely remain vulnerable.
To enhance security, it is advisable to use both Secure Shell Access (SSH) and Secure File Transfer Protocol (SFTP) in combination. This way, your data is safe from prying eyes and malicious usage. What’s more, it’s not tough to implement SSH and SFTP into your workflow.
In this post, we’ll introduce both solutions and discuss why they’re necessary. Then we’ll talk about what you’ll need to get started, and explain how to combine the use of SSH and SFTP effectively!
Comprehensive Guide to SFTP: Secure File Transfers

First, let’s discuss FTP, which is a common way to access your site’s server. For the uninitiated, FTP enables you to enter a set of connection credentials, which will then let you access the files and folders on your web server. This is done through a dedicated client, meaning you can work within a pleasant Graphical User Interface (GUI) that you’re comfortable with, rather than the command line.
Although FTP isn’t the only way to get under your website’s hood, it’s usually a much quicker method for tackling technical site administration than your WordPress back end. Plus, it’s also quicker for your server to deal with (since you’re directly connecting to it), as compared to the multiple layers involved when logging into WordPress.
For all of these reasons, FTP has become a very popular solution for both beginners and experts to access their servers. However, one big flaw is that the entire process is insecure, and open to malicious intent. In layman’s terms, this is due to the way the data is sent over the network, which uses multiple connections (or ‘channels’). Enter SFTP, which encrypts the connection with SSH using just one channel. As such, while SFTP and SSH are technically separate concepts, they ultimately work in tandem as ‘SFTP’.
How to Implement SSH and SFTP on Your Website (In 3 Steps)
The good news is that implementing a secure method of connecting to your server is a relatively simple process. In fact there are only three steps.
Step 1: Choose a Suitable SFTP/SSH Client and Host
As we’ve discussed, connection between your computer and server requires an intermediary. While you could connect via the command line or terminal, that’s not the most intuitive or easy process for many users. Instead, we recommend a dedicated FTP client. There are plenty of solid options to choose from, although FileZilla is a stand-out choice:

It’s open-source, free to use, and constantly updated and maintained. What’s more, if you get stuck there are plenty of WordPress-specific guides available to help you. There’s also comprehensive documentation that delves into FileZilla’s functionality further.
Once you have a suitable FTP client, you should also consider whether your host allows an SFTP connection. Most do – for example, WP Engine even has a dedicated knowledge base article on how to connect via SFTP. Ultimately, you’ll need to chat to your host if you can’t find any reference to their SFTP provisions online. They’ll be able to point you in the right direction, which usually includes finding the relevant credentials.
Step 2: Find Your User Credentials
Next up, you’ll want to locate your correct user credentials. Your host should be able to help you with this, although they’re usually delivered via email during your initial signup. It’s important to bear in mind that some hosts will change the name of your server if you upgrade your plan.
How you find your credentials will obviously depend on your web host. If you’re a WP Engine user, you can carry out the following steps:
- Navigate to your User Portal, and choose the SFTP users tab.
- At the top of the page you’ll see your SFTP address and port number, which you should note down.
- If you see a There are no SFTP users for this install notification message on the screen, you’ll need to first create a dedicated user.
For cPanel users, your credentials can be found via User Area > My Accounts > Information & Settings. At this point, you’re ready to connect to your server.
Step 3: Connect to Your Server via SSH
Once you have your credentials and a suitable client in place, the final step is to connect to your server. If you haven’t already done so, making a backup of your website at this point is a solid idea, and can pay dividends if the worst happens while tinkering within your site’s back end.
For WP Engine users, connecting to your server simply requires typing the credentials you jotted down earlier into the relevant fields in FileZilla, which can be found at the top of the client:

If all is well, you should be able to connect to your server and browse its content. However, cPanel users have a slightly more convoluted process to work through before being able to connect. The first two steps will take place within cPanel itself:
- Generate an SSH key pair from the cPanel > SSH/Shell Access screen, and click on its associated private key link.
- Copy the text that appears, and paste it into a plain text document with the .ppk extension.
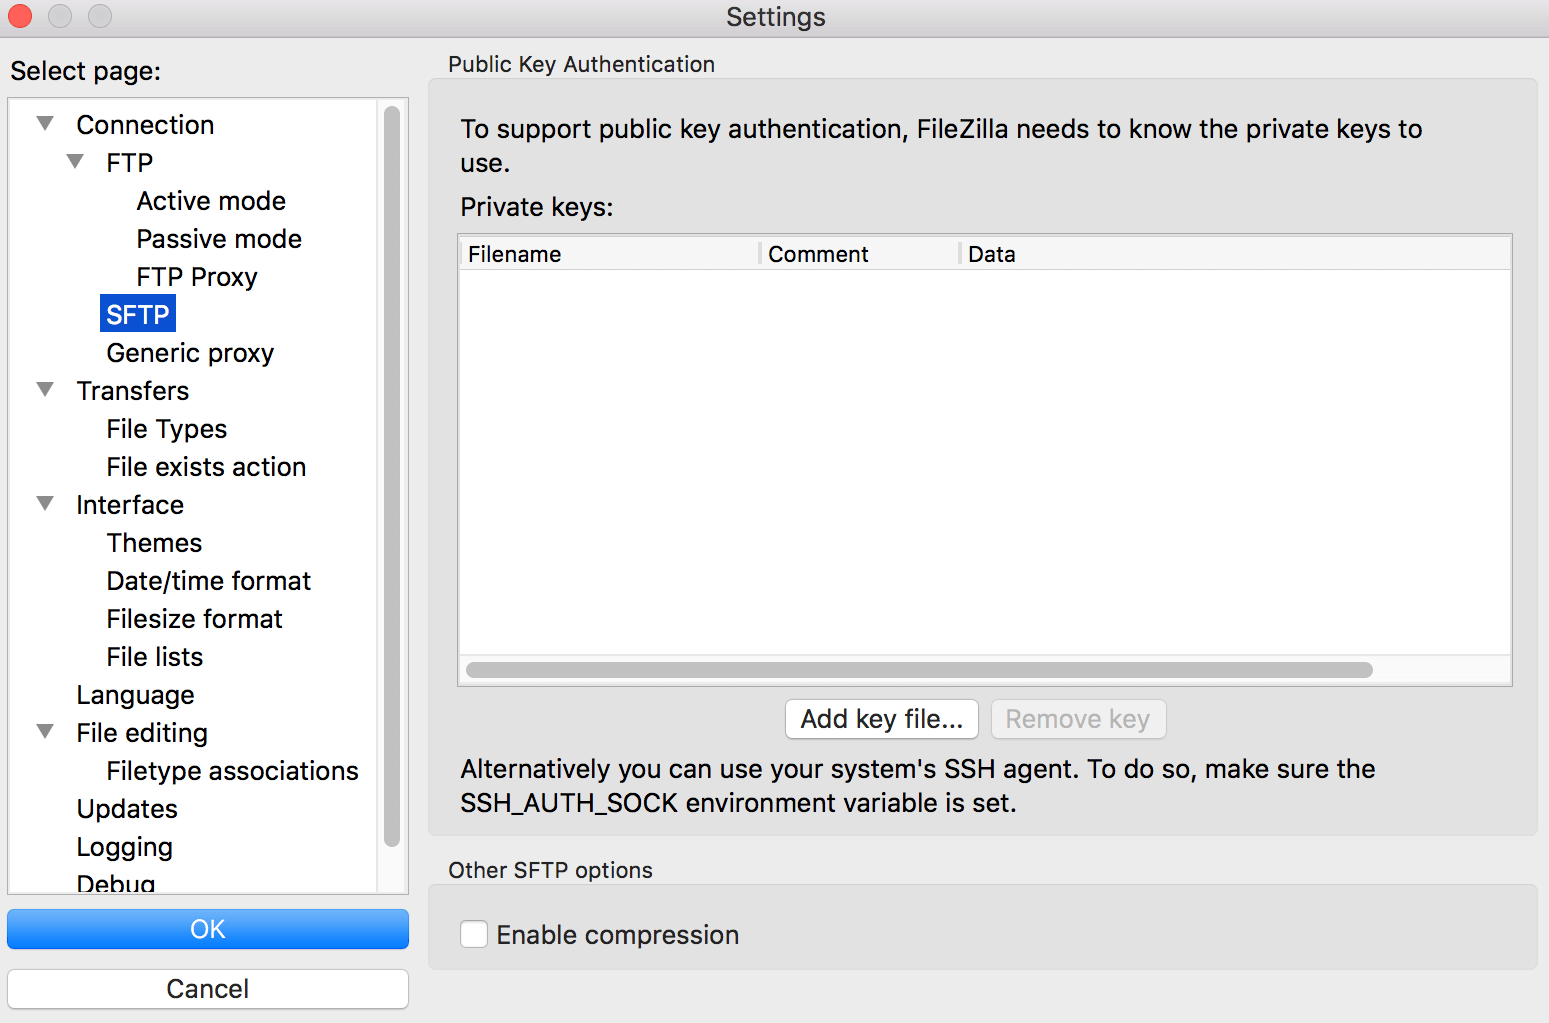
At this point, open FileZilla, navigate to the Settings menu from the toolbar, and choose the SFTP tab from the left-hand menu:

Next, click Add key file… and select the .ppk file you created earlier. Click Yes at the prompt asking you to convert the file into the correct format, before saving the generated key file on your computer.
At this point, you’ll be able to connect to your server using FileZilla via SFTP, with the credentials you obtained earlier. That’s it – you’ve now established a more secure connection!
Final Thoughts on Secure File Transfer Protocol (SFTP) Advantages
While there are multiple ways to secure your website, SFTP is one technique you may have missed. If you’re still connecting to your web server using FTP, you’re putting your site’s data at risk. This connection is a virtual ‘open window’ that should remain locked to the outside world.
This post has tackled the concepts of SFTP and SSH, and outlined why encrypted data is necessary when creating a modern website. We then looked at how to implement SSH and SFTP. Let’s quickly recap the steps:
- Choose a suitable SSH client and host.
- Find your user credentials.
- Connect to your server via SSH.
Do you have any questions about connecting via SSH and SFTP? Ask away in the comments section below!
Featured image: PublicDomainPictures.

1 Comment