If you want to show off a collection of images on your website, a gallery is the ideal solution. Fortunately, WordPress makes it simple to put together a basic image gallery, but if you really want yours to stand out you may need to go beyond the basic option.
To do that, you can install a WordPress gallery plugin. This lets you personalize your galleries to meet your exact needs. The NextGEN Gallery plugin, which provides various gallery and album styles along with a host of customization options, is a perfect example.
In this article, we’re going to talk briefly about the ways you can use a customized image gallery on your WordPress site. We’ll then walk you through the process of creating one. Let’s get started!
Why You May Want to Include an Image Gallery on Your Website
Images are vital on your website – that probably comes as no surprise. They’re often more compelling and engaging than simple text, and you can use them to highlight important elements and support your content.
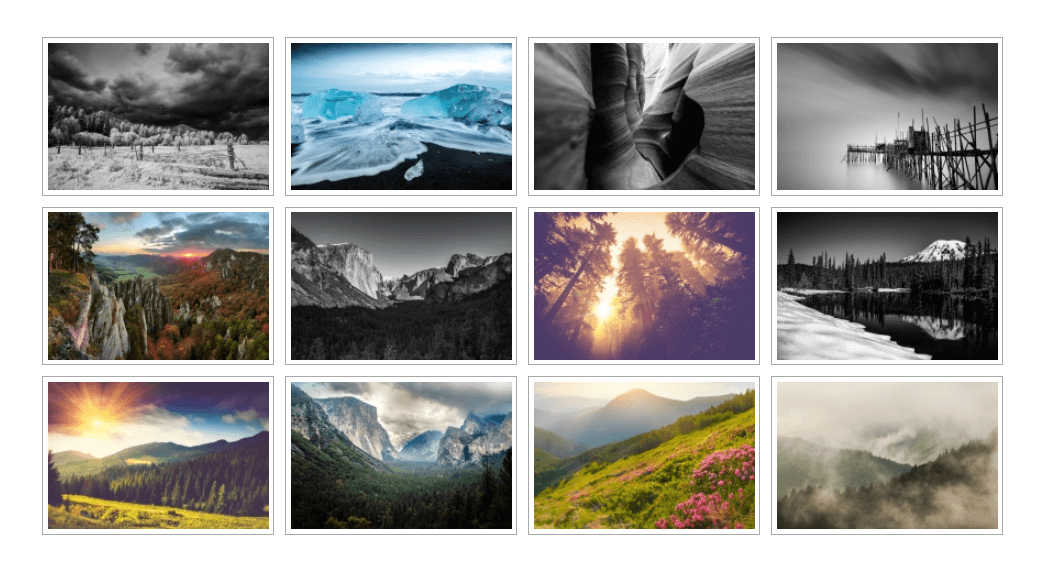
However, if you want to display a lot of images in the same place, embedding them separately can look messy and unprofessional. That’s where image galleries come in:
A gallery is simply an organized collection of images, usually divided into rows and columns. Galleries can have a wide range of uses on your website:
- If you’re a photographer or another type of visual creative, you can use a gallery to show off your work.
- Businesses can use galleries to display product images.
- On an event-focused website, such as a wedding site, galleries come in handy for showcasing photos of the occasion.
Of course, this is just the tip of the iceberg and you can use an image gallery for any purpose you like. What’s more, you can customize it to reflect your specific needs, as long as you have the right plugin.
An Introduction to NextGEN Gallery
If your site is built with WordPress, putting together an image gallery is simple. There’s built-in functionality that enables you to create a gallery and add it to any page or post. However, your options for customizing your galleries are quite limited.
That’s why you may want a dedicated image gallery plugin. These expand or even replace WordPress’ default functionality, providing additional options and features. The most popular option is NextGEN Gallery:
This WordPress gallery plugin enables you to create simple and complex image galleries with ease. You can build traditional galleries or design slideshows, and even create entire albums of galleries. Then you can tweak your galleries to look just right, through custom sizes, styles, effects, and so on.
NextGEN Gallery also provides you with a management system for your galleries, complete with features that help you build and edit them more efficiently. This includes the ability to upload photos in batches rather than one at a time, as well as to rearrange and sort your images at will.
Best of all, this is a free solution available in the WordPress Plugin Directory. While it contains a lot of features on its own, there are also premium extensions if you want to expand what it can do (along with a Pro bundle). For now, let’s look at how to create an image gallery using the base version of the plugin.
How to Create a Compelling Image Gallery for Your WordPress Site (In 3 Steps)
We’re now going to walk you through the process of building an image gallery using NextGEN Gallery. We’ll also show you how to customize your gallery to suit your needs.
You’ll first want to download and install the plugin in question. After that, we can get to work!
Step 1: Create a Gallery and Upload Images
Once you install NextGEN Gallery on your site, you’ll see a new section in your admin dashboard labeled Gallery. Here, you’ll find everything you need to build, edit, and manage your image galleries.
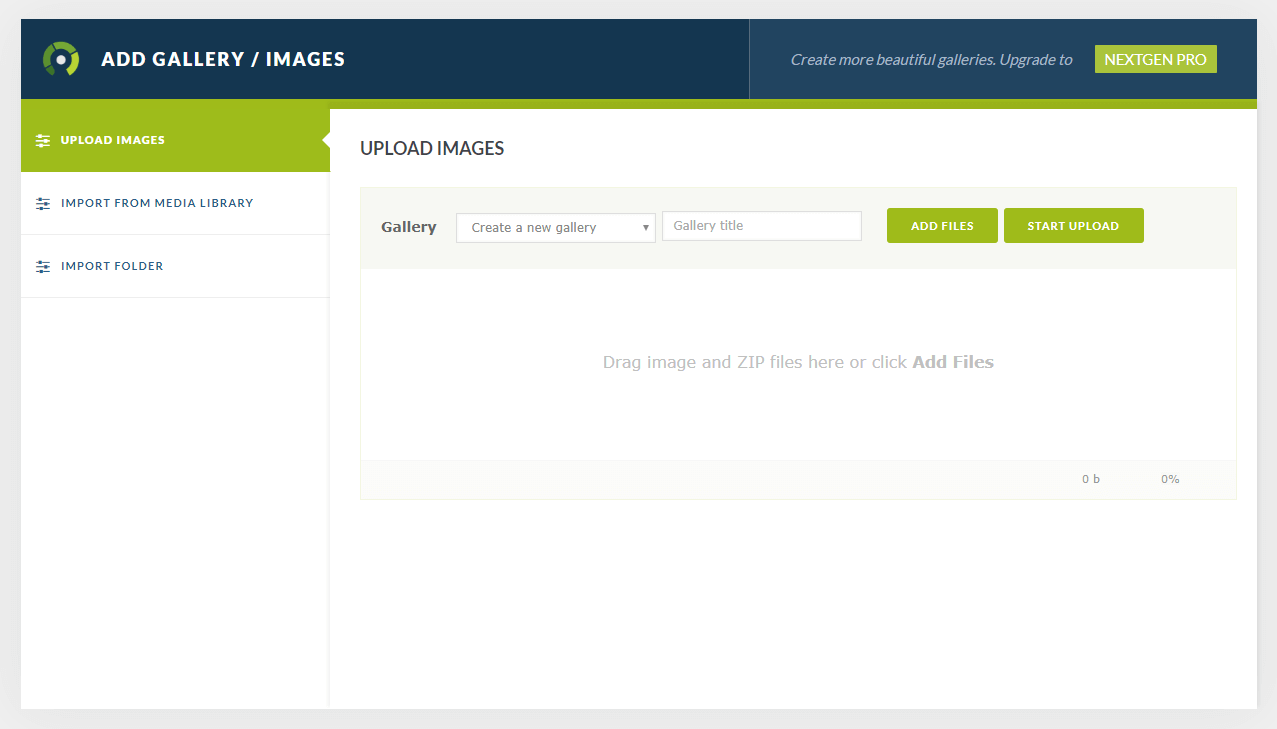
The first thing you’ll want to do is click on the Add Gallery/Images tab:
Make sure Create a new gallery is selected, and give your gallery a title. This won’t be displayed on the front end – it’s just for your reference – so make it specific and descriptive.
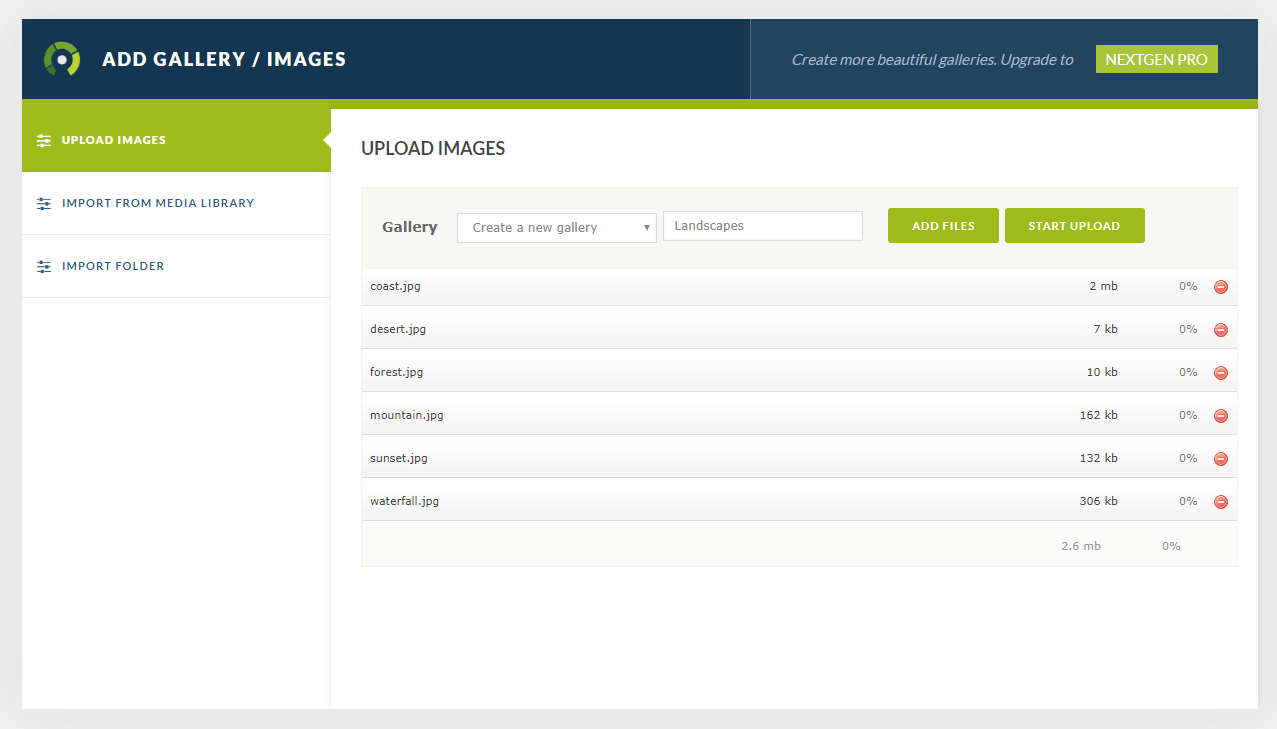
Then, click on Add Files to start including images in your gallery. You can select as many files as you want from your device, and they’ll appear in the list below:
Once you’ve included all the images you want to import, click on Start Upload. Once the process is done, you’ll see a success message. You can upload more images if you like at any time, by choosing your new gallery’s name from the Gallery drop-down menu.
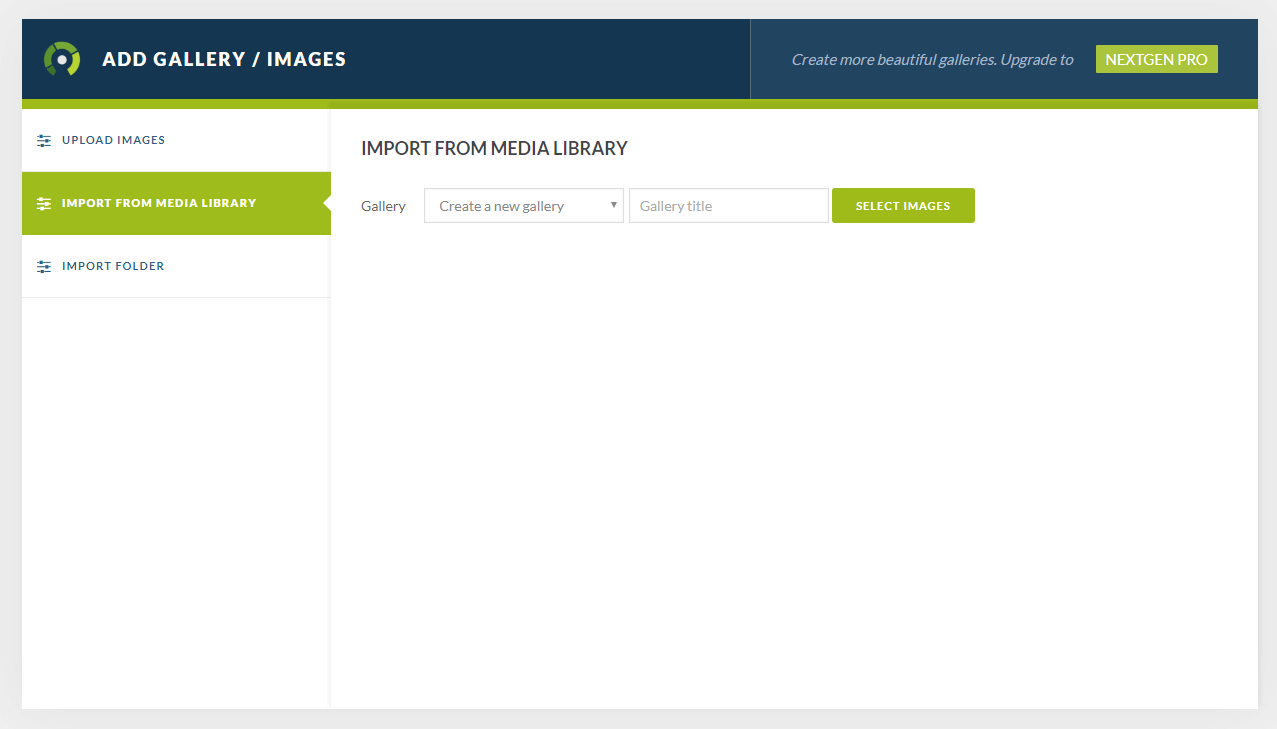
It’s also worth noting that you can include images you’ve already uploaded to your WordPress site. To do that, select the Import From Media Library option in the left-hand menu:
Just as on the previous screen, you can create a new gallery and give it a title. Then, use the Select Images button to include as many files from your media gallery as you need.
Step 2: Edit Your Gallery’s Settings
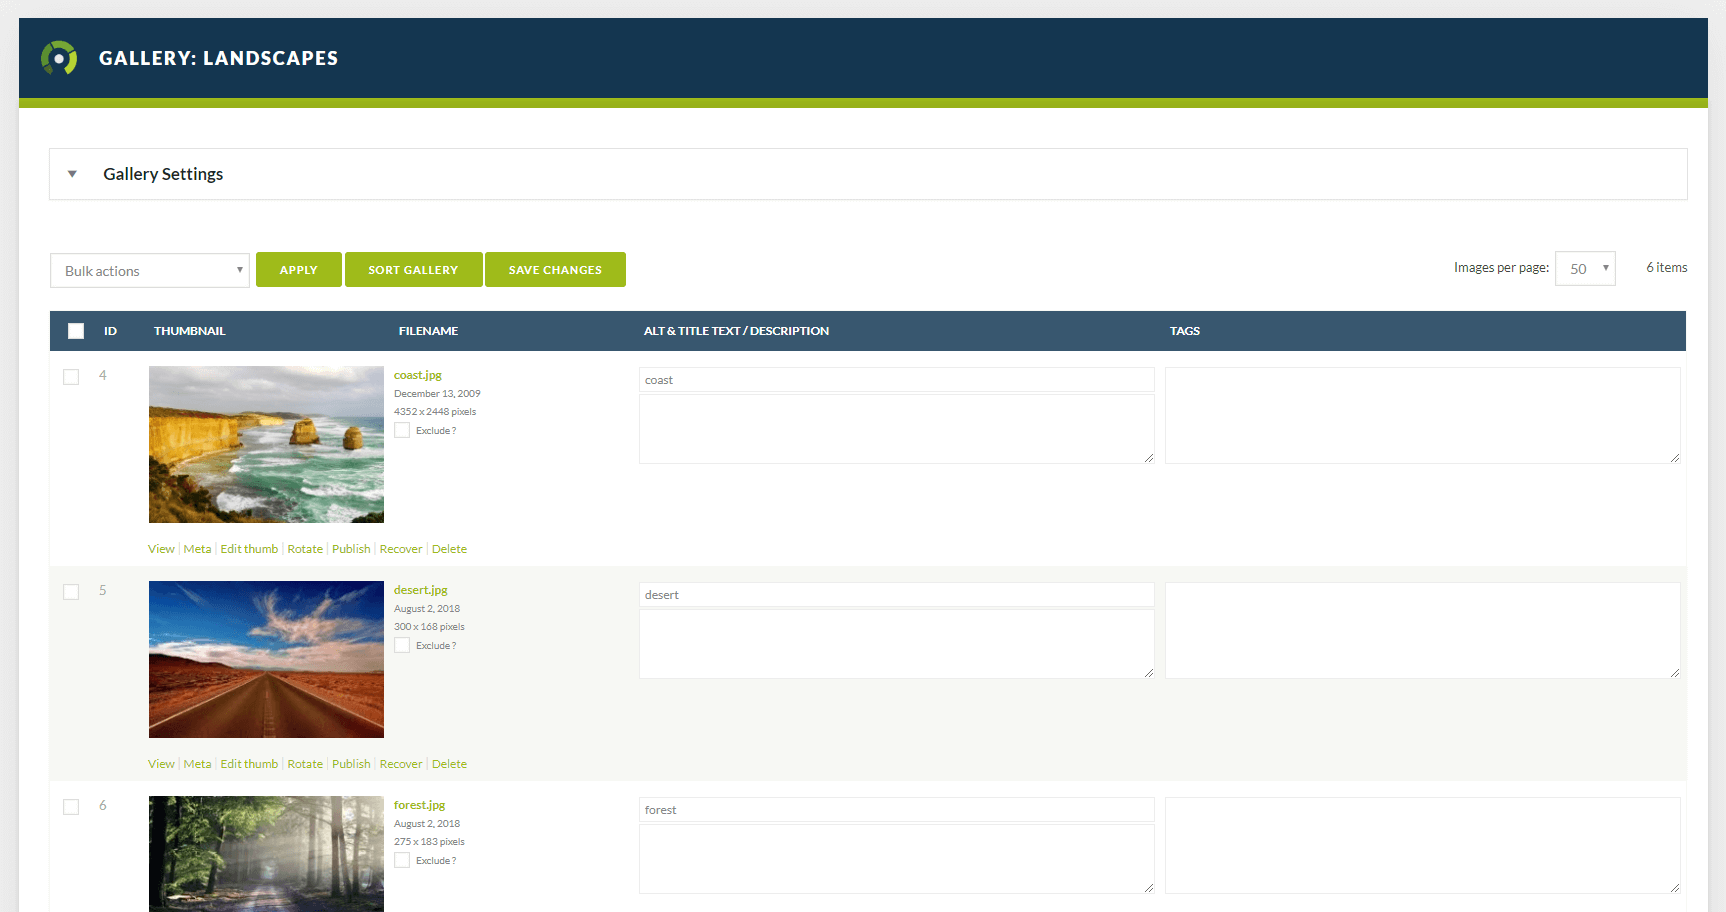
After you’ve created your gallery, you’ll find it listed under Manage Galleries. If you select the gallery’s name, you’ll see some information about it and a list of all included images:
There are a number of things you can do on this screen to add key details to your gallery. For example, next to each image you can set its alt text, a description, and associated tags. You can also use the links under each image to preview the image, rotate it, edit its thumbnail, and more.
If you select Gallery Settings at the top of the page, you’ll find some more general options:
You can change the gallery’s title, give it a description, and alter where it’s saved in your site’s files. Under Preview image, you can even select which image in the gallery will be used to represent it if you make it part of an album.
Remember to save your changes here when you’re done. It’s also worth noting that there are a lot of other global settings you can customize in the Gallery Settings tab, which you can read more about in the plugin’s documentation.
Step 3: Place Your Gallery and Customize It
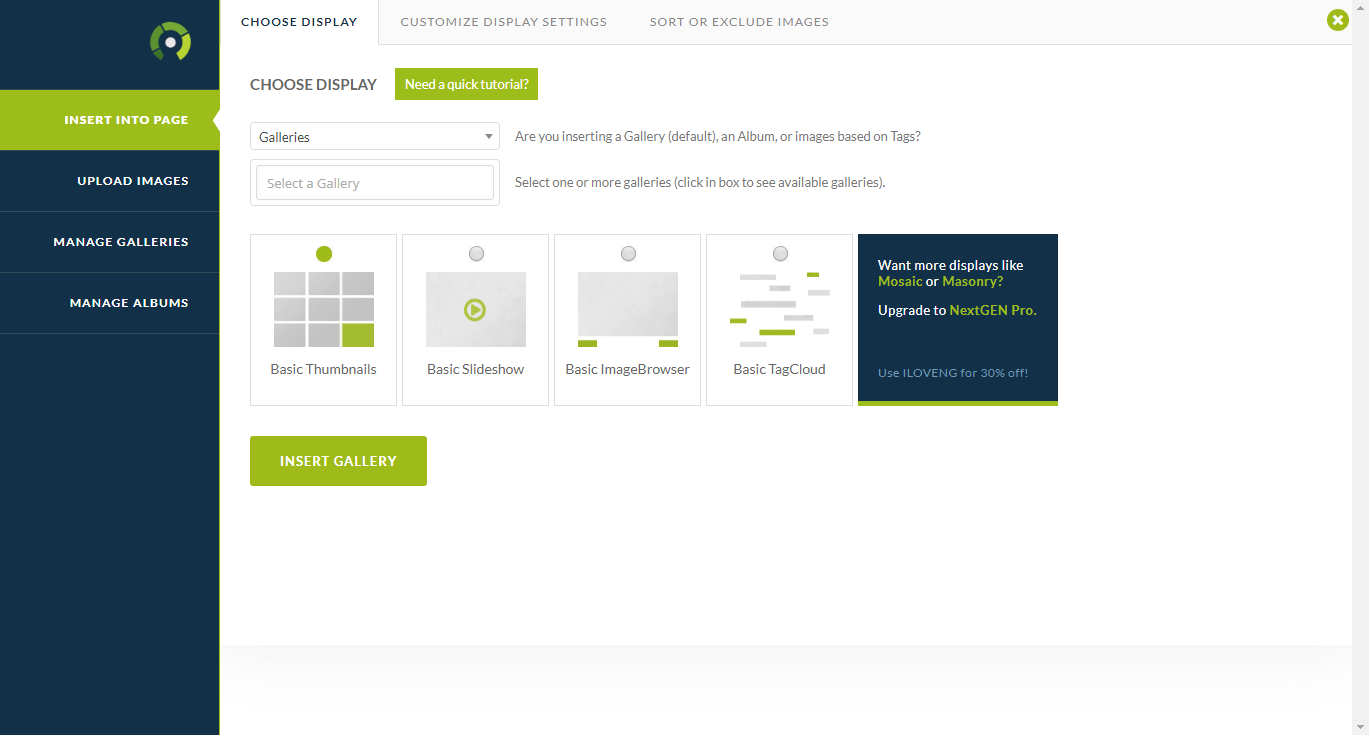
Finally, it’s time to add your new gallery to your site. To do this, open up any page or post, and select the Add Gallery button at the top of the editor:
Make sure Galleries is selected in the first drop-down menu, then choose the name of your gallery in the field below. After that, you can pick a layout for the gallery. While the Basic Thumbnails option is the most traditional choice, a slideshow is a fun and dynamic option.
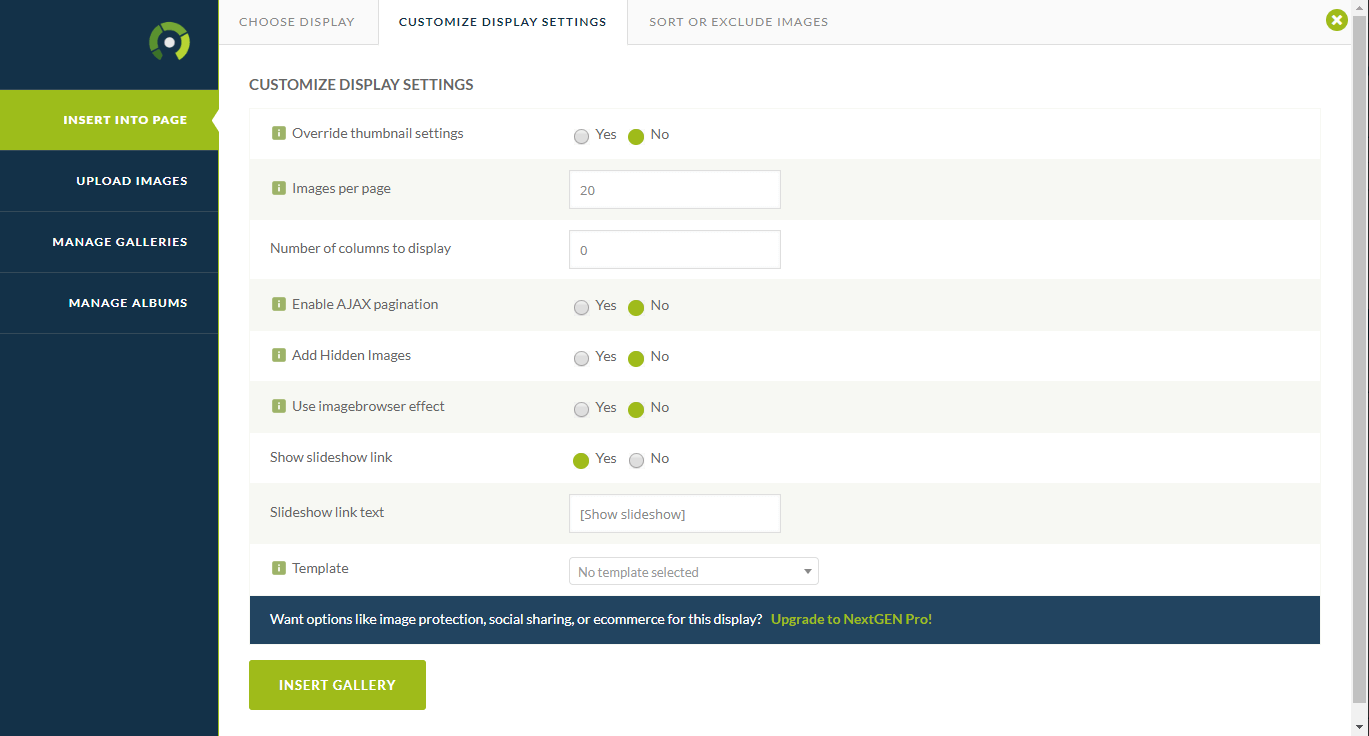
You can also use the Customize Display Settings tab to alter a few key characteristics of your gallery:
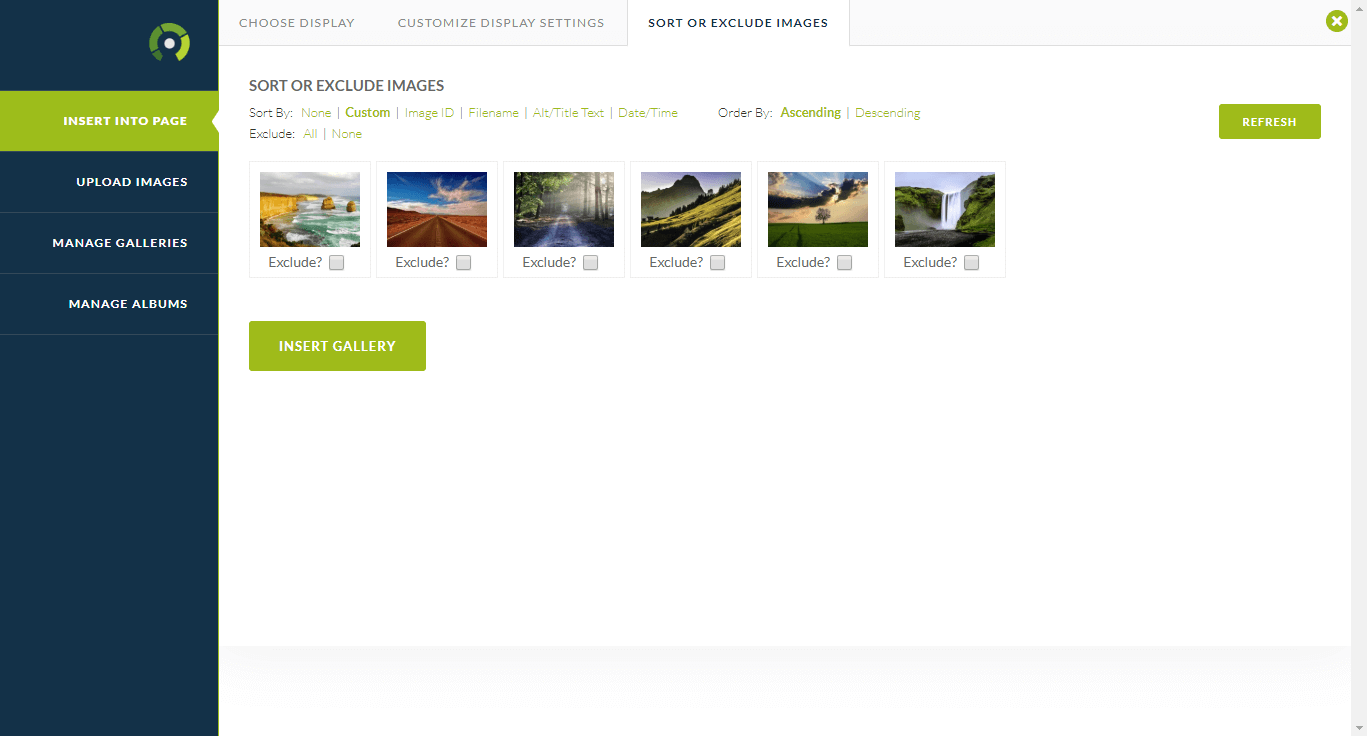
Finally, under Sort or Exclude Images, you can drag-and-drop the thumbnails to arrange them in a specific order, or remove images from the gallery:
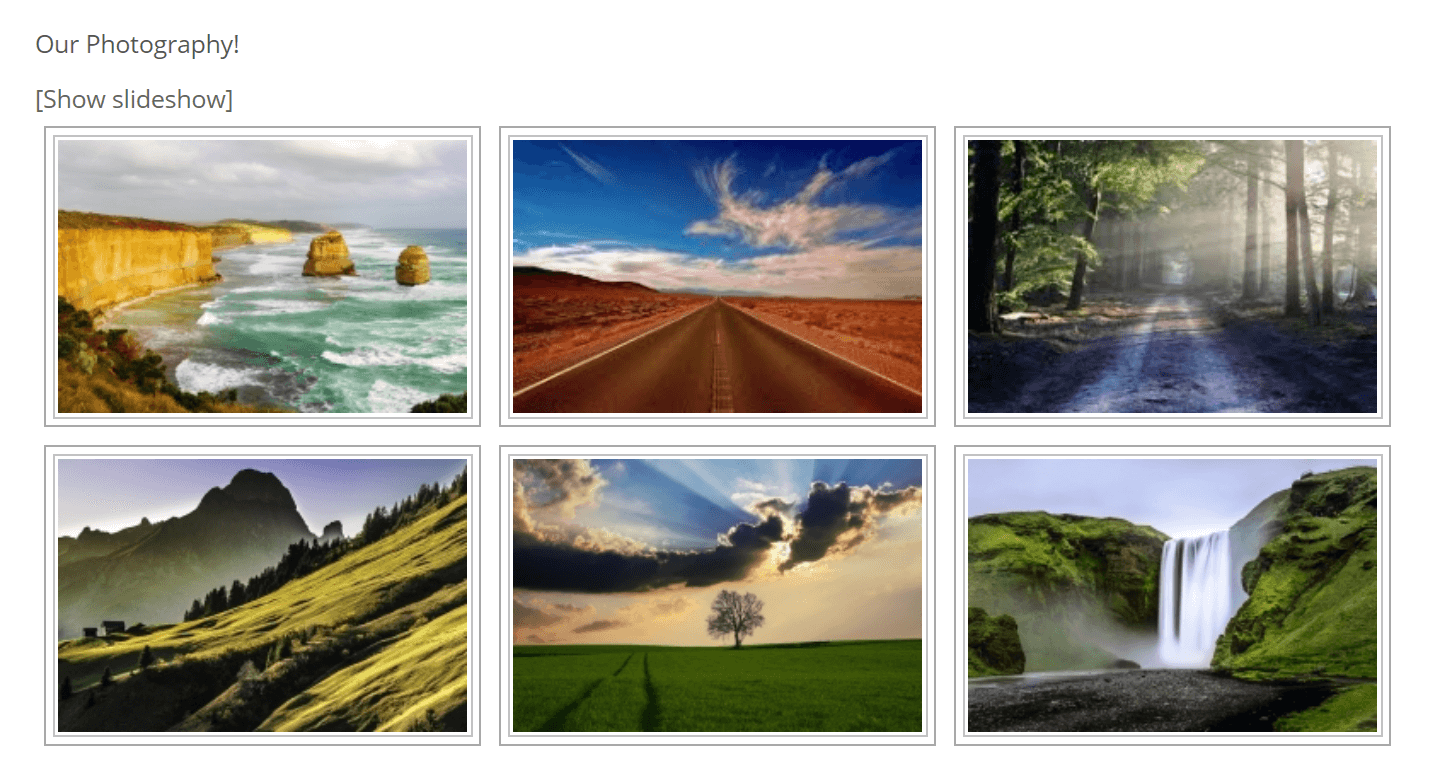
When you’re done, you’ll see a placeholder for your gallery in the WordPress editor. You can also check it out on your site:
That’s it! Of course, there’s a lot more you can do with the NextGEN Gallery plugin. For instance, you can create albums that organize multiple image galleries onto a single page. These options are explained in the plugin’s documentation, which is worth reading if you want to get the most out of its features.
Conclusion
Image galleries are a staple of many sites, and for good reason. They’re an easy and attractive way to show off a lot of photos or other media in an organized fashion. However, WordPress users often find the platform’s default gallery functionality lacking.
Fortunately, this is an easy problem to fix. The right WordPress gallery plugin makes creating and perfecting compelling image galleries a simple process. Using NextGEN Gallery, all you need to do is:
- Create a gallery and upload images.
- Edit your gallery’s settings.
- Place your gallery and customize it.
Do you have any questions about how to customize your WordPress image galleries? Let us know in the comments section below!
Image credit: Alexas_Fotos.



1 Comment
Join the conversation