Headless WordPress is becoming increasingly popular with developers who want greater control over their content. However, at some point you’ll need to create a front end for your headless Content Management System (CMS).
Thankfully, there are tools that can take a lot of the complexity out of building a custom front end. With the recent release of the Gatsby Source WordPress integration, it’s now easier to pair this popular static site generator with your headless CMS and build a beautiful public face for your content.
In this article, we’ll explore what Gatsby is, and what the new integration means for WordPress developers. We’ll then show you how to build a simple website using WordPress and the Gatsby static site generator. Let’s get started!
An Introduction to the Gatsby Framework (And Why You Might Want to Use It)
Gatsby is a React-based static site generator that’s powered by GraphQL. It gives you the freedom to design and build your own front end while continuing to use the familiar WordPress back end to create and manage content. This makes the Gatsby framework a popular choice amongst WordPress developers who want to create a headless setup.
Unlike some other React technologies, Gatsby focuses firmly on speed. This site generator builds your project using static HTML files optimized for performance.
To deliver a further performance boost, Gatsby only loads necessary files. This helps keep your loading times to a minimum, while giving Gatsby the flexibility to call upon additional resources as required.
By reducing your page load times, the Gatsby framework can reduce your bounce rate and encourage people to visit more of your website. This can increase key metrics including the time spent on your site, and may help drive more conversions.
Additionally, Google has confirmed that it uses page speed as a ranking factor when evaluating where content should appear in its search results. By opting for a performance-focused solution such as Gatsby, you may experience a Search Engine Optimization (SEO) boost.
On the other hand, Gatsby does have a reputation for being difficult to learn, particularly compared to the competing Frontity framework. However, the Gatsby team recently announced that the official Gatsby Source WordPress integration is now stable.
By using this plugin in combination with the WPGatsby plugin and the WordPress Gatsby starter site project, you should now find it easier to pull data from your WordPress installation and display it using Gatsby.
How to Build a Website Using WordPress and Gatsby (In 4 Steps)
Now that we’ve covered what Gatsby is and why you might want to use it, let’s see how you can get started with this popular site generator. In this section, we’re going to build a simple starter website by connecting Gatsby to an existing WordPress installation.
Step 1: Prepare Your Development Environment
We’ll be creating our starter site using the WPGatsby plugin, which optimizes your WordPress website to function as a data source for Gatsby. We’ll also create a connection between WordPress and Gatsby using the WPGraphQl plugin:
The WPGatsby plugin creates an admin event log that Gatsbsy will use to pull content changes following the initial build. If you decide to continue working on this project, WPGatsby provides everything you need to trigger these builds automatically, including Gatsby Preview.
After installing and activating WPGatsby and WPGraphQl, you’ll need to ensure you have Node Package Manager (npm), the Node.js runtime, and Gatsby installed on your computer. The easiest way to download all of these components is to use the Homebrew package manager. This program is available for macOS and Linux:
To install Homebrew, open the command line application on your computer. Then, run the following command:
/bin/bash -c "$(curl -fsSL https://raw.githubusercontent.com/Homebrew/install/HEAD/install.sh)"You can then install Homebrew by following the instructions provided. Once it’s up and running, you can install Node.js and npm using a single command:
brew install nodeNext, it’s time to install the Gatsby CLI tool. We’ll use this npm package to run commands for developing Gatsby-powered sites. In your command line application, enter the following:
brew install gatsby-cliNote that depending on how your computer is set up, you may need to edit your file permissions at this point. If you do need to make some changes, your command line application should display all the information you need.
Step 2: Download the Gatsby Framework Starter Project
To minimize the amount of setup required, we’ll be using the Gatsby starter project. This project ships with the core Gatsby WordPress configuration files.
To install the Gatsby starter project you’ll need Git version control. If you don’t already have it, you can download the latest version from the official website:
After installing Git, change directory (cd) so your command line is pointing at the location where you want to create your local Gatsby site. For example, if you wanted to create your site on the Desktop, your command might look something like this:
cd/Users/username/DesktopTo create a new project using the WordPress Gatsby starter site, run the following command:
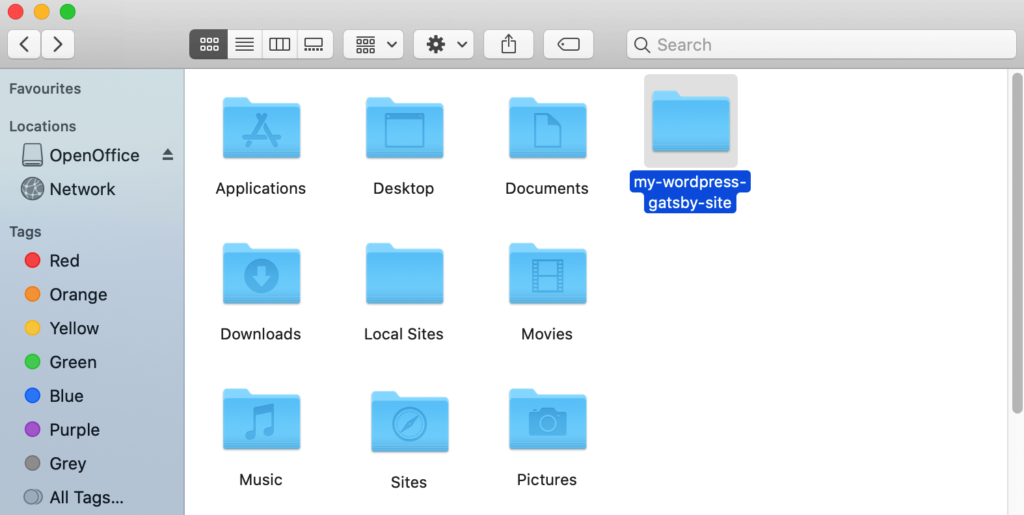
gatsby new my-wordpress-gatsby-site https://github.com/gatsbyjs/gatsby-started-wordpress-blogThis process may take a few minutes. However, once it’s complete you’ll notice that Git has created a new project in the location you specified:
You can now start building your site’s front end.
Step 3: Start the Gatsby Framework Development Server
The command line will now prompt you to start developing your project by providing two commands. Depending on where you created your Gatsby project, these commands should look something like this:
cd my-wordpress-gatsby-site

gatsby develop
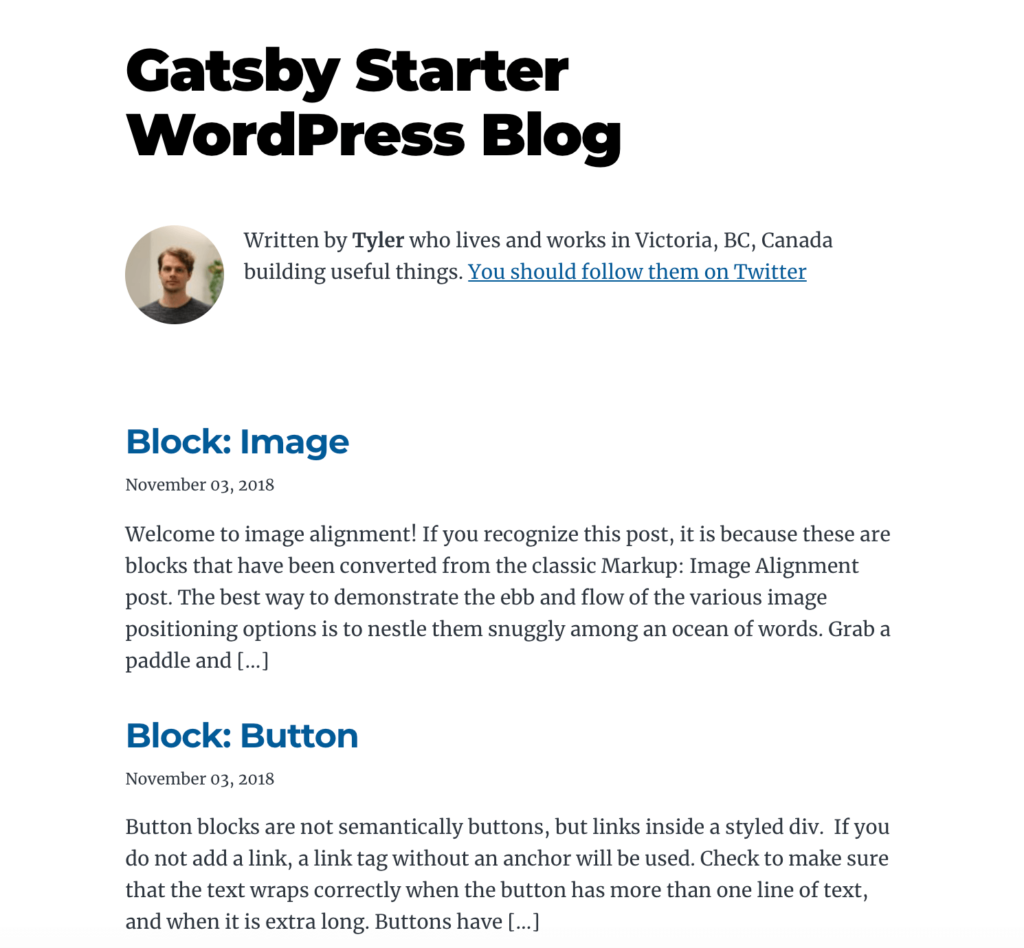
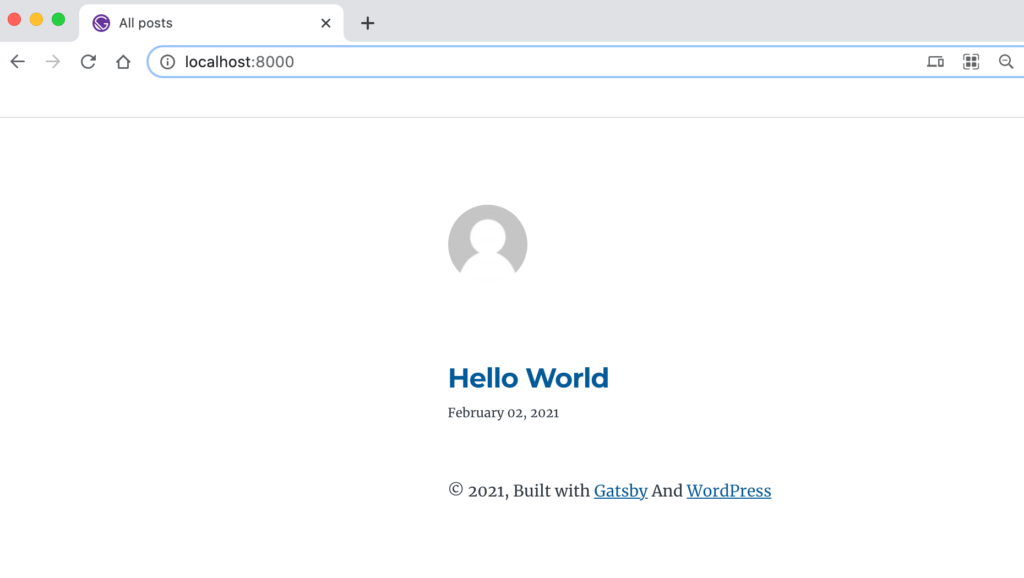
To start the development server, run these two commands. That’s it – your demo site is now running within your development environment. You can view your site locally by opening a new tab in your browser and navigating to http://localhost:8000/:
At this point, the Gatsby framework is only displaying dummy content. In the next step, we’ll connect Gatsby to your WordPress installation so you can display your own posts and pages.
Step 4: Connect Gatsby to WordPress
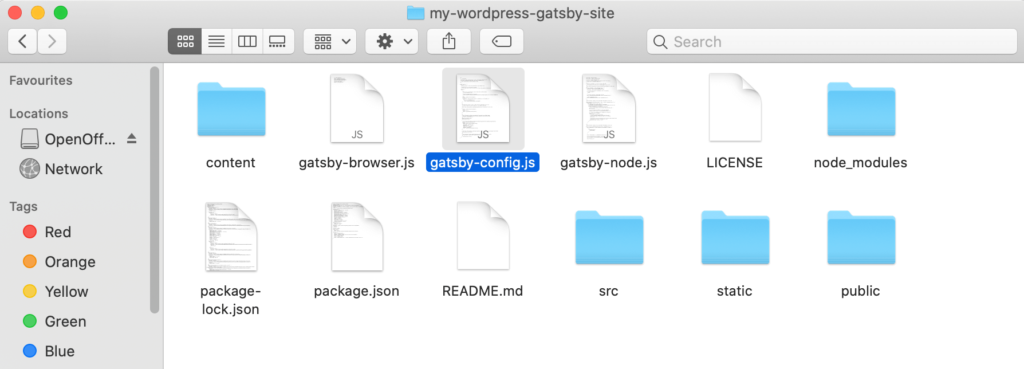
If you open your local Gatsby directory, you’ll find all the files for the Gatsby starter site. You can then locate the gatsby-config.js file and open it in any compatible text editor:
To connect WordPress to Gatsby, you’ll need to point Gatsby at your site’s URL. In your text editor, find the following section:
url:
process.env.WPGRAPHQL_URL ||
'https://wpgatsbydemo.wpengine.com/graphql'
You can replace the URL with the /graphql endpoint you created when you installed the WPGraphQL plugin. By default, WPGraphQL will add this endpoint at http://yoursite.com/graphql. For example if your website is example.com, you’d need to add the following:
url:
process.env.WPGRAPHQL_URL ||
'https://example.com/graphql'
After making this change, save the file and close your text editor. In your web browser, refresh the http://localhost:8000/ tab. When the page reloads, it should display your WordPress website:
If your content doesn’t appear, you may need to quit the gatsby develop process by exiting the window for your command line application. You can then open a new command line window, change directory (cd) so it’s pointing at your local Gatsby project, and re-run the gatsby develop command. Your website’s content should then appear in the localhost tab.
Conclusion
The Gatsby framework can improve your website’s performance and search engine rankings, but historically it hasn’t been the easiest tool to learn. However, with the release of its new WordPress integration plugin, you can now create a simple front end with minimal hassle.
Let’s recap how you can build a website using WordPress and Gatsby in four easy steps:
- Prepare your development environment.
- Download the WordPress Gatsby Starter project.
- Start the Gatsby development server.
- Connect Gatsby to WordPress.
Do you have any questions about building a website using WordPress and Gatsby? Let us know in the comments section below!



No Comments