Small details can make a big difference in how your website is perceived and adding a favicon to your WordPress website is one of those tiny details.
In case that term causes you to draw a blank, favicon stands for favorite icon. It’s the tiny image that represents your website in a browser’s favorite menu, tabs, and wherever else it is represented visually.
Having a favicon is good for brand recognition, giving your site a visual identity and building trust with your audience. For that reason, in this article, we will show you how to include one on your site. We will first talk about why you should use a favicon at all, how to create one, and then how to add one to your site.
We have lots of ground to cover so off we go.
Why Add a Favicon to Your Site At All?
As mentioned in the introduction, a favicon is part of your website’s identity. However, it’s also good for usability and user experience. How so? Let’s talk about that.
Stand Out in Web Browsers
First of all, a favicon allows your site to be more recognizable in web browsers. It’s no secret that most users these days will have more than one website open in their browsers. Having a favicon lets them identify your site among many other open tabs.
Which one of the tabs in the image above is Torque? You can identify it by the logo alone. Plus, you can probably make out some of the other sites from their favicons. Without them, you would have to solely rely on the beginning of the site or article title. Having to click every tab is definitely not efficient.
Look Professional
In addition to helping users find the tab they are looking for, imagine in the example above that your site is the only among many (including your competitors) that don’t have a favicon.
Now, which of those sites would you rather make a purchase from? Even if it’s your own website, you must admit that the other ones just look more professional and trustworthy. That’s exactly the small details that users base their purchase decisions on.
Improved Mobile Experience
These days, providing a good mobile experience is key. Besides having a responsive website that can also mean giving users the opportunity to add your website directly to their device’s home screen.
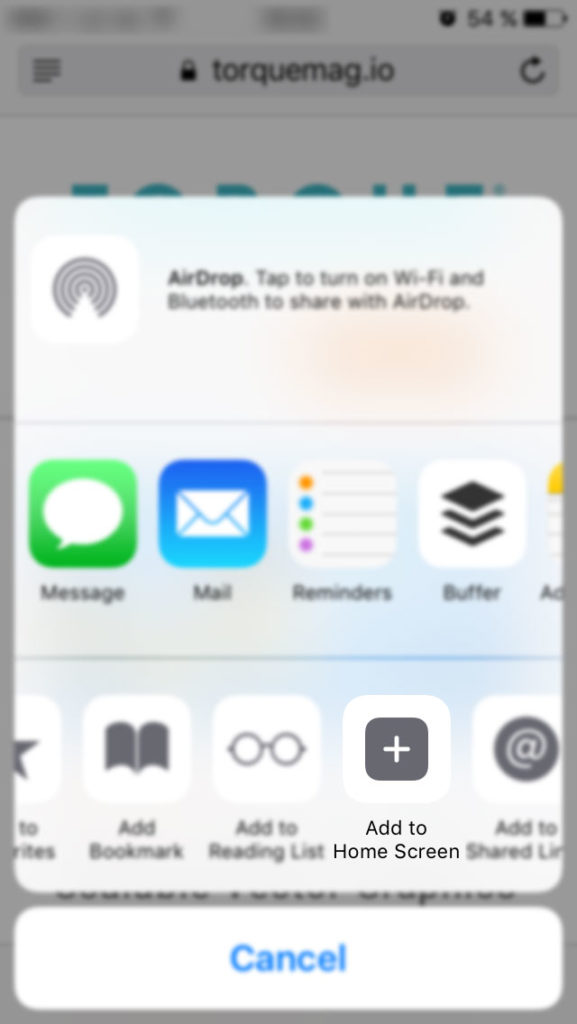
It’s actually quite easy to do so. In iOS, just access a website via your phone’s browser. Then click the share button at the bottom.
From here, choose Add to Home Screen.
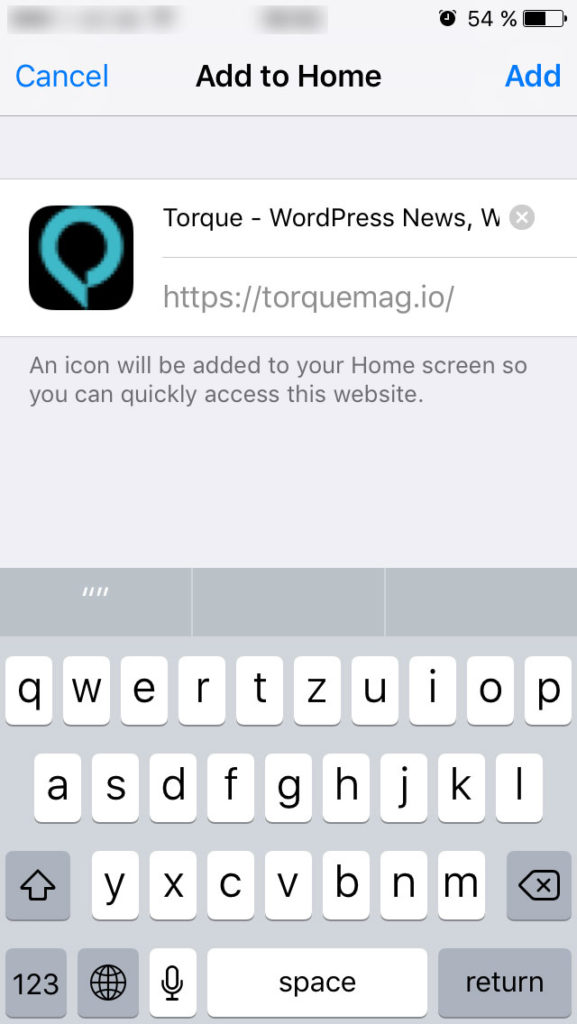
After that, you have the opportunity to modify the name.
When you click Add, it will then land on your home screen.
(If you are an Android user, refer to this guide.)
The important thing is, when people do this, mobile devices will also use the favicon to represent your site on the phone screen. This further increases your branding and recognizability.
Are those good enough reasons? We think so, too. So, how do you create a favicon? Let’s talk about that briefly now.
Creating a Favicon for Your WordPress Website
Jon Hughes already wrote an excellent article on how to create favicons for WordPress websites. For that reason, will only touch on the topic briefly
Decide on a File Format
When they began, favicons were usually done as ICO files. Their advantages: universal support, the ability to store multiple versions of an image and support for transparency.
However, today’s browsers all also support modern file formats like PNG, JPG, GIF (even animated) and SVG (don’t miss our article on SVG files for WordPress). As a consequence, many use PNG images for favicons as they offer good support, are easy to create and also make transparency possible.
Since both formats have the pros and cons, the best option is to have both in place for maximum support. While you are at it, you might even want to add Apple Touch Icons and Windows 8 Tile Graphics.
As for the format, favicons are usually square, so we recommended you adhere to that. When creating one yourself, the recommended size is 512×512 pixels. Most people also use a transparent background, however, that is not a must.
Pick a Tool
We have several options to create favicons. The first are image editing software like Photoshop and GIMP (the latter is free). However, there are also online services like Favicon Generator.
This last one is especially comfortable if you already have a site logo (which is most commonly used for creating a favicon) in another file format. In that case, you only need to upload it to the site and will automatically receive favicons in all necessary sizes and file formats. After that, all you need to do is add them to your site (which we will cover further below).
For a tutorial using GIMP, please refer to John’s article.
How to Add a Favicon to WordPress
There are several ways to get your WordPress site to display a favicon. We will go over them one by one.
Method 1: Use the Customizer
The most convenient option to add a favicon to WordPress has been around since WordPress 4.3. Ever since then, if activated in your theme, you can simply add favicons via Appearance > Customize in WordPress backend. Here, click on Site Identity to get to this screen.
In this section, you are able to change site title, description and other things to do with your site’s identity. That includes the favicon. To change it, simply use the Select File button to upload your favicon file.
If it’s too large, WordPress will allow you to crop it to the right size. Otherwise, you can just simply save it. After that, you should be able to preview your favicon in action. Don’t forget to save and publish!
(Note: the exact location of the favicon option in the WordPress Customizer might be different depending on your theme.)
Method 2: Use Your Theme Options
If an option to change the favicon is not present in the Customizer, you might still find it in your theme settings. Themes these days come with a multitude of options and they are not all standardized. So, the only way to know whether yours offers the option to add a favicon is to check. It might be easier than using one of the methods below.
Method 3: Add a Favicon Via Plugin
In case your theme doesn’t have a built-in option, you can also use a plugin. There are several options out there:
- Favicon by RealFaviconGenerator
- Heroic Favicon Generator
- Very Simple Favicon Manager
- All In One Favicon
Since John already covered how to add a favicon to WordPress with RealFaviconGenerator, here we will describe how to do it with All in One Favicon. That one also the most popular solution of the bunch.
After installing the plugin, you find its settings under Settings > All in one Favicon.
The plugin offers support for ICO, GIF, PNG files, and Apple Touch Icons. It also lets you define different paths for icons used on the frontend and backend.
All you need to do is paste in the paths of your already-present favicons in the WordPress media library. Alternatively, use the buttons to upload your files and the plugin will automatically insert their paths. Either way, don’t forget to save your changes!
Further below, you also have the option to remove the reflective shine from your Apple Touch Icons and remove a link for the plugin developer from the WordPress meta box. That’s it, easy peasy.
Method 4: Add a Favicon Via Code
For older versions of WordPress (though you know should keep your WordPress site up to date for safety reasons), you may need to add a favicon manually. If you do, I highly recommend trying it out on a local development site first in order to not accidentally break your live site.
To do so, you first need to upload your favicon file(s) to your theme folder. You can use a subfolder like assets, however, you need to keep the file path in mind for later.
Some people also recommend adding favicon files to the site’s root folder. However, I prefer to keep it clean. Just make sure no other favicon files are present there.
After the upload, you can add the favicon to WordPress either by adding code to your header file (usually header.php) or functions.php. Since not all themes have a header.php file, the code below is for use in functions.php. To use it in the header file, simply remove the bit that makes it a function (everything inside <link.../>).
function add_favicon() {
	echo '<link rel="shortcut icon" type="image/png" href="'.get_template_directory_uri().'/assets/favicon.png" />';
}

add_action('wp_head', 'add_favicon');
Here is the version when using an ICO file:
function add_favicon() {
	echo '<link rel="shortcut icon" type="image/x-icon" href="'.get_template_directory_uri().'/assets/favicon.ico" />';
}

add_action('wp_head', 'add_favicon');
Replace the part after href= with the location of your favicon files, it should work for your site. Don’t forget to test!
Adding a Favicon to WordPress in a Nutshell
Favicons are one of those small design details that make a big difference in the perception of a website. They make your site look more professional, help for it to stand out among the sea of browser tabs, improve the user experience and enhance brand recognition.
Above, you have not only learned why adding a favicon is beneficial but also how to create favicons as well as four different ways to add them to your WordPress site.
Thankfully, this process has gotten pretty easy with newer versions of the WordPress platform. However, even if your site doesn’t support the Customizer option, you can still use a plugin, your theme options or do it manually like in the old days.
Whichever way you choose, the favicon will have a great effect on the perception of your site. And that’s what counts in the end.
Do you have additional tips for creating and adding favicons to WordPress? If so, please share in the comments section below!


6 Comments