Social proof is a powerful part of any business website. It gives your site authority and builds trust. Testimonials are a great way to add this, but they can be a pain to manage effectively on a website if you don’t know the best way to include them.
Fortunately, testimonials are easy to manage in WordPress. Plugins make it simple to add them to your posts and pages, using shortcodes, widgets, or archive pages. This makes adding and managing multiple instances of this type of social proof straightforward.
In this article, we’ll first explain the importance of testimonials as social proof. Then we’ll offer three steps to add them to your WordPress website. Let’s get started!
Why Your Website Needs Testimonials
Social proof is anything that shows like-minded peers advocating for a service, product, or experience. These can come in standardized forms such as online reviews or social media likes, but also include regular mentions in everyday conversations. Testimonials are a powerful form of social proof because they show others you have happy customers who are pleased enough to provide feedback on their experience.
It’s easy to speculate whether social proof is important, but the numbers don’t lie. Customer testimonials have the highest effectiveness rating in content marketing. Meanwhile, 90 percent of buyers indicate that online reviews influence their purchasing decisions. The more the better, too, as many people report needing to read up to ten reviews before they feel they can trust a business. These are major trust builders, with most people reporting that they trust other customers as much as recommendations from personal contacts.
There are a few key elements you’ll need to remember in order to get best results from social proof:
- Focus on positive group statistics. When you use negative information, it can ruin the sale.
- Use pictures. Testimonials feel more believable when accompanied by a photo.
- Use stories rather than straightforward reviews. Stories are more persuasive.
- Highlight influencers and authoritative figures. If well-known names back you, show it off.
- Collect your testimonials before showing them off. It’s better to wait to show social proof until you have a lot of it.
It’s this last point we’d like to touch on next, as collecting the right ones can provide you with a powerful showcase of social proof.
How to Collect Powerful Testimonials

Before you can add any testimonials to your website, you actually need them in the first place! Collecting powerful testimonials can seem like a black art, although it’s definitely possible. First, you need a place to collect reviews. A few public ways to encourage testimonials include Facebook reviews, LinkedIn recommendations, YouTube video reviews, and local search directories.
You can also reach out directly to customers via email. However you collect testimonials, you’ll want to ask for them in such a way that the end result is compelling for potential customers. According to the experts, the top six questions to ask when collecting testimonials are:
- What obstacle would have prevented you from buying this product?
- What did you find as a result of buying this product?
- What specific feature did you like most about this product?
- What are three other benefits of this product?
- Would you recommend this product? If so, why?
- Is there anything you’d like to add?
Asking these questions will help you garner testimonials that can help convince most prospective customers to overcome their objections or reluctance and make the sale. Be sure to collect personal details, including the customer’s photograph or product use, if possible. At this point, you’ll be ready to add the reviews to your site.
3 Steps for Adding Beautiful Testimonials to Your WordPress Website
With testimonials in hand, it’s time to make them beautiful on your WordPress website. There’s no time to lose, so let’s get started!
Step 1: Choose and Install Your Testimonials Plugin
Testimonial plugins enable users to manage a library of customer reviews, which can then be included throughout your website as needed. This means you don’t need to worry about updating or keeping track of the same customer profiles in multiple places.
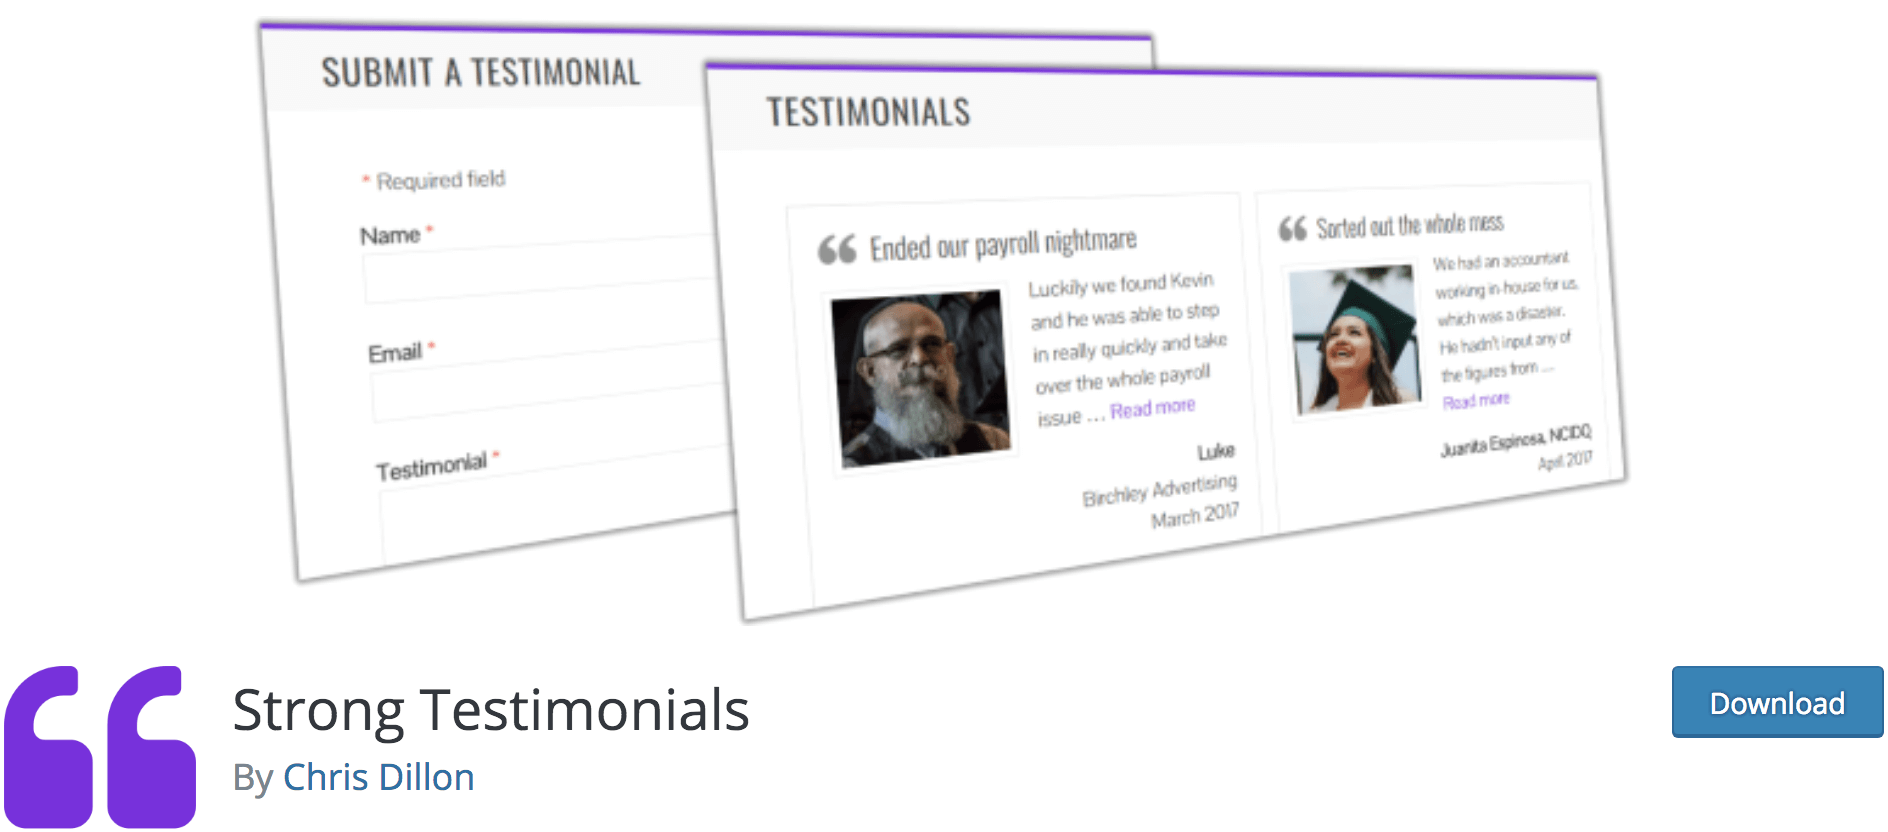
Our top recommendation is the Strong Testimonials plugin, due to its frequent updates and a high number of positive reviews. It is simple enough for total beginners, while still flexible enough to let developers create completely custom templates. We’ll be using this plugin throughout this tutorial, but the process is similar for other popular plugins such as Easy Testimonials or Handsome Testimonials.
As all of these solutions are available from the WordPress.org Plugin Directory, you can install them similarly to other free plugins. Of course, you should always back up your site as a precaution before making any major changes.
Step 2: Set Up the Plugin and Add Your Testimonials to WordPress
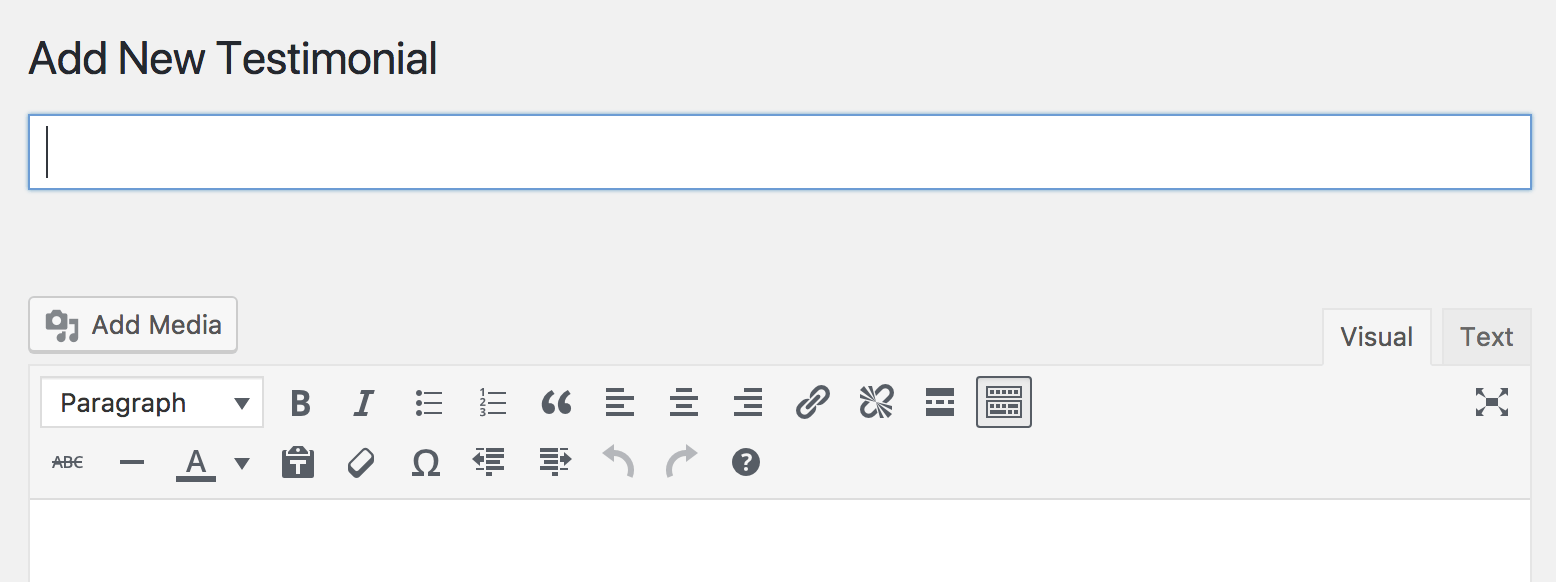
Once you have activated the plugin, it’s time to start putting your actual testimonials into WordPress. From your WordPress dashboard, navigate to Testimonials > Add New.
Here, you can add a testimonial title, the testimonial itself, as well as customer information such as their name, company, and website. Any customer images can be set in the Featured Image area. Here are a few tips on how to maximize the potential of each testimonial using the plugin:
- The title should summarize the most positive aspect of the review.
- The content itself should be the full testimonial.
- Add as much customer information as you can, but be sure you have your customer’s permission to share anything more detailed than a name and website.
- The picture should ideally be cropped to a square for consistency between testimonials, but it’s better to have a photo regardless of the dimensions than none at all.
If you don’t have a customer photo, simply add their email in the provided field. This won’t display their contact information but instead checks whether they have an available image set on Gravatar.
Of course, you should repeat this process to add all of your testimonials. Once you’re finished, it’s time to display them on your website.
Step 3: Style Your Testimonials to Make Them Visually Compelling
Once your testimonials are managed via a plugin, you’ll find many ways to integrate them into your WordPress website. However, in order to walk before you can run, let’s look at creating a simple testimonials page. To start, let’s create a custom template for your testimonials. Within WordPress, go to Testimonials > Views and choose Add New. Because we’re going to create a beautiful masonry list of our testimonials, let’s title this Masonry List of Testimonials.
Here are the settings you’ll need:
- Choose a title, such as the one suggested above.
- Under If no Featured Image, choose Show Gravatar only if found.
- For custom fields, add the company website field (if you’d like to include it) by clicking Add New and selecting it from the drop-down.
- Find Layout and choose Masonry.
Finally, click Save Changes, then go back to the top of the page and copy the shortcode provided:
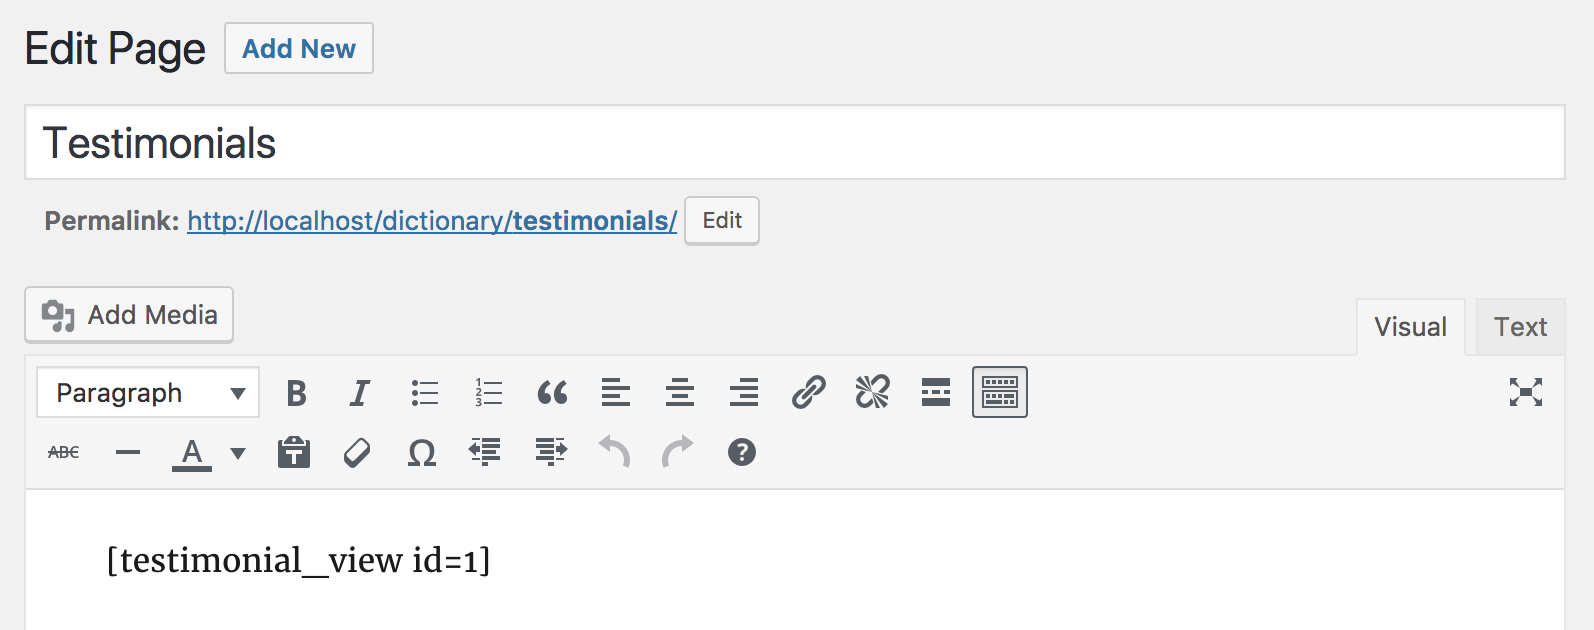
Next, visit Pages > Add New, title your new page Testimonials, then paste the shortcode inside:
Once you publish the page, you should be able to view your testimonials in a masonry grid. From here, you can go back to your Views and edit the output to meet your needs. You can also update colors and layout to better match your theme – all of which are easily accessible from with the settings.
Conclusion
Testimonials add social proof (which boosts conversions) to your WordPress website. As such, they should be an element of your website that you spend time on getting right. Fortunately, plugins such as Strong Testimonials, make it simple to add beautiful testimonials to WordPress.
In this article, you’ve learned about how social proof works, and how to collect powerful testimonials. We’ve also discussed the three short steps it takes to add beautiful testimonials to your site:
- Choose and install your testimonials plugin.
- Set up the plugin and insert your testimonials into WordPress.
- Style your testimonials to make them visually compelling.
What questions do you have about adding testimonials in WordPress? Let us know in the comments section below!
Image credit: Nghia Le.


6 Comments